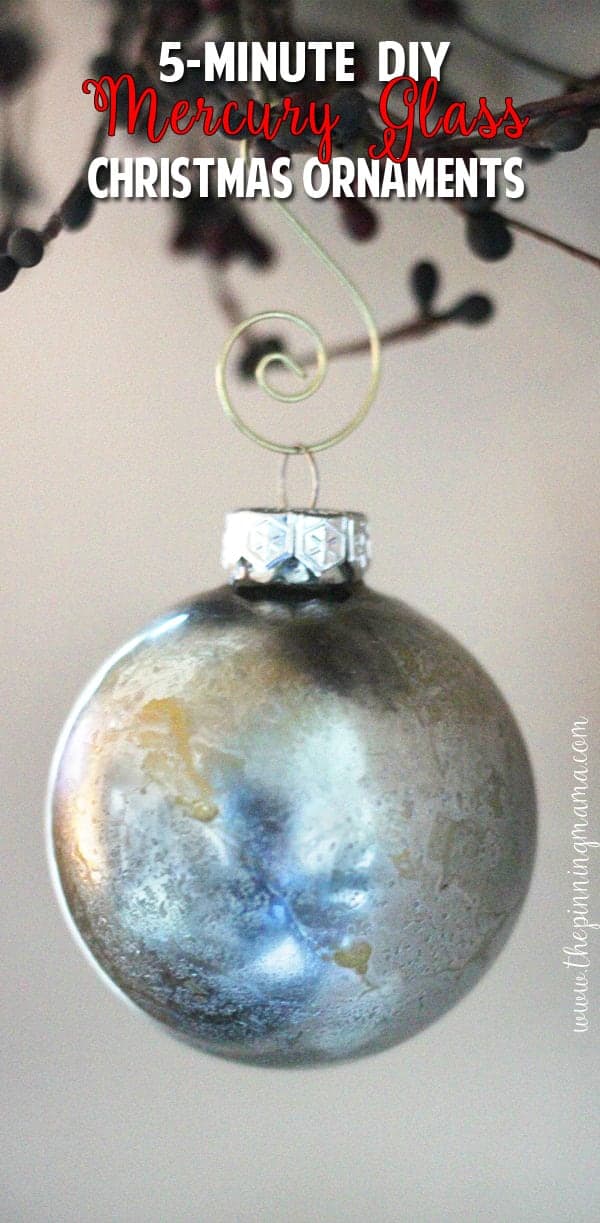
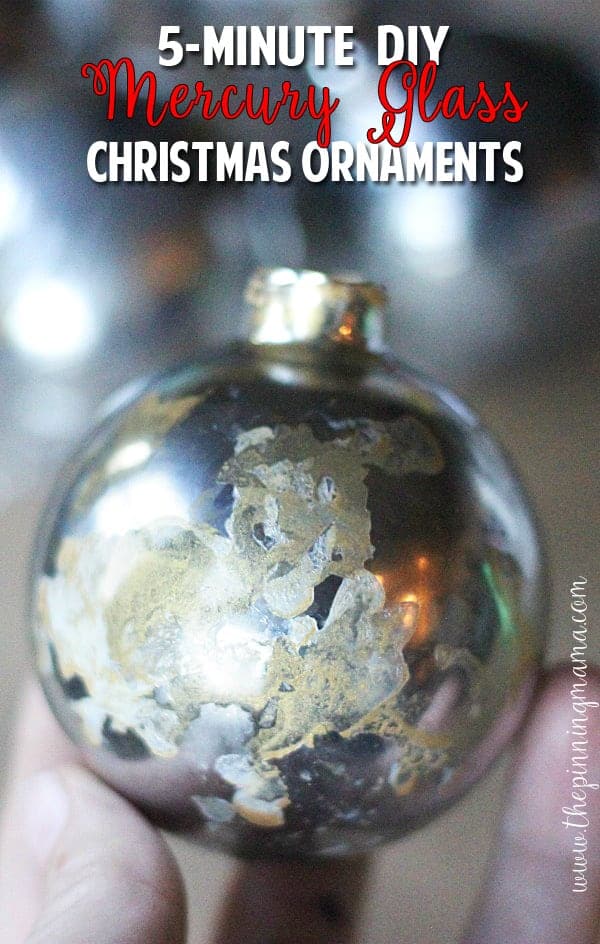
This tutorial will teach you step by step how to make stunning faux mercury glass christmas ornaments in about 5 minutes! You can use this technique on any glass to get a mercury glass finish.
I have ALWAYS loved mercury glass. I remember seeing it for the first time actually in Kirklands when I was newly married and wanting every single thing that they made in it. But being young and newly married, I couldn’t actually afford any of it so I just drooled.
Then a few years ago Pinterest came along and MIND BLOWN… you can make the stuff yourself! Well it isn’t real mercury glass, but a pretty nice faux mercury glass look. So I put it on the to do list. Now a few years later I finally got around to it. Can anyone relate?
I went through a bunch of tutorials and didn’t actually even plan to make my own, but I ended up trying a bunch of different things, some were too simple, some didn’t have the look I really wanted and then some had way too much texture while others ended up with almost none. So I took everything I tried, then decided to break all of the rules and try something new and finally ending up with a finish I personally loved. So I wanted to share all the little details and exactly how I ended up getting this stunning gold marbleized faux mercury glass finish.
The whole process is actually super simple and from start to finish I can make one of these in less than five minutes. This tutorial is going to look super long though because I want to share each step and fully explain what I did and why. So don’t be intimidated at the length, honestly, you make these even if you aren’t the least bit crafty. It is pretty fool proof and really cool to watch the effect appear as a bonus!
To begin you are going to need a few things.
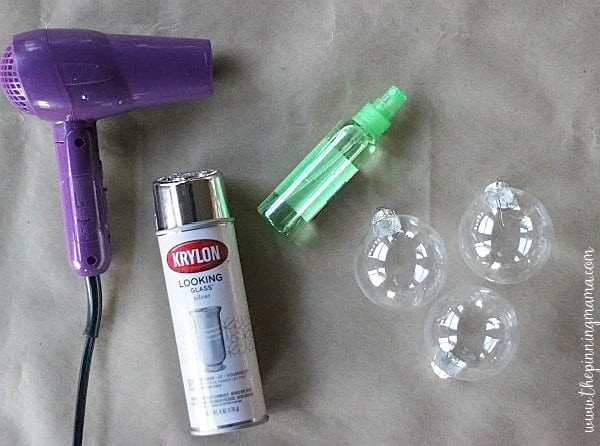
DIY Mercury Glass Supplies:
- Clear glass Christmas ornaments
- Krylon Looking Glass Spray Paint
(IMPORTANT: must be this kind!)
- Spray bottle with a fine mist
- Water
- White Vinegar
- DecoArt Dazzling Metallics Paint in Glorious Gold
- Hair Dryer (Any will work but I love this one
for crafting!)
- Paper towels
A few notes on the supplies. First, the spray paint has to be Krylon Looking Glass Spray Paint. I had originally thought that I could get away with using just a silver metallic spray paint but this isn’t the case. The Looking Glass spray paint is more expensive than the regular spray paint and not as widely available. I could only find it on Amazon and Hobby Lobby and they were close to the same price, although you might be able to hunt it down somewhere else in your local area. The reason why this paint is so important is that it isn’t just metallic, as it dries it actually transforms into a mirror finish. It is super cool to watch and not something that a normal silver spray paint does at all. It turns out to be so reflective in fact that I had a ridiculously hard time getting good photographs of these ornaments once they were done. The photos really don’t do them justice. They are jaw dropping in person.
Next you will definitely want a spray bottle that has a super fine mist. It will be much more difficult if yours does not and I can’t say whether it will work or not. In the process you are working with very small amounts of liquid and this liquid reacts with the paint to remove portions so if you aren’t getting really small droplets it really would be hard to do. When you fill the spray bottle up it doesn’t have to be exact just roughly pour in about half of each vinegar and water and you will be good to go.
DIY Mercury Glass Instructions:
To prepare for the project, fill your spray bottle with half water and half vinegar and shake to combine. Either do this project outside or cover your work space with some heavy duty craft paper. Since you are spraying inside the glass ball, the paint is mostly contained, but you know… there are always those oopsies and that is no good inside… with spray paint…. With that said, I did this at my kitchen table with it covered. Also, grab and separate a few paper towels to have handy during the whole process.
1. Take the cap off of the ball so you can access the inside of it. Then spray 2 -3 short bursts of the Looking Glass Spray Paint inside the ornament. There will be a small pool of thin paint at the bottom of the ornament. Immediately start to swirl the ornament so that the paint covers the inside of the ornament as completely as possible. You might still have a small pool that will settle back down to the bottom once you upright it.
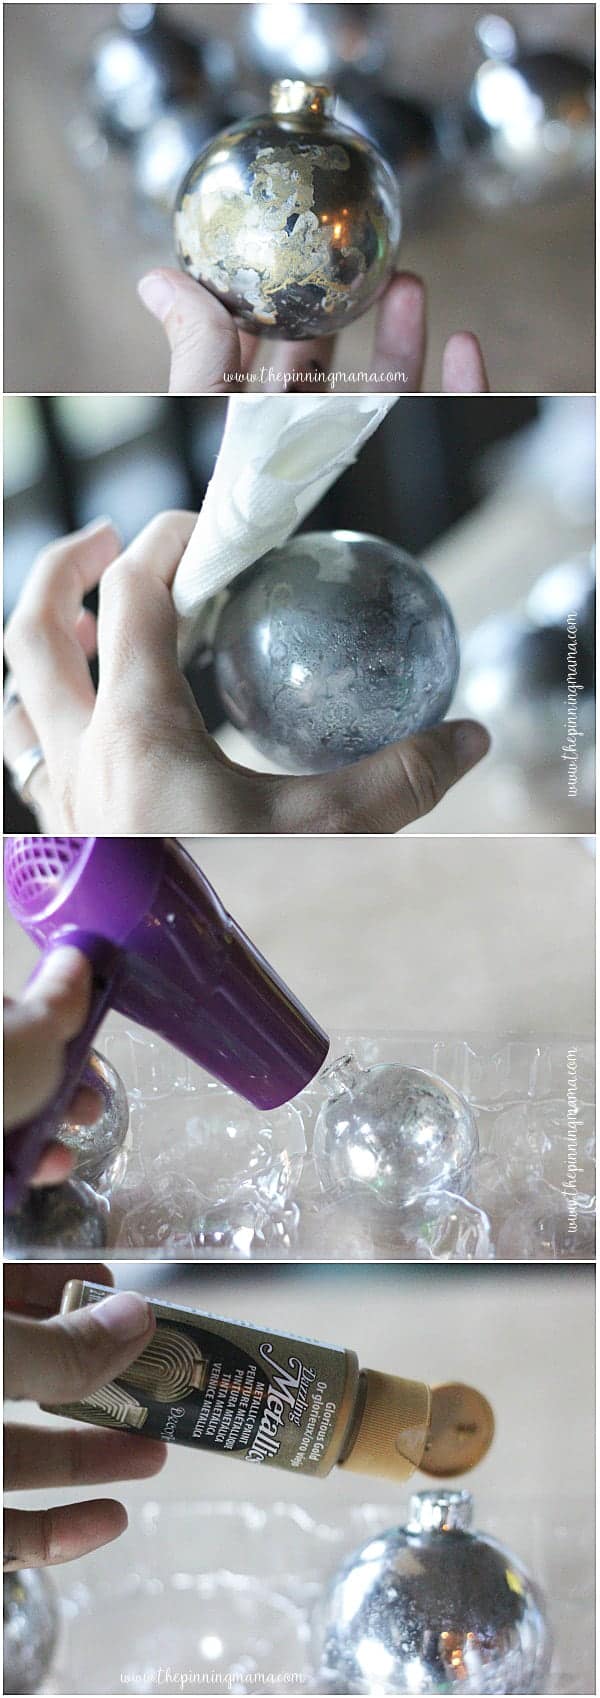
2. Immediately spray 1- 2 sprays of the water/vinegar mixture into the ornament over the wet paint. I try to aim it slightly different directions with each spray. Let it set for about 15-20 seconds then place a folded paper towel over the top and shake the ornament so that the wet paint does not pool anywhere and is moving continuously.
3. This next part takes a little more coordination but is still very simple. Use your hair dryer to start heating the bulb as you shake to start the drying process for the paint. Continue to shake until the pool is mostly gone, then point the hair dryer into the opening of the ornament and dry until all the paint has dried. You will be able to tell because it turns from a brushed silver looking color to a very shiny mirror like finish. You might notice that there are still some droplets of water and some of them might be trapped under the paint. This is okay and will add to the “speckled and cracked” look of the mercury glass. You can continue to the next step even if there are some water droplets as long as all the paint has turned to the mirror finish indicating that it is dry.
4. The ornament now has it’s first coat of paint which will be fairly faint. Repeat this process 4-5 more times or until you reach the desired look for your mercury glass. Each layer will make the paint a bit more pronounced.
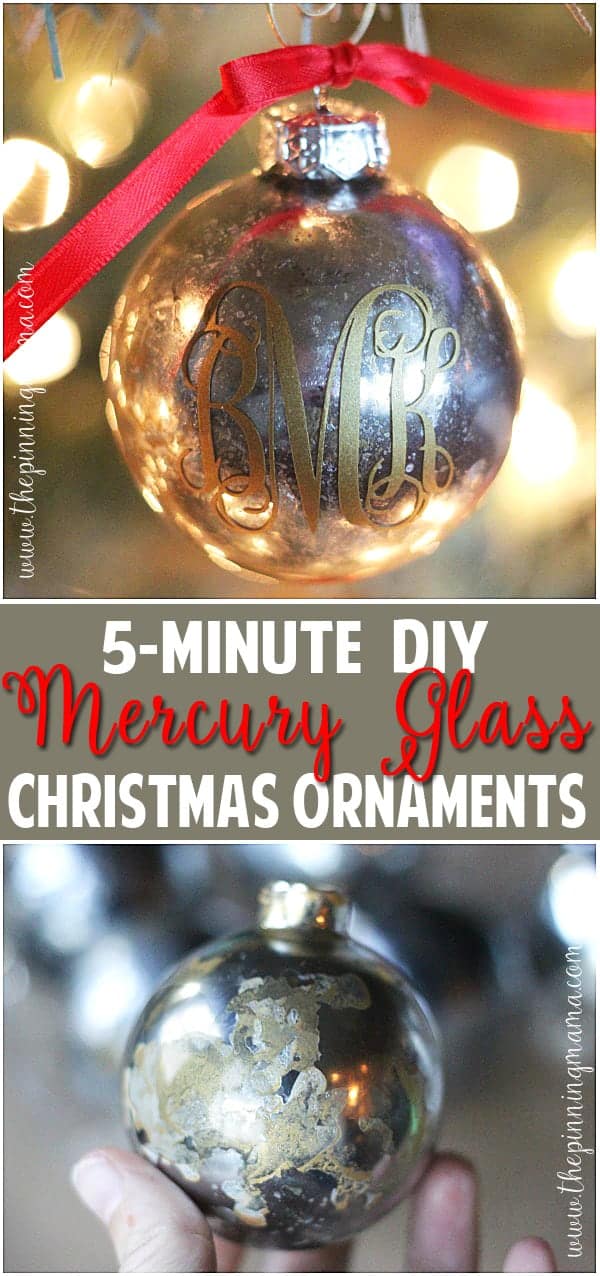
5. Once your ornament is coated fairly well and the last coat of spray paint is dry (you might still have some water droplets… that is okay!) Squirt 1-2 sprays of vinegar solution into your ornament and then a good, healthy squirt of the Dazzling Metallics gold paint inside. Swirl and shake the paint until is has completely coated the inside of the ball. You might have to add a bit more gold paint or water to get everything covered. You will notice in some places (mostly where the water droplets are) that the gold paint creeps underneath the mirror paint and this dries to a beautiful look. In the places where it doesn’t go underneath but there are speckles, it will give the mercury glass more depth and dimension.
You can use the hair dryer to help dry the paint a bit and add additional layers of either gold or spray paint until you get it just the way you want it.
I personally LOVE the look of the subtle gold intermingled with the shiny metallic silver, but if you don’t like it you can leave it out and just repeat layering with the spray paint and vinegar mixture until you get to your desired look. The other thing I experimented with was using black acrylic paint instead of the gold to give it more of an aged look. It did come out well, but really couldn’t compare with the gold in my book! If that is more of your color scheme though it is definitely worth a try. I thought I had a picture of it but apparently didn’t take one, so I will have to update it once I can get one in good light.
6. Let them dry. On one, I actually put the cap back on while it was still wet and hung it on the tree, so that is possible, but the rest I let sit in the container with the tops off over night just to make sure they were good and dry then slid the top back on in the morning.
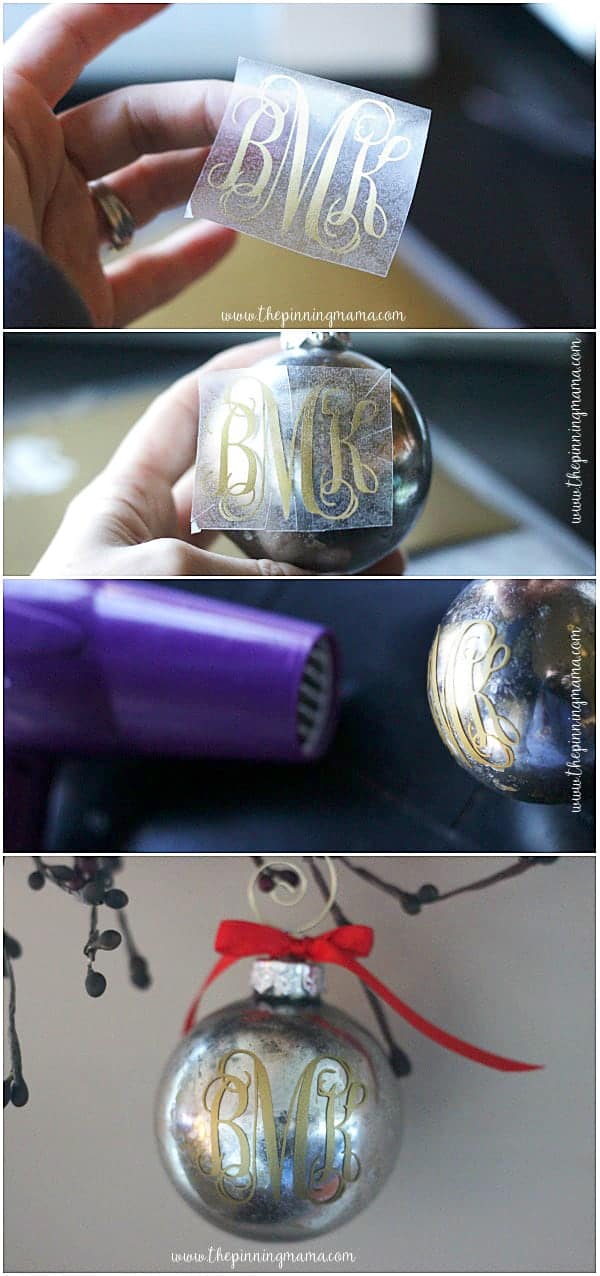
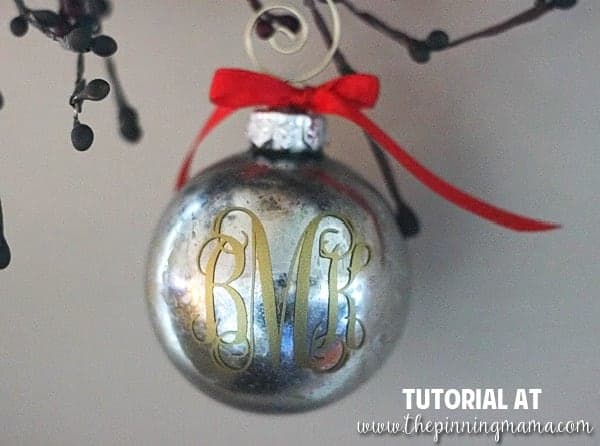
7. Decorate as desired! I used my Silhouette CAMEO to cut out a family monogram from vinyl and applied it right to the front of the ornament. When you are applying vinyl to round surfaces, you want to make sure that you use thinner lines in your design. Apply starting in the middle and working your way to the outsides. It helps if you cut a few slits in your transfer paper so that it can give around your design. Remove the transfer paper and use a hair dryer to heat the vinyl slightly as you work out any kinks in it and make it smooth.
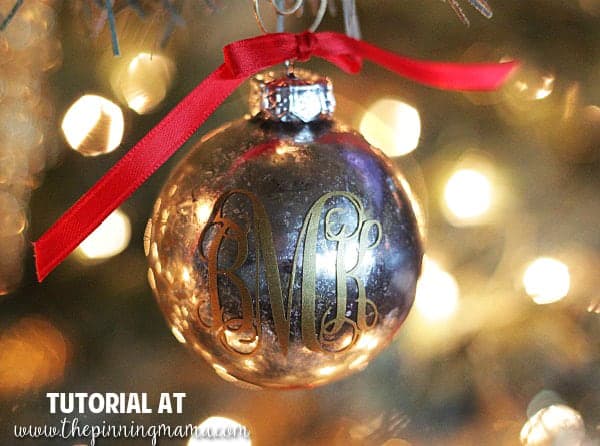
I added a bow with a little ribbon and boom, boutique worthy ornament in minutes. And since I have seen these selling in boutiques for $30+ I do’t think I am too far off.
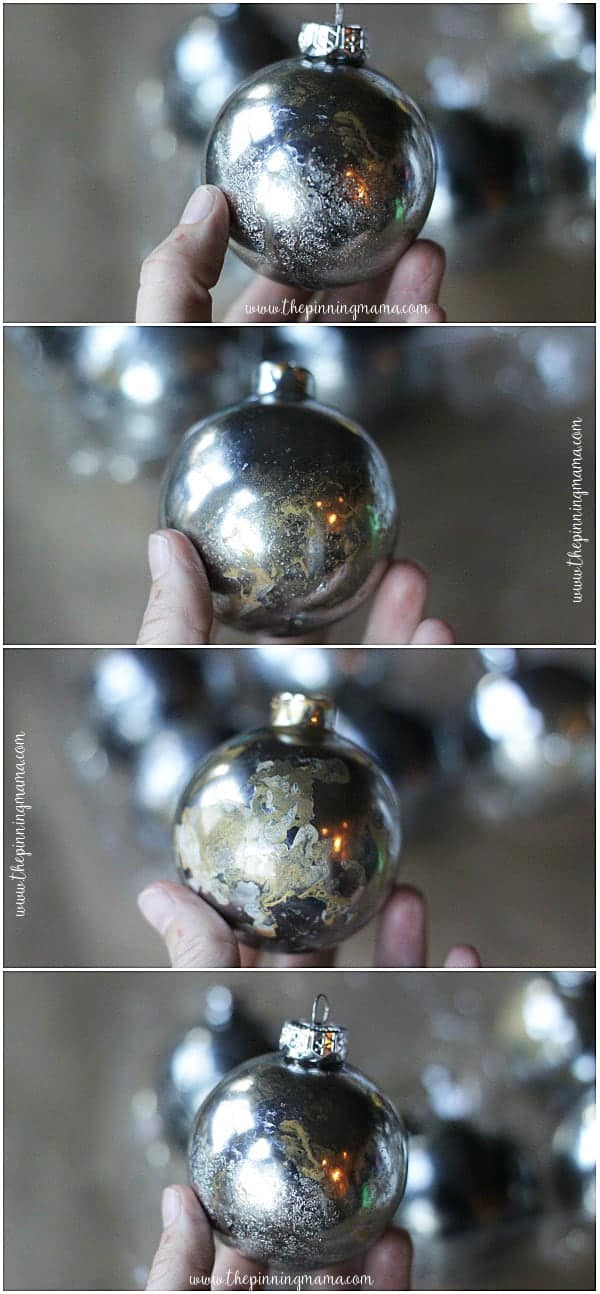
I did this with all ten of my ornaments and each one turned out unique but similar with the finish. You can see different views of the textures I was able to achieve by layering the spray paint and gold paint as I explained above. Most of the tutorials I read advised drying the spray paint and then using the vinegar solution to spray on to remove some. I did this several times and it didn’t really turn out like I wanted. My experience was that it would remove larger chunks of paint rather than smaller speckles and then the sections would fill back up with paint on the next coat. It was still pretty but did not have nearly as much texture as the way I did it. Maybe the bigger reason was that it took ten times as long because you had to dry each between each coat. With three kids running around I definitely need the 5 minute method!
The first one might take a little longer while you get the hang of it but the next ornaments you should be able to do in just a few minutes each. Pretty soon you might turn into a little mercury glass factory when your friends and family find out you can make something so stunning! With a little customization they make a fantastic teacher gift, neighbor gift, or gift for co-workers!



Sheila says
This is VERY cool. I will make these for sure thank you very much!❤️
Carolyn A Duncan says
What a great tutorial and this is the first time that I wish I had a machine that cuts vinyl embellishments. These are glassy and look very “top drawer”! Good job and thank you for sharing!
Carolyn
Diane says
What would happen if you just use silver? I don’t want gold in mine because I have a theme with gold and I am fine with it. So I want just silver. Any suggestions?