Welcome to Lesson 25… just a few short lessons left and we will be all done with our bootcamp series. Last week we learned all about the Stipple Feature in Silhouette Studio. This week we are learning all about Cut Lines. Silhouette Boot Camp is filled with mini lessons that help us learn the terminology used in the Silhouette Studio software so that we can cut any design we can dream up with ease!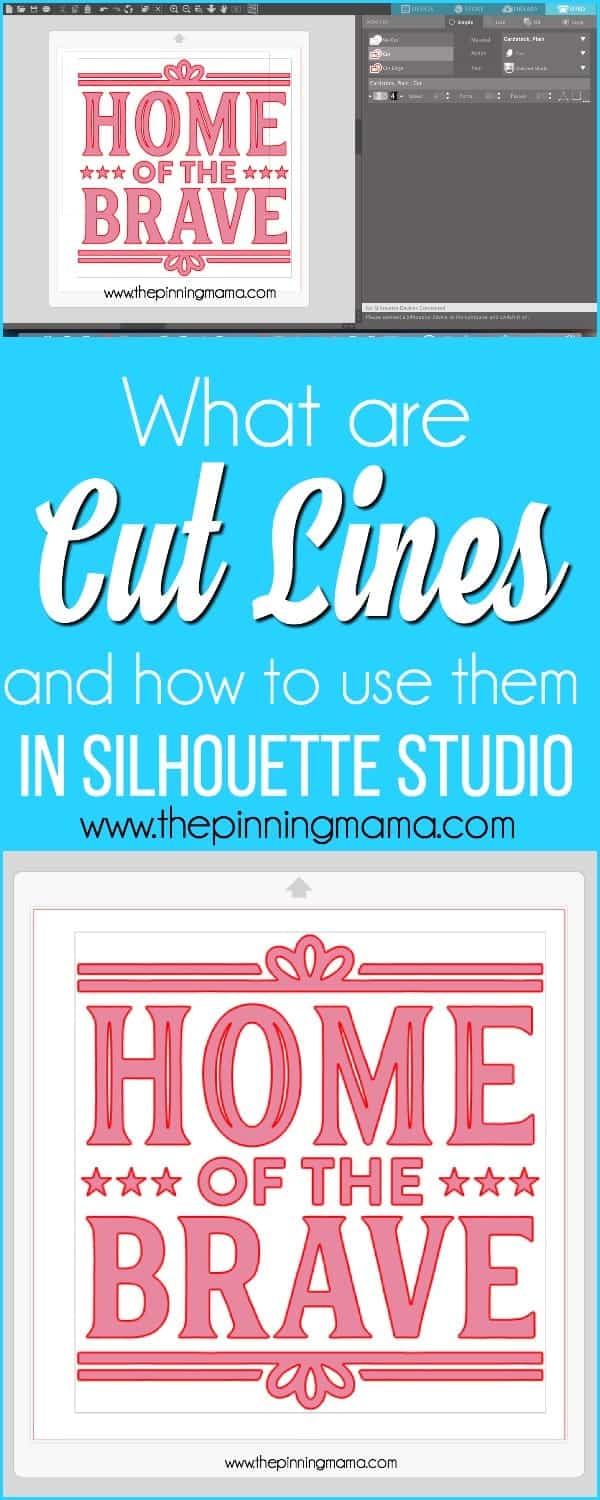
Before we get started, there are a couple of things to help you get the most of the experience:
- If you are new here, take a look the Silhouette Boot Camp Welcome with all courses listed and catch up on any you missed.
- Sign up for my Silhouette Newsletter which will email you when the lessons are released each week. {click HERE to sign up!}
- Pin this post! Each of these lessons takes me on average, 8-12 hours to create for you. I can do these lessons for FREE thanks to your support in coming to my site, reading the tutorials and sharing it with your friends. By pinning this post or sharing it on Facebook with your Silhouette friends, it helps you know where to find it if you need to reference it again, and it helps me spread the word so that I can keep the resources and freebies FREE to you!

What are Cut Lines in Silhouette Studio?
Cut lines are the red lines you see on the outside and inside of your design. Everywhere you see a red line, that is where your Silhouette is going to cut. You can also turn on your cut border and everything within the red box is what your Silhouette is goin to cut.
How do I use Cut Lines?
The Cut Line feature is located in the send tab in Silhouette Studio. There are a few different types of Cut Lines in Silhouette Studio.
- Cut Edge: the design you have selected will be cut, if you have any overlapping designs , only the edges of it will be cut.
- Cut: the whole design will be cut out including parts inside the design. If objects are overlapping they will be cut out as well. Be careful will this is you have a script type font sometimes the letters overlap a tiny bit and you will have small cuts in your letters.
- No Cut: your object/design will not be cut.
Where do I find the Cut Lines in Silhouette Studio?
You can access the Cut Lines feature in one main place.
Go to the send tab in Silhouette Design (this is where you would finalize your design and send to your Silhouette CAMEO), select Cut or Cut Edge.

Example of using the Cut Lines feature?
Example 1: I’m making a shirt using HTV for my little boy. He wanted a patriotic shirt so I found this design in the Silhouette Design store and I plan on printing it in red HTV. I am going to use the Cut feature because I want it to cut out every part of this design.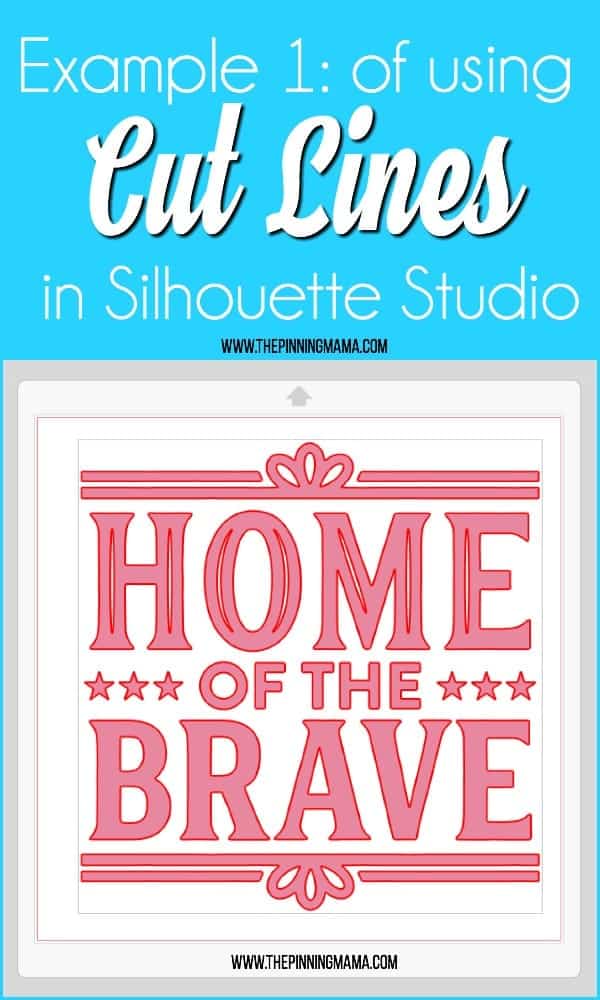
Example 2: My little girl wanted to have a end of summer pool party. I plan on using a these cute designs to print and place on water bottles for the girls using sticker paper. I will send the designs to my printer to print and then use the Cut Edge feature, then send the printed paper to my Silhouette CAMEO to be cut. Next I will place them on water bottles for a fun flare to our summer party. To learn all about print and cut from start to finish, you can find directions here.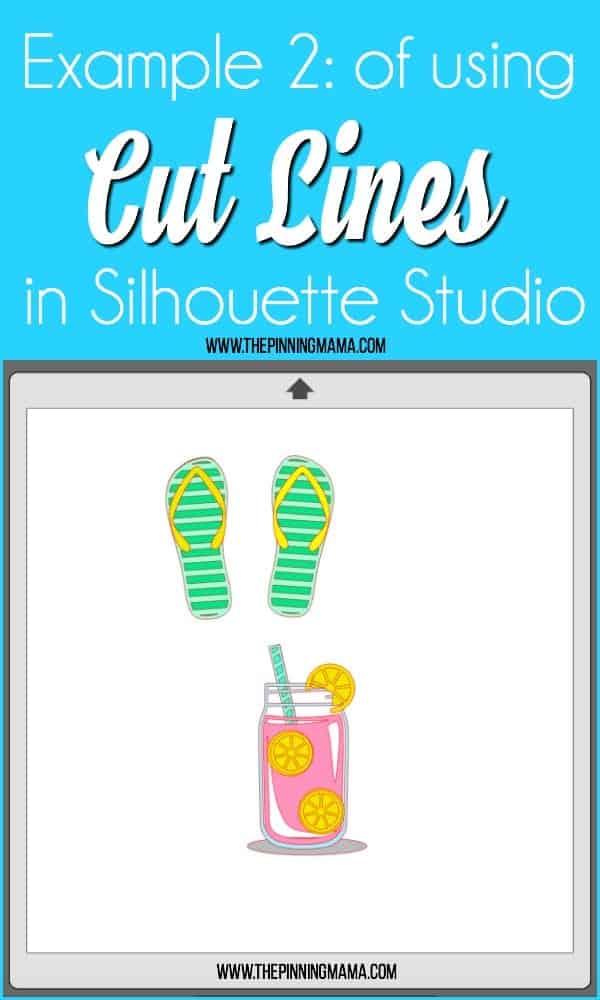
When to use Cut Lines?
You always want to turn on your cut lines when using your Silhouette. This is the only way to see exactly what your Silhouette is going to cut. Always double check before you send design to your Silhouette CAMEO to make sure your cut lines are turned on. Otherwise if some of your design is out of the cut area or not outlined in RED it will not be cut properly.
Special notes on using Cut Lines?
Cut lines is a feature you will use overtime you use your Silhouette CAMEO. Make sure you always double check before sending your design to your Silhouette that you have marked the correct Cut Line you want. If you have a script font with lots of curves make sure your letters are spaced enough or welded together before you cut out your design. Otherwise you will have small cuts in the letters. I learned this one by trial and error.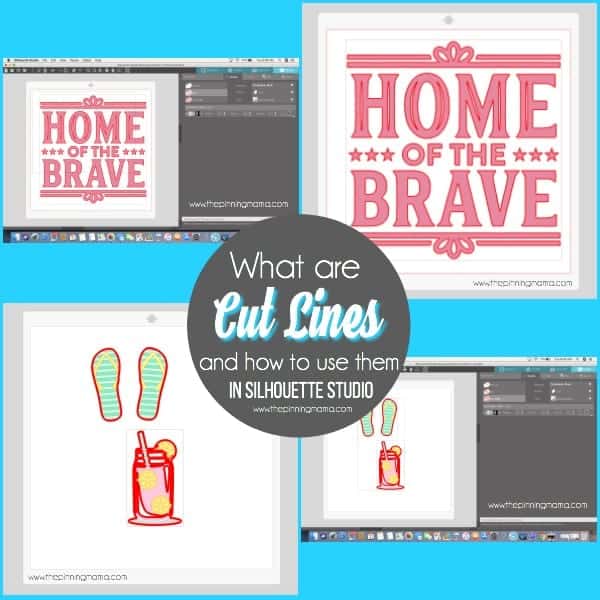
That’s all I have for you this week about all the different types of Cut Lines. Tune in next week to learn all about Over Cut/Bleed Lines in Silhouette Studio.


Leave a Comment