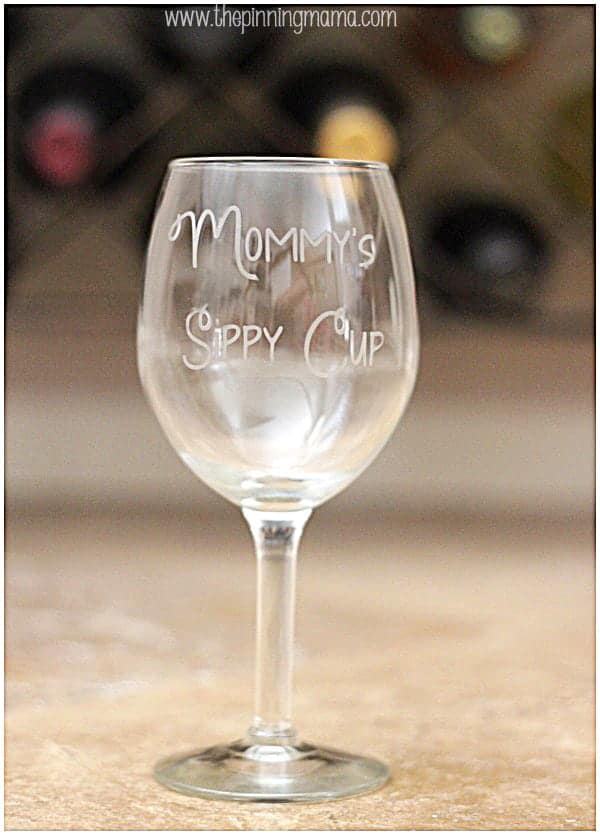
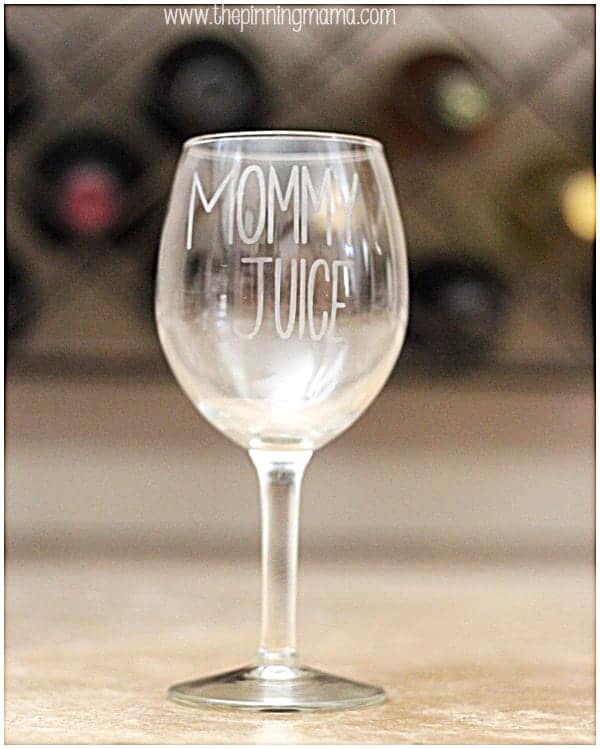
DIY Etched Glass “Mommy’s Sippy Cup” and “Mommy’s Juice” Wine Glasses make a fun gift for mom! Plus use discount coupon and promo code PINNING at checkout for sale on Silhouette Cameo, Portrait, and accessories (June 2014)!
It all started when I made one of these glasses as a craft activity for a local mom’s group I am in. I didn’t think much of it, but over the year I kept getting asked about the Mommy’s Sippy Cup over and over again. I gave away the first one I made, then I got a request for another…. and another! I guess after the third I decided that it was something I should share with you!
The good news is that the process to make these fun wine glasses is really very simple and not too time consuming. I will warn you though, that etching anything curved , like a wine glass, is a bit more challenging and there are parts that can be a tad tedious. Although, you can do glass etching projects without a Silhouette machine, like I did here, it will make the project about 100x faster and you will be able to do much more detailed etching like these delicate fonts I used here. To see the great sales on Silhouette Cameo and Portrait machine bundles and all accessories and materials make sure to scroll to the bottom of the post and use the coupon code PINNING at checkout.
Here is what you will need to make your own sippy cup:
- Wine glass or glass of choice
- Silhouette Glass Etching Starter Kit -or- Silhouette Glass Etching Cream, Silhouette Stencil Vinyl, Silhouette Clear Transfer Tape, Silhouette Hook, Silhouette Scraper
- Painter’s Tape
- Popsicle Stick
To begin, design your text in the Silhouette Design Studio. I used the font KG Strawberry Limeade for the Mommy’s Sippy Cup glass, and KG One More Night for the Mommy’s Juice glass. You will want to measure your glass with a measuring tape to make sure that you make the text a size that will fit well and be able to be read on your glass.
Once you are ready to cut, load your stencil vinyl into your Silhouette machine. I prefer to cut the vinyl down and use a cutting mat, however you can load the vinyl directly also. Use the default setting for Silhouette brand vinyl to cut and send the design to your machine.
Once cut you will want to cut your design apart between the text lines and trim the rest leaving about half of an inch border around the rest of text. I find it much easier to get the text to apply well to a curved surface when there is less trim around the design.
Weed out the design using the Silhouette hook tool. The negative space you are removing should be the inside of the letters. Take care to make sure letters like P and D, have the middle bubble in the letter remaining. Also, be careful to remove the dots on the i’s.
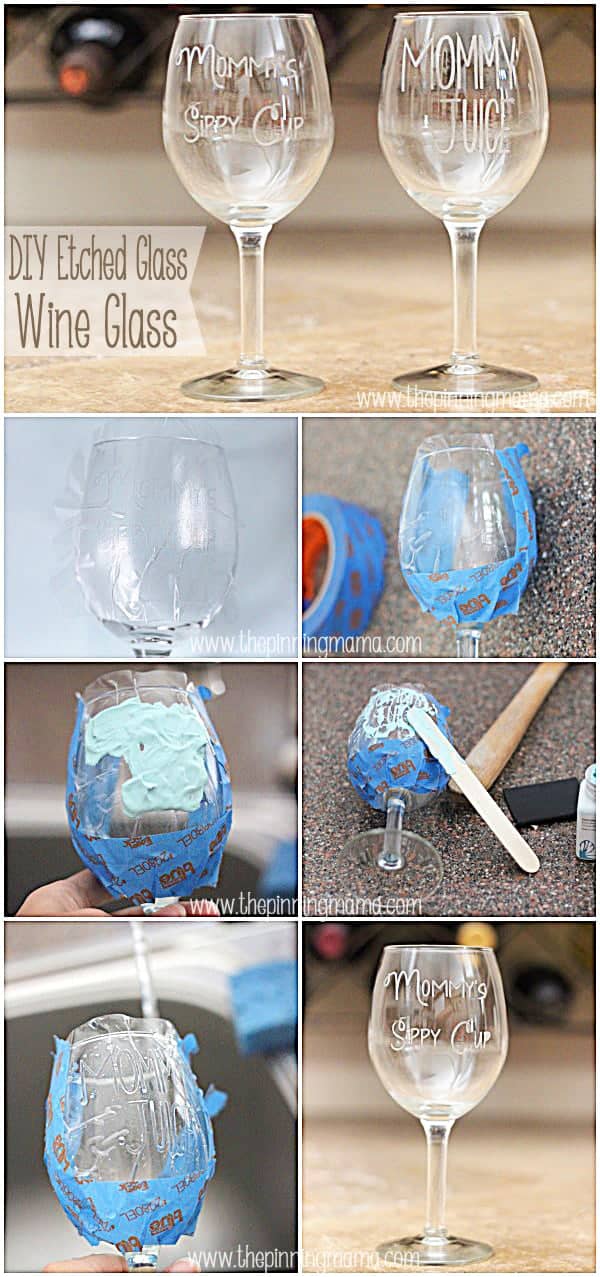
One you are ready to apply, cut a piece of transfer tape to the size of your text, peel the backing and apply it on top of the stencil vinyl. Use the scraper tool to go over the application to make sure everything is well adhered. This will keep all of your lettering exactly in place as you move the design onto the glass. Peel back the backing from the vinyl and carefully place the design onto the glass where you want it and press down starting in the middle and working toward the edges until the first piece is adhered. Remove the transfer tape carefully making sure that all of the pieces adhere to the glass.
Next repeat this process with your second line of text lining it up beneath the first. Make sure that your stencil vinyl overlaps when you apply this layer or you will need to cover this area with painters tape before applying the etching cream.
Now comes the tedious part. Use the scraper tool to carefully go over the entire design ensuring that there are no bubbles under the vinyl. You will want to go around the edges of each letter to make sure it is well adhered and there are no gaps. Since the glass is rounded, you will probably have a couple of places that have some bigger bubbles. Try to push these as far to the edges as possible. Make sure that the part around the letters is firmly adhered to the glass. I use my scraper to make creases in places I can’t get rid of the bubbles by pushing the edges of the bubbles in until the middle sticks to itself if that makes sense.
Just to reiterate… there are no second chances with glass etching. If you have a place that wasn’t stuck down perfectly along an edge, the etching cream will seep underneath and you will end up with an ugly spot on your glass. If you are a perfectionist like me, this will drive you absolutely crazy, so the tedious part of the process is 100% worth it and needs to be done really carefully in order to avoid having to redo the whole thing.
Next use painter’s tape to tape another 1-2″ around the edges. I find that sometimes the etching cream can be runny so again, this little extra step ensures that if the cream starts to drip down the curved edge as I wait, I don’t end up having to throw the whole project out .
Use a popsicle stick to stir the etching cream well. It is advised to use gloves when working with etching cream and to avoid smelling the fumes. Once it is mixed well, use the popsicle stick to spread a nice even layer over the design on the vinyl. Let it sit for 30-60 seconds.
Use the popsicle stick to scrape the etching cream back off the vinyl and back into the container, taking care not to let it drip on the glass. The etching cream can be reused over and over again!
Use a paper towel to wipe off any remaining cream and then rinse thoroughly under cool running water. Peel off the painter’s tape and vinyl and dry your glass!
I absolutely love the world of custom options that glass etching opens up! I have done a few more glass etching projects you can see here, or view all of The Pinning Mama Craft Ideas here and Silhouette Projects here.
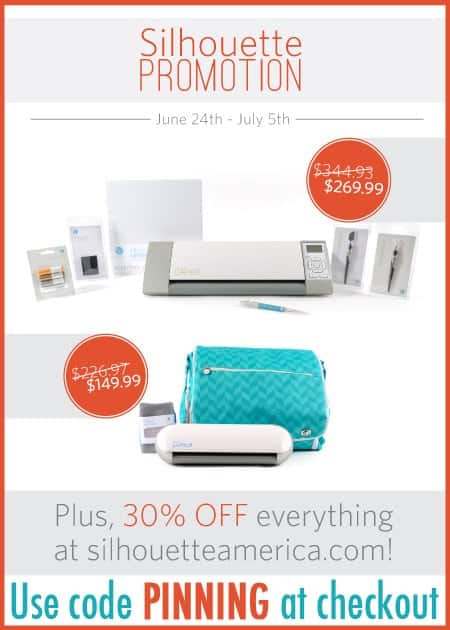
If you haven’t taken the plunge to get your machine yet, it is time! There is a great sale right now, or if it is just time to stock up on etching cream, vinyl or other Silhouette goodies I have you covered there with a discount too! Just visit the June 2014 Silhouette Promo Page and use code PINNING at checkout.
Here are the specials:
WHAT’S INCLUDED
- Silhouette CAMEO®
- Silhouette CAMEO® electronic cutting machine
- Power cable/AC adapter
- USB cable
- Silhouette Studio® software
- 1-month trial subscription card
- 12 in x 12 in cutting mat
- Silhouette blade
- Basic Instruction Guide
- CAMEO instructional DVD
- 1 pack essential cardstock
- 1 metallic sketch pen pack
- 1 hook tool
- 1 scraper tool
- 1 pick-me-up-tool
Regularly $344.93 Special Sale Price: $269.99 with discount code PINNING at checkout!
This Silhouette Portrait® and accessory bundle includes:
- Silhouette CAMEO®
- Silhouette Portrait® electronic cutting machine
- Power cable/AC adapter
- USB cable
- Silhouette Studio® software
- 1-month trial subscription card
- 8 in x 12 in cutting mat
- Silhouette blade
- Basic Instruction Guide
- Portrait instructional DVD
- 1 Silhouette Portrait® tote
- 1 grey Silhouette Portrait® dust cover
Regularly $226.97 Special Sale Price: $149.99 with discount code PINNING at checkout!
30% OFF SPECIAL MEDIA
- double-sided adhesive
- glitter
- printable magnet paper
- adhesive magnet paper
- printable adhesive kraft paper
- printable cotton canvas
- printable gold foil
- printable silver foil
- printable clear sticker paper
- printable white sticker paper
- chipboard
- temporary tattoo paper
- stencil material
- adhesive corrugated paper
- vellum
- adhesive washi sheets
- adhesive-backed cardstock


Heather @ Krafts and Kiddos says
What a fun idea! It’s the perfect saying on a wine glass 🙂
Kimber says
Thanks Heather! We thought so too 🙂 I really appreciate you stopping by!
Romy says
My excitement level when I found out exactly what Silhouette does, was on 10. I see it all the time at Michael’s and kept saying I need to look this up and see exactly how it’s used, and then I stumbled upon this blog post and pow! 🙂 Loved it thanks so much for sharing.
Kimber says
Ha ha! Awesome! Your comment made my day! I have a promo that will be going up tomorrow if you want to save!
Lorraine Conley says
Can acrylic glasses be etched? We do a lot of outside entertaining and in have a ‘no glass by the pool’ rule
Kimber says
I don’t think the chemical reaction will work with etching cream although there is vinyl you can buy that makes it look like etched glass that might work well for that situation!
Toni Trainor says
What font did you use?