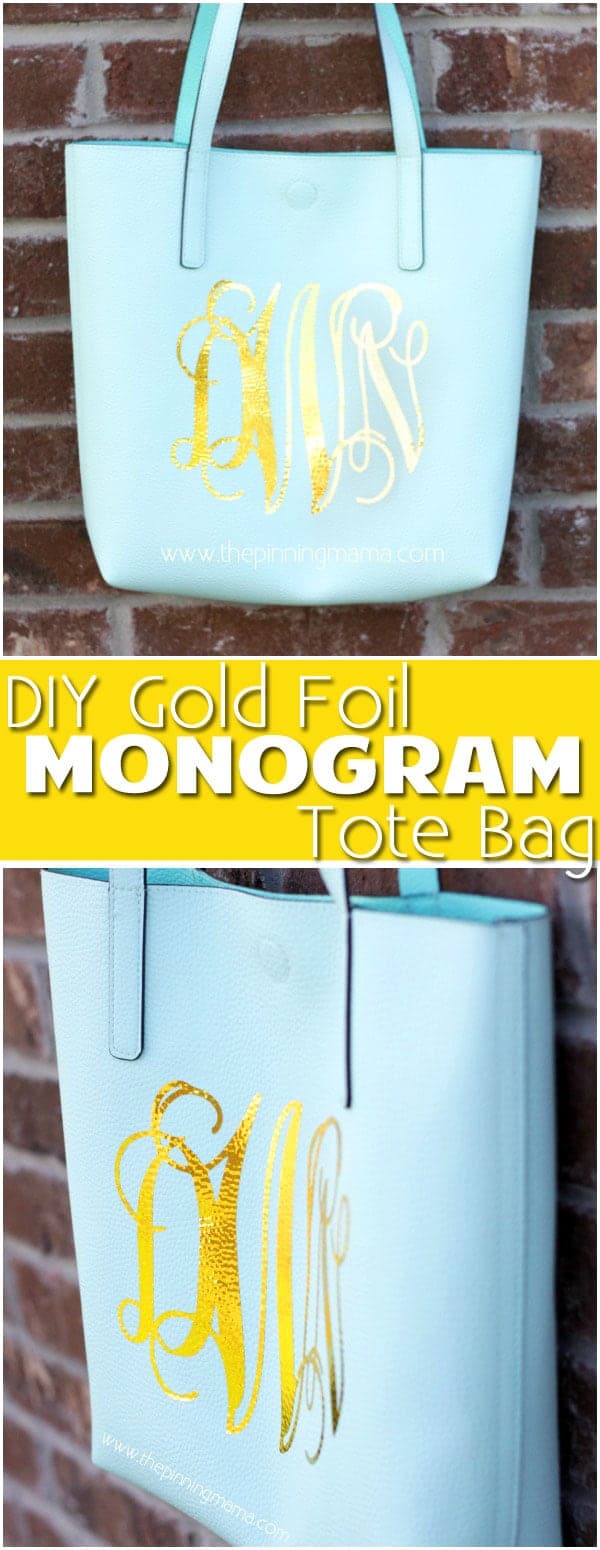
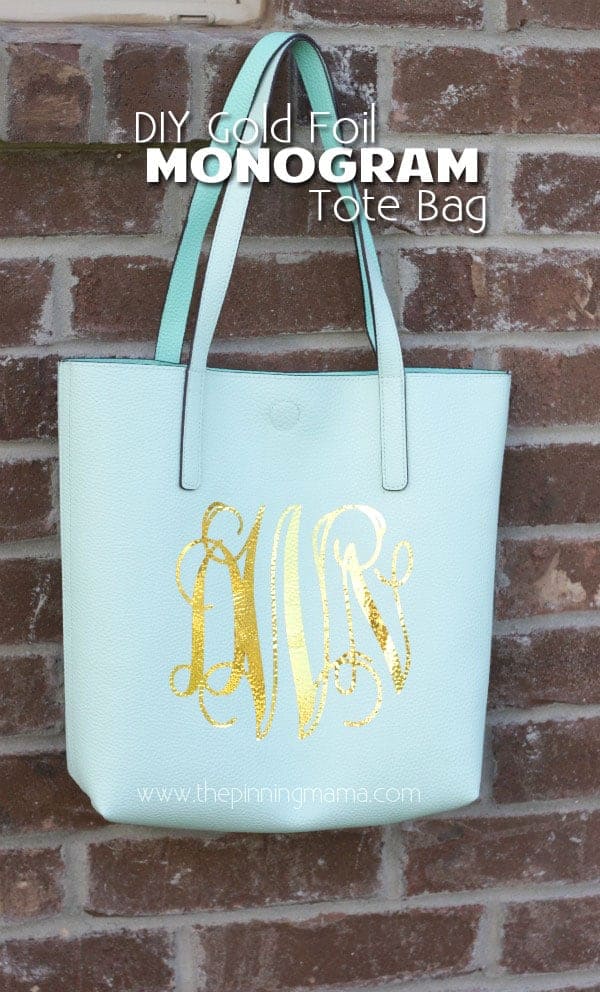
What is better than a tote bag you can throw all your stuff in to leave the house in a hurry? Answer: A gold foil monogrammed tote bag that you can make yourself in just a few minutes! All the easy directions to make this project with your Silhouette CAMEO below!
I have been sharing tons of tutorials on how to use your Silhouette CAMEO lately, so I decided it was about time to share one of my recent projects. Since making the tutorials can be so time consuming, I don’t get to just craft for fun as much as I want to, but when I made this bag I knew it NEEDED to be shared!
But first, let me make sure you know about my Silhouette 101 series! I have been putting together all of the how-tos and tutorials for my most asked questions, and favorite tips and tricks I have learned along the way in this series! You can see all of the posts and a list of Free Silhouette Cut Files here on the Silhouette 101 page. Now before we start, make sure to do two important things:
- Sign up for my Crafty Newsletter! This will deliver all crafting posts including each new Silhouette 101 tutorial right to your inbox as they are released, so you don’t miss a thing! CLICK HERE to sign up!!
- Pin this Post! As a blogger I kind of get to do my dream job, which is do the things I love like work with my Silhouette CAMEO, and teach other how to do the same for FREE! I don’t have to charge you a thing. There are a couple of things you can do to help me though, like pinning my posts. It helps you save a good tutorial and helps me get the word out about my site. Thanks so much for your support! —> to pin Silhouette 101!
I am really hoping this series will help you go from newbie to pro in no time! Please make sure and let me know in the comments if there are other things tripping you up or a tip that really helped you! It makes my day to hear from you, and I love to update my posts with your tips! Now, on to the absolute cutest tote in the world!!
I admit it. I am a little obsessed with bags. But really, there is nothing better than a cute tote you can throw all your stuff in and take off. When these Walmart tote bags started getting popular in our Silhouette Facebook group (click to join here!) I knew that I needed to make one. So I whipped out my Silhouette, this DREAMY gold foil heat transfer vinyl (HTV) and made 3 of these in one afternoon! Making 3 (the one in this pic was actually a gift for my blogging bestie Dawn Nicole) I experimented and got the perfect method for making this leather… ahem, pleather…. ahem, fake leather… or maybe vinyl… but who-cares-its-cheap-and-super-cute bag, without melting it and getting the HTV to stick perfectly.
How to make a Personalized Monogram Tote Bag:
- SUPPLIES:
Tote Bag – Grab these at Walmart in the purse section. They are $9.97 or if there are close out colors they are marked down to $5 & $7. - Gold Foil Heat Transfer – This stuff is STUNNING! You can use other but exact directions are given using this product. If other products are used times and temps will vary.
- Silhouette CAMEO
- Fancy Monogram Font – I used the Monogram it app and traced it in the software, you can also get a free fancy monogram font here, or monogram font for commercial use here.
- Regular Old Iron
- Parchment paper
- Hard book
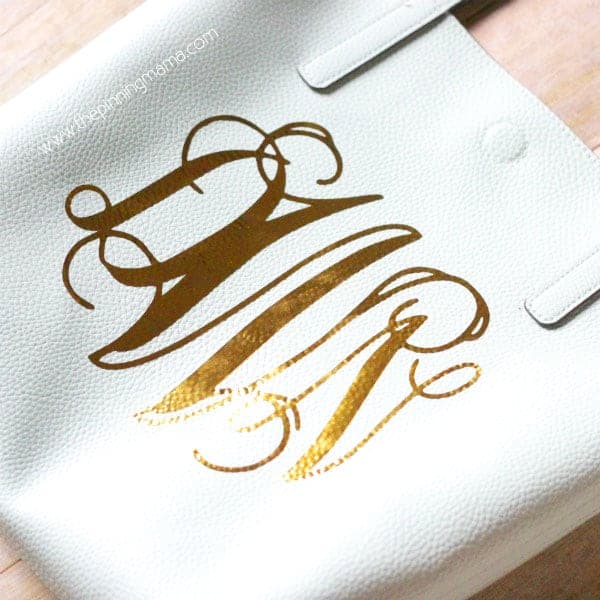
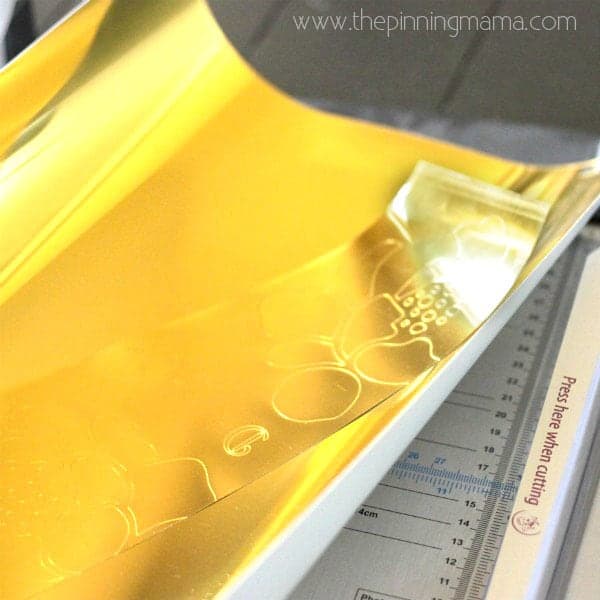
Here’s a close up of the gold foil HTV. Dreamy, right? The pics don’t even do it justice. You have to get your hands on some of this!
INSTRUCTIONS:
1. Design your monogram in Silhouette Studio- Standard practice for monograms is first initial, last initial, middle initial. I made mine about 7 inches wide. Height was determined by the font.
2. MIRROR the design!!
Choose the design
Right Click
Flip Horizontally
3. Cut your design – Place the heat transfer gold side down and load into the machine. If you need help doing this, check out this post on first steps with your Silhouette CAMEO.
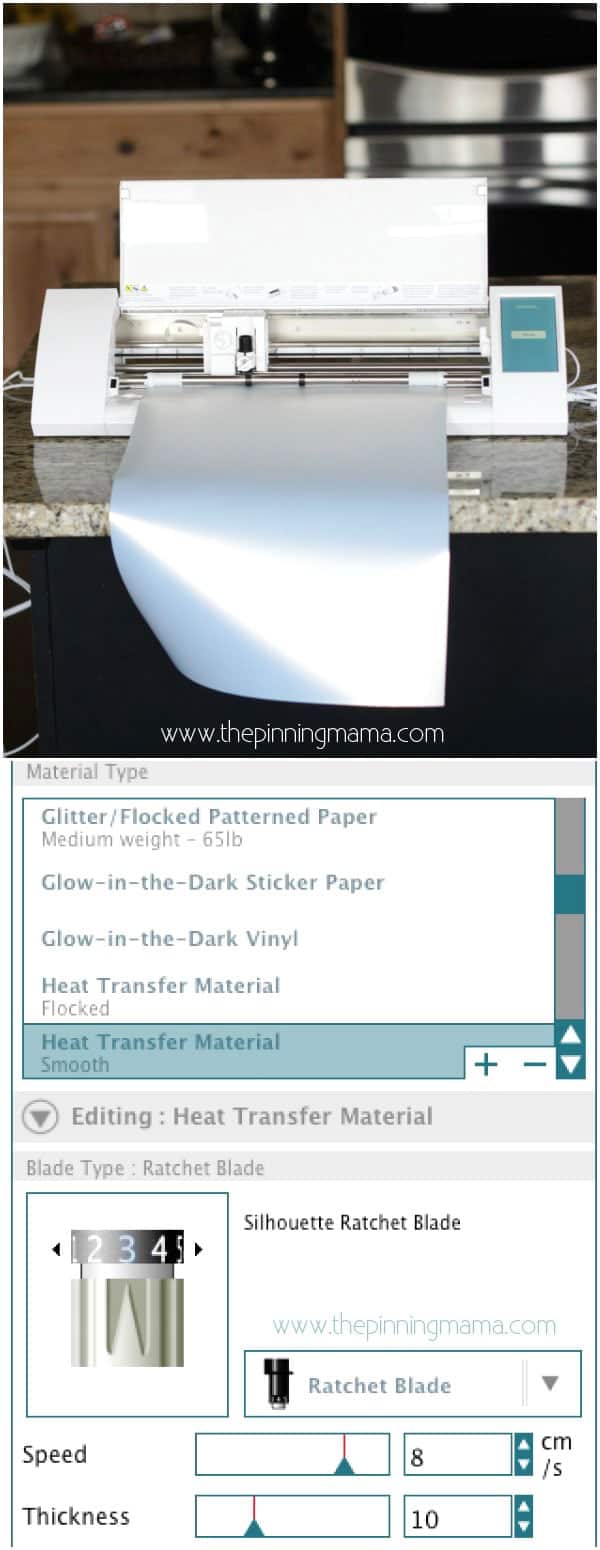
I used the following settings-
Material type: Heat transfer smooth
Blade: 4
Speed: 8
Thickness: 10
*note: the picture shows blade depth of 3. This was an error, my blade was set at 4 but I forgot to change it in my software. Sorry!
Make a test cut to make sure that the blade cuts through the transfer completely, but does not cut through the clear backing.
SEND TO MACHINE
heat transfer gold side down 4. Weed your design
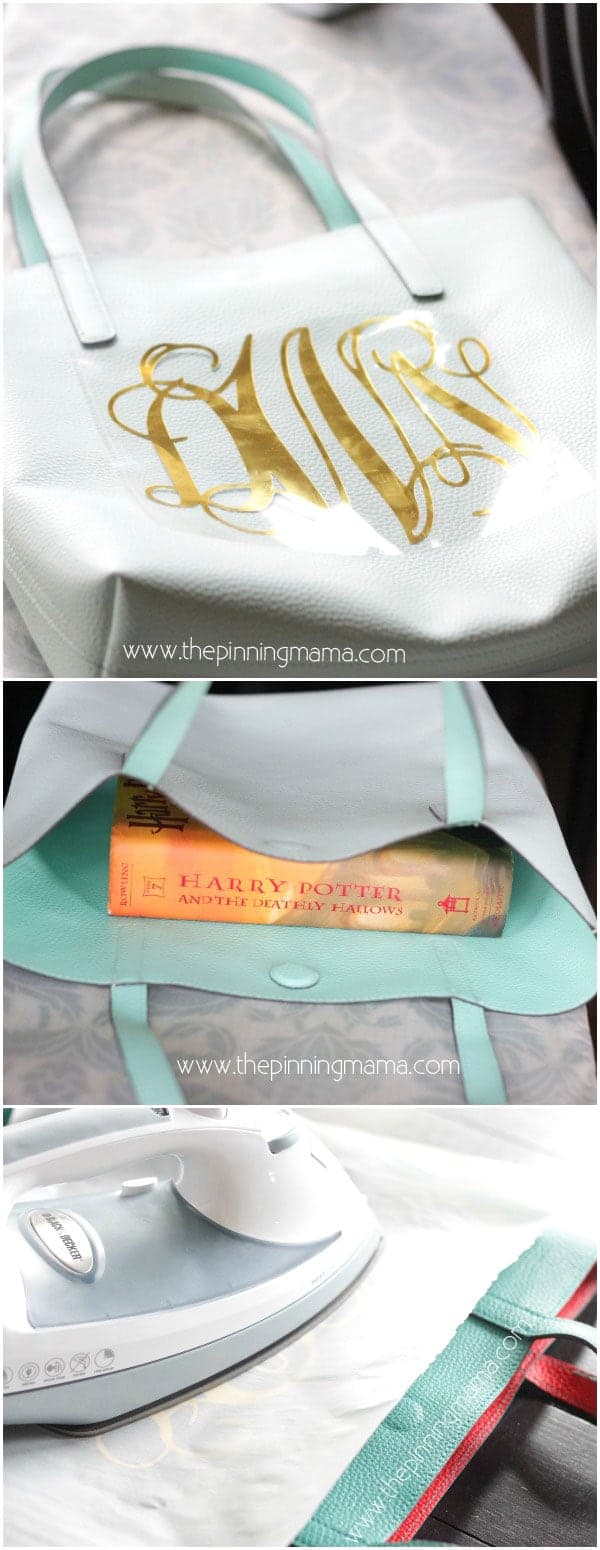
5. Place the design gold side up on the bag where you want it. It is much easier to iron if you keep it under the straps.
6. Heat your iron to medium high with no steam. On my iron which goes up to 6 setting, I found 4 to be perfect. Each iron will differ on heat so when pressing watch for signs of melting. If it starts to melt you will see the colored pleather look darker under the iron increasingly. It will look like this a tiny bit naturally, but if it become more than just the very tips of the leather pattern, let it cool and reduce the iron heat a bit.
5. Find something thick, hard, slightly bigger than your design and non meltable to go inside the bag (I used Harry Potter) and cut the parchment to a few inches larger than the design and your iron.
Place the bag with book inside and design positioned on top on a hard surface, I used my dining table. I do not recommend an ironing board because it has too much give.
6. Place the parchment on top of the design and then press evenly and very firmly down (ie press hard!) slightly moving back and forth for 10 seconds. Move to next spot and repeat until you have pressed each section of the design.
7. Let cool for about 1-2 minutes then slightly peel up to make sure the HTV is stuck to the bag around all of the edges.
If so, continue to peel carefully until backing is removed. Check all edges to make sure they are all adhered tightly. If not recover with parchment and press any problem spots.
If not, replace the backing and parchment and repress, raising the heat if needed.
HELPFUL TIP: I found that if you peeled this HTV hot it did not stick but if you waited until it cooled it then it adhered like a DREAM!
And you are DONE! Simple and stunning. I mentioned above, but I actually made 3 of these in one afternoon because these make really… REALLY good gifts! Those other two went to two of my best friends for a conference we were going to together and don’t tell, but my son’s teacher will definitely be getting one of these for a teacher gift this year. What is better than an easy Silhouette craft anyone can use!?
If you have more questions feel free to leave them below, and make sure to join our Facebook group for more inspiration!



Melissa says
Anyone know if you can use this with a heat press?
Kimber says
I don’t have one, but I know many in our Facebook group have done it!
pam burch says
I may have missed it but where did you get the gold foil? I want to make sure I get the same bc sometimes different brands don’t work as well. Thank you!!
Kimber says
I am sorry my links got all messed up! I just got it figured out and corrected. Here is the link: http://shrsl.com/?~c8cg
Thanks for stopping by!!
Melinda Strange says
I was wondering about the gold foil as well. The link above goes to a site where I can purchase help with a thesis? ha…. Beautiful project!
Kimber says
That’s so strange! I’ll fix it when I get home!
Melinda Strange says
Ahhh, thanks so much!
Kimber says
Just got it all sorted out! Here is the link: http://shrsl.com/?~c8cg
Thanks for letting me know it was messed up!
Melinda Strange says
Thank you Kimber – I have the site info for the gold foil now!
Michelle Fenton says
Hi Kimber, I am anxiously awaiting the delivery my new Cameo 3. I have spent the past week trying to educating myself from what I have been able to find online. I have to tell you, you are the best tutor out there.
Thank you so much for slowing it down for us newbies.
By the way, is that Tote bag seriously vinyl? I can’t believe it didn’t melt.
Looks fantastic.
Kimber says
Thanks so much Michelle! I very vividly remember what its like to be new and still remember questions I had ! Let me know if you have any specific questions!
Jane says
I used the themoflex plus htv and after ironing I see a slight residue where the backing was. Anyone else have this? Used an iron on 4