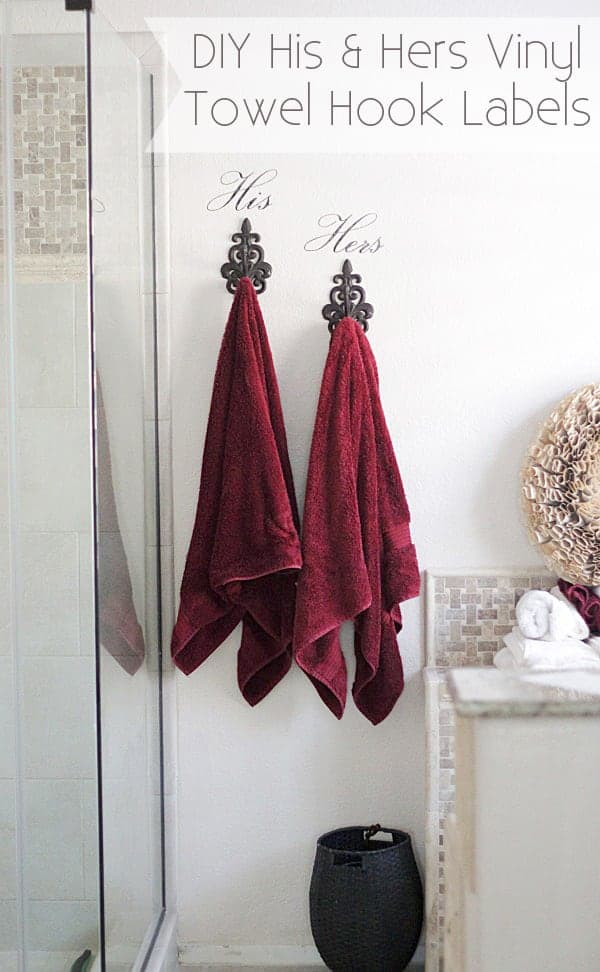
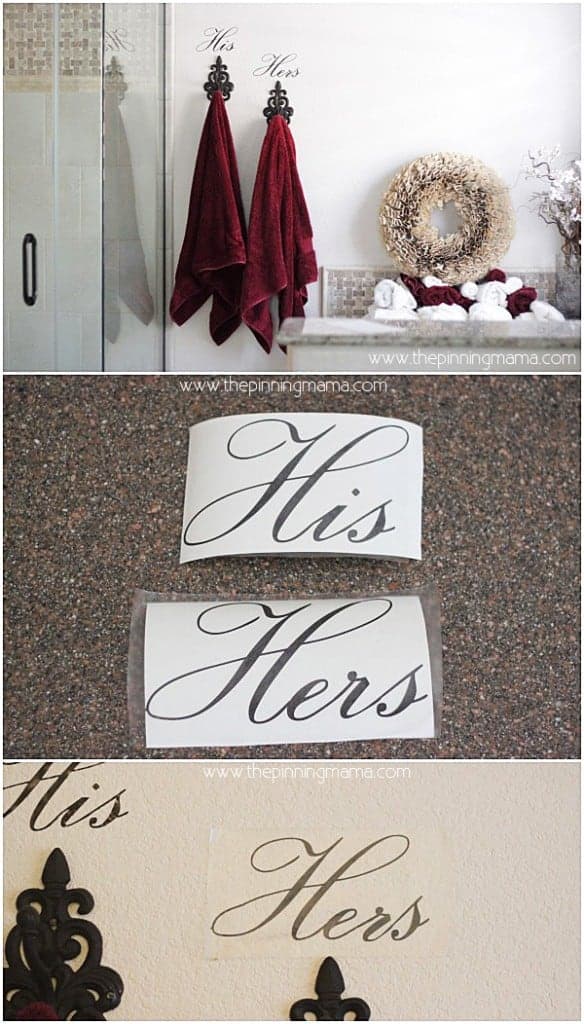
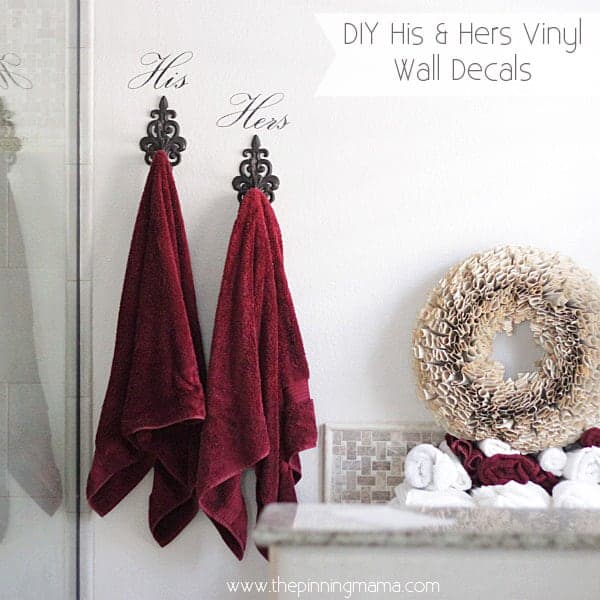
Adding these His & Hers vinyl wall decals over our bathroom towel hooks was a inexpensive, quick, and easy project that added so much character to the space! Scroll to the bottom for Promo details and Discount Coupon Codes for the Silhouette CAMEO and Portrait machine bundles and the Silhouette Designer Edition Software sale!
This post is brought to you as part of the Silhouette Circle Affiliate Program. Affiliate links are provided to help you find the products easily! The creativity and project ideas are all cooked up right here at The Pinning Mama.
We had our bathroom redone last fall after a rather unfortunate incident with the drywall behind the tile caving in. We had the shower completely rebuilt and then retiled the bath tub to match and added a new vanity, refinished the cabinets and framed out the mirror to coordinate with the new color and style of the tile. We have done all most all of the projects up to this point in our home DIY, but with crazy busy schedules and a non functioning shower we decided to bit the bullet and hire out the work this time.
It seemed like it would be so much easier not doing the work ourselves but somehow it never seems to go as smoothly as planned and after an extended timeline, lots of dust, maybe a few tears and lots of dollars spent we ended up with a pretty beautiful shower and bath. However I was done. D-O-N-E. I knew the walls needed painting and it needed some decor but I just needed a little break from the whole space.
Finally this spring I added these His & Hers wall vinyl wall decals to the towel hooks. It was a small step. It was inexpensive, quick, and easy but really made a big difference in the space and bought me some more time to decide what I want to do with the rest of the bathroom.
For the most part it was a straight forward vinyl project, just cut and transfer. However, I can never let things be too easy… I knew if I was going to put vinyl on the wall it needed to look perfect so I decided that the regular black/white/brown was not going to cut it. I really wanted to match the oil rubbed bronze finish that I have throughout the bathroom so I decided to make my own oil rubbed bronze vinyl.
What you need:
- Silhouette Machine
- Black Vinyl
- Transfer Paper
- Silhouette Hook – optional
- Oil Rubbed Bronze Spray Paint
I have painted… well… let’s just say a lot of things throughout our home with Rustoleum’s Oil Rubbed Bronze finish spray paint. You can see how I spray painted my door knobs here, I have also painted light fixtures, cabinet hardware, picture frames, fruit bowls, and well quite a variety of things. So why not just spray my vinyl to match?
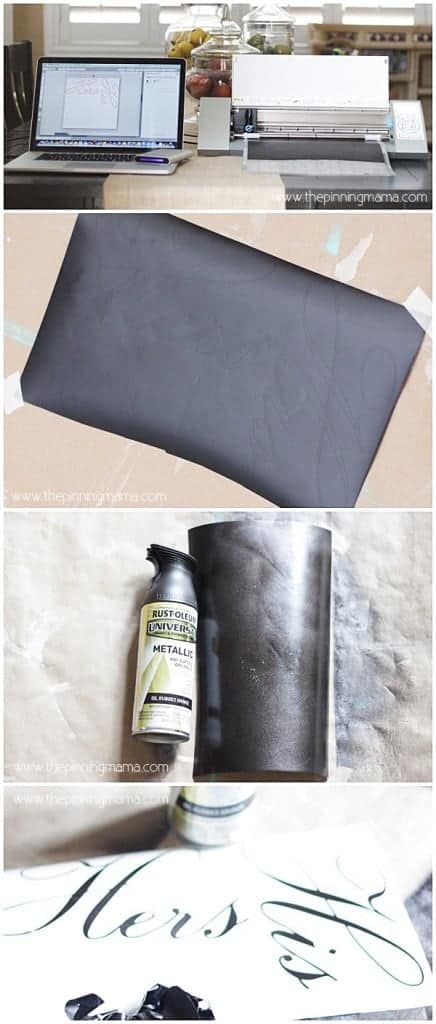
I decided to cut the vinyl first because I didn’t want to deal with any paint flaking off or getting stuck in the blade. It turned out to work really well this way. I designed the text in the Silhouette Studio Designer Edition software and cut the text using black Silhouette brand vinyl using the default vinyl settings. After the vinyl was cut I taped it down to a piece of brown craft paper to keep it from curling on the edges and give me a large surface to spray paint on.
I used the spray paint to do two very thin coats on the vinyl which perfectly covered the surface. Once the paint was dry I weeded the vinyl leaving only the text of the words that I wanted to transfer and cut the two words apart.
Once your vinyl is ready to go, use transfer paper to pick up the text and transfer it to your wall. If your walls are textured like mine, make sure to use a Silhouette scraper to go over the text really well so that it will adhere to all the nooks and crannies in the texture then remove the transfer paper.
That is all there is to making this super cute bathroom decor! A little spray paint, a little vinyl, a few cuts and transfer. Easy peasy!
If you love Silhouette projects and want the latest on sales and coupon codes, make sure to follow The Pinning Mama on Pinterest andFacebook!
Now to get to the good stuff for all my Silhouette fans! {As a side note, if you don’t have a Silhouette Machine yet, what are you waiting for? It is super user friendly and can be used endlessly on projects though out your home, for your kids, and yourself! Even my husband started using it!}
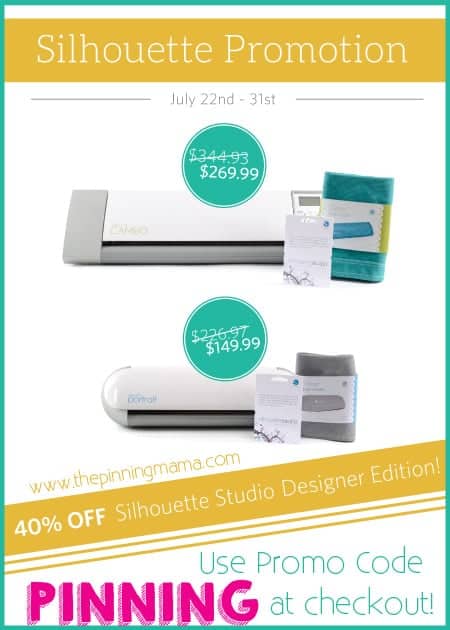
Here are July’s fabulous sale prices for the Silhouette CAMEO and Portrait machine bundles. Also, the Silhouette Studio Designer Edition is 40% off this month! This is one of the most coveted promotions Silhouette runs, so if you don’t have the Designer Edition software yet, this is the month to take the plunge! If you want more details on what you can do with the software and some great free resources, see my popular post on Great Places for Free SVG Files.
Promo is sponsored by Silhouette and runs July 22-31. Use discount code PINNING at checkout to get the sale or promo price!
CAMEO bundle
1 Silhouette CAMEO
1 copy of Silhouette Studio Designer Edition
1 teal CAMEO dust cover
————
Was $344.93
Now only $269.99!
Portrait bundle
1 Silhouette Portrait
1 copy of Silhouette Studio Designer Edition
1 grey Portrait dust cover
————
Was $226.97
Now only: $149.99!
Silhouette Studio Designer Edition: 40% off
Silhouette Studio® Designer Edition contains all the same functionality as Silhouette Studio® plus the following designer features:
- Ability to open, manipulate, and cut .svg files
- Rhinestone tools to convert designs into rhinestone templates and create your own rhinestone designs
- Sketch tools to convert designs into several styles of sketchable art
- Creative knife tools to allow you to clip designs using different patterns
- Enhanced eraser set to modify designs with more precision
- Built-in ruler and guide lines for precise alignment and drawing
- Layers support (including ability to cut by layer)
- PDF import
- Nesting feature to allow you to arrange cuts as efficiently as possible—a scrapper’s dream!
- Shadow tool—allows you to add a drop shadow to printable designs


Seana Turner says
Very cute. They came out so well! I understand that wanting to be “done” feeling… after we renovated our house I did what “had” to be done and then lost steam. There are a still a few spaces that needs some decorating help years later…
Layne says
This turned out great! I love it!
Kimber says
Thank you so much! It is a fun little personal touch. I appreciate you reading and leaving comments!
Debbie Gauthier says
Would love to know where you found the fleur-de-lis hooks!
Kimber says
I got them at the hook section at Hobby Lobby. It was a while ago but they tend to carry the classics for a long time so it is worth a visit if you are near one! Thanks for stopping by!