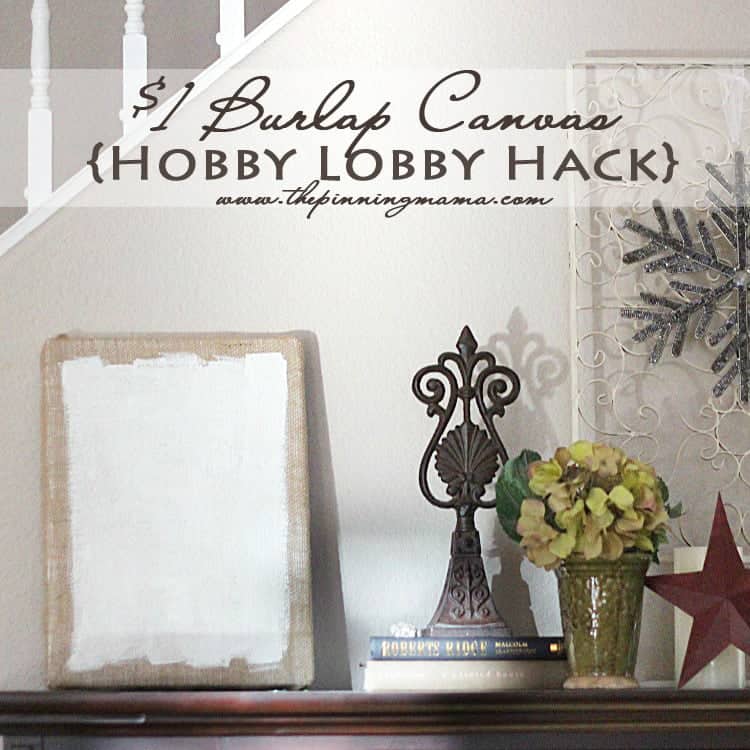
It always happens this way… I was just running to Hobby Lobby for one thing. But then I decided to just take a look over here, and swing by that section over there and before I knew it there were about 20 new things I was arguing with myself about purchasing. One that didn’t make the cut was a burlap canvas with a white washed front. It wasn’t because I didn’t love it, because I did. I just knew that I could make it both on the quick and on the cheap. So no need to buy a $20 burlap canvas when I could make a $1 Hobby Lobby hack!
I went through several ideas in my head on how exactly I wanted to do this. I finally decided to go with a super thrifty way to make this little copycat. All you will need to recreate your own burlap canvas is:
- a cardboard box – FREE at Costco!
- Scissors
- 1/4-1/2 yard burlap (depending on your box size) – I like to get my burlap at burlapfabric.com because they have fabulous prices!
- white printer paper
- elmer’s glue
- hot glue gun w glue sticks
- white paint and paint brush – I used old touch up paint from the house, but you could use regular acrylic too.
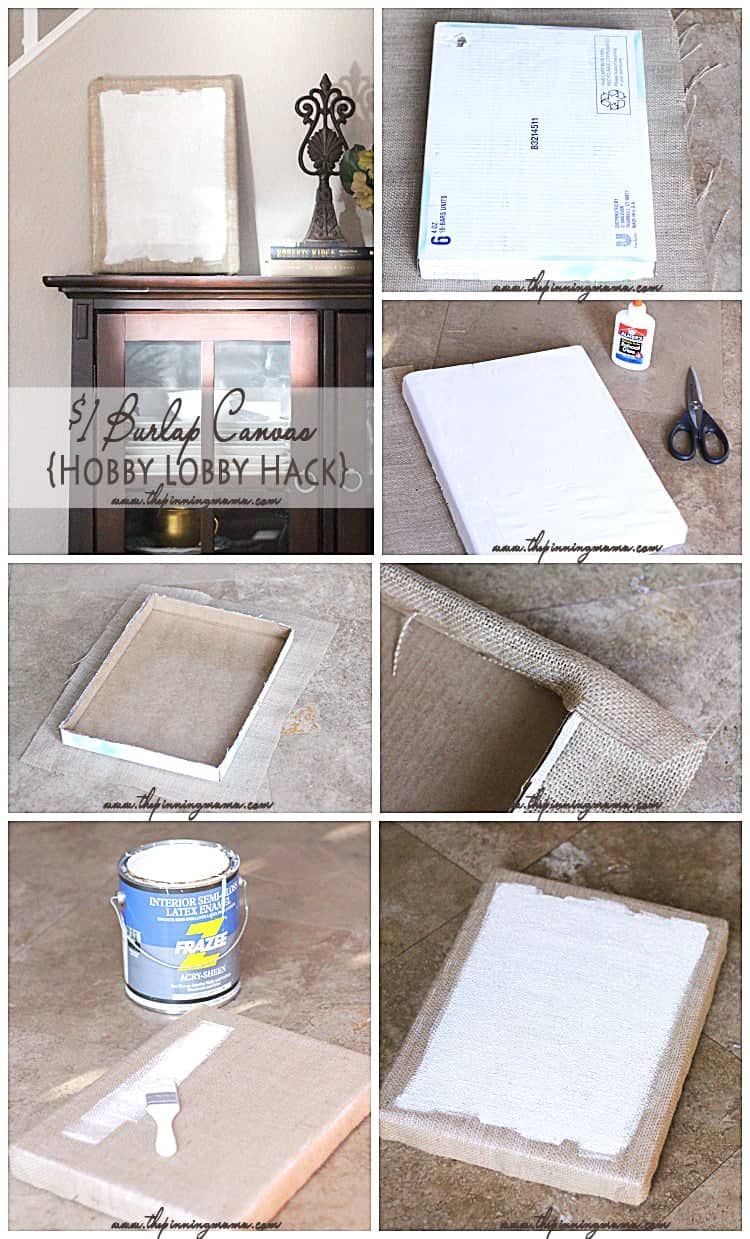
First cut your box down to where the sides are only about 1″ deep. You can use a ruler and make marks to be exact or just eyeball it like I did.
Then if your box has writing or colors on it, use the computer paper to cover it by gluing the pages down with elmer’s glue and then trimming the excess off. Since the burlap tends to have a pretty large weave this will prevent the colors from showing through.
Next cut your burlap. You will want to measure the face of the box plus both of the sides width and length wise. Then add about 1-1.5 inch to have enough to wrap around.
Use hot glue on the inside of the side of the box to attach the burlap. Make sure to pull the burlap very tight as you glue to make the burlap across the surface as smooth as possible. I recommend first gluing both sides across the width of the box and then folding the corners as if you were wrapping a gift and gluing both sides length-wise.
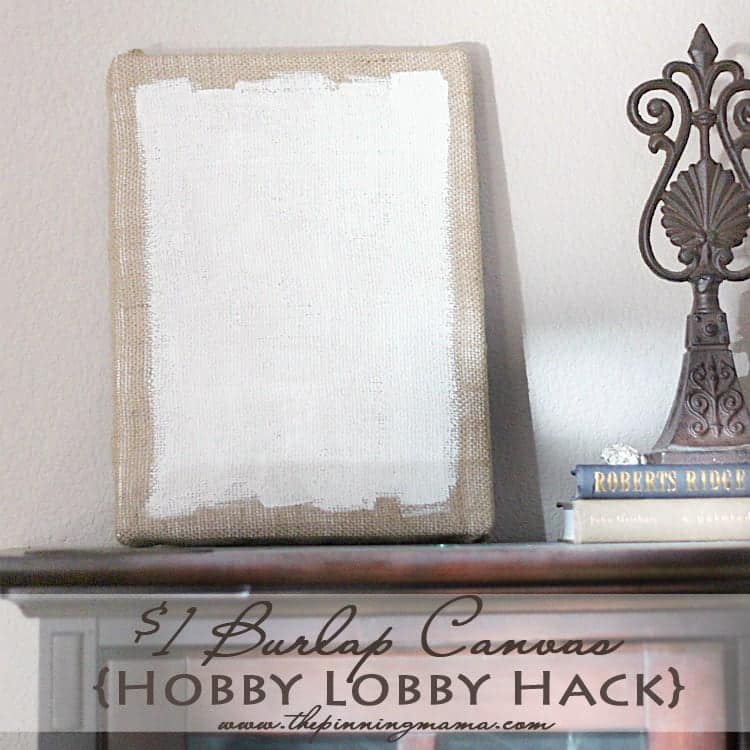
Once you are finished attaching the burlap, use white paint to cover the face of the canvas to your liking. I left about 3/4-1 in border of burlap around the edges and left a more jagged edge to make it look more on the rustic. I had to apply the paint very thick to get it to cover well. You can go over it several times if it makes it easier.
Let it dry and you are ready to go!
This project is super easy but also super thrifty as promised. Our box was free and are readily available for free pretty much everywhere. At burlapfabric.com you can get burlap for a little over $1 a yard, I used less than 1/4 of a yard for my canvas which is a little over $0.25 of fabric. Then add in your paint, mine was free left overs, but if you had to buy it you could get acrylic paint for around $0.69 at many hobby and craft stores. Even if you add in the cost of your glue stick, you are still under a buck! Not to shabby!
I am love my burlap canvas and have already used it for a project. Tune in tomorrow to see what I made!
Make sure to follow us on Facebook to keep up with all of our most recent creations. Like these below:


Michelle says
Can’t wait to see what you made!
Kimber says
Thanks Michelle! It was fun to make!
Jen says
What a great project!! Love your idea!
Kimber says
Thanks Jen! Hobby lobby has some great stuff. It makes me want to do lots of projects haha!
Leanne says
It loos great my friend! Can’t wait to see tomorrows post.
Kimber says
Thanks Leanne! You are too sweet!
Susan says
sign me up for your newsletter please!