This post contains affiliate links. For more information please see our disclosure policy.
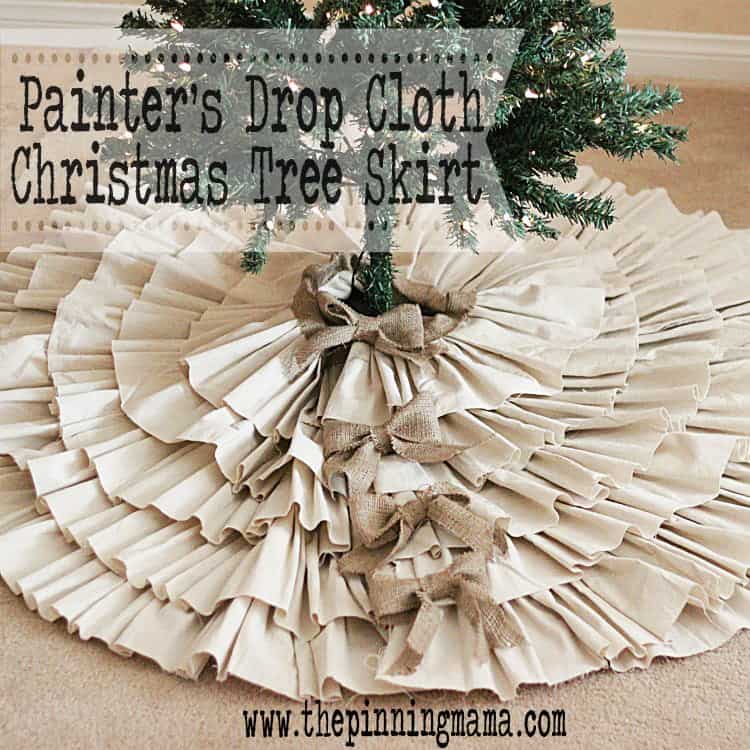
Last week I shared with you this fabulously ruffled Christmas tree skirt which had some perfect little burlap bows on it, so this week I am continuing with how to make them to finish off your tree skirt. They are quick, easy and best of all… NO SEW! So grab your glue gun and lets get going.
What you will need for this project:
2 yards 2 inch burlap ribbon- I was sent this burlap ribbon by burlapfabric.com (my favorite place to by burlap) by request
Glue gun & glue sticks
Fray Check– optional
First you will cut your ribbon into 3 pieces. I used a 14″ piece for the loops, a 12″ piece for the tails and a 4″ piece cut in half length-wise to make a 1″ width. I found these sizes to be proportional for the ribbon width and perfect for accenting the tree skirt but you can adjust as needed.
Next use your glue gun to glue the two sides of the 14″ piece as shown in the picture above to make a loop. Do the same with the 4″ piece {or see below for an alternate option}
Now fold your 12″ piece in half length-wise so that you can cut the ribbon style edges. Once it is folded in half use your scissors to cut from about 1.5″ up the folded side at an angle back down to the corner of the other side as pictured. This will give you a perfect V cut ribbon.
After all of your pieces are prepped, you will want to take your loop piece and position the seam at the center of the loop. You will then pinch the middle together with your fingers and then add the ribbon piece to the bottom and hold in your pinch.
Now is the trickiest part. You will basically roll up the end of one side of your bow and tail together as tightly as possible and use your free hand to slide the small burlap loop over the bow until it is positioned to hold the bow together in the middle where you are pinching.
Alternately, you can not glue the loop together beforehand and just wrap the loop around where you are pinching and glue to finish.
Each method has it’s own challenges, but I got the best result with the glue and then slide technique. The downside making the bow this way is that if the edges of your burlap are unfinished you can fray them a bit. You can use the optional fray check above to apply to your burlap to help this after you first cut your pieces if desired.
There you have it. Perfect little burlap bows, made in just a few minutes. They are pretty perfect to decorate for the holidays or anytime! Remember to follow us on Facebook or Pinterest to keep up with all of our crafty little tutorials!


Jen says
Love your beautiful bows and tree skirt! They look gorgeous.
Kimber says
Thanks so much Jen!