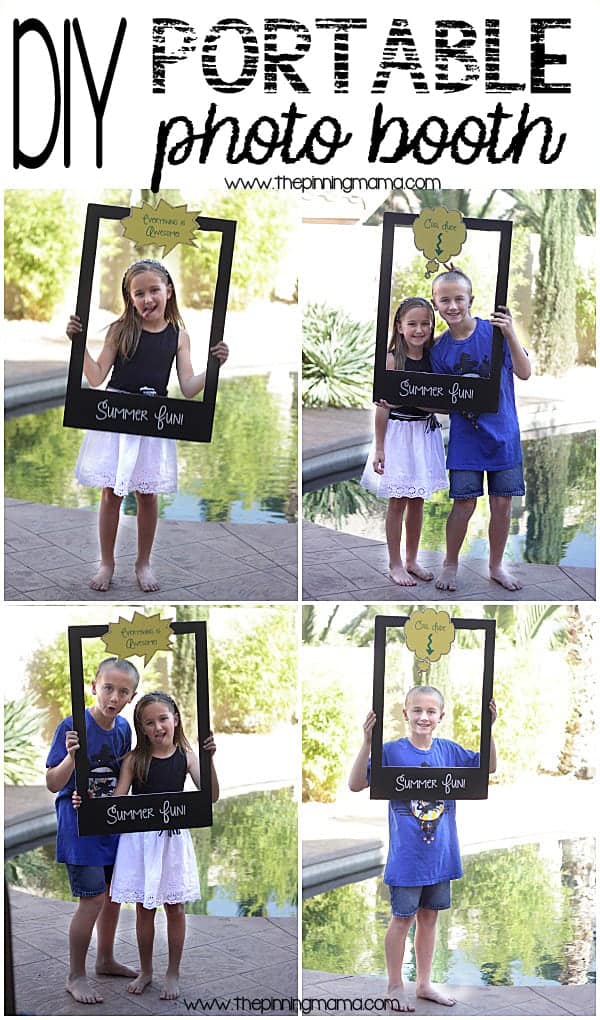
This DIY portable photo booth is perfect for any where you are having fun! From end of school classroom parties to summer hang outs by the pool! Capture memories with this easy DIY!
This post is sponsored by Elmer’s. I was provided materials and asked to be creative! All project ideas and instructions are just from me!
With school winding down and summer ramping up we are all ready for some fun around here. I think we aren’t alone because the party circuit is in full swing. Everything from end of year parties in the classroom to celebrate the last days of school, to pool parties with friends to welcome the warm weather and our newly found freedom. With all of these memory making opportunities I wanted to make sure we were ready to capture them this summer so we made a DIY portable photo booth. This little guy is perfect to tote around to any party and promises hours of laughs and silly faces while the kids have fun posing behind it while all of the memory collecting moms snap away!
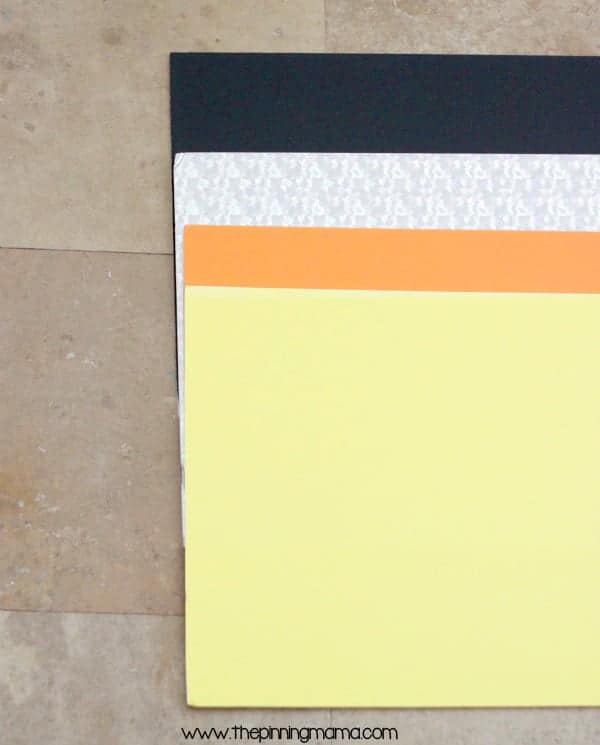
To make your own DIY Portable Photo Booth, you will need:
- At least 2 colors of Elmer’s Foam Board
- Pencil
- Craft knife
- Self Adhesive Velcro
Optional for embellishments
This project is easy, affordable, AND the kids will love coming up with fun slogans to add to the speech bubbles. I loved using the Elmer’s foam board for this project because it is the perfect combination of affordable and sturdy enough to hold up with the kids and even live to see the next party, plus, they offer TONS of color options!
I used the chalkboard finish board, a yellow board and a hologram board to make my photo booth, but there are endless color and finish options available including a pretty dreamy cork and blinging gold and silver!
For the first step you will want to trace the designs for your cuts onto the foam board. I traced a 1 3/4″ boarder on three sides of the chalk foam board and then left about a 4 inch border along the bottom to give the board a Polaroid look once cut. You can cut as many speech bubbles out of as many different colors as you want. I printed the design from my word processing program and then cut and traced the designs onto my foam board with pencil.
Next use your craft knife to cut your designs. I found it easiest to score around the design breaking through the top layer of the foam board and then go back around the design cutting all the way through a second time. This gave me better control and ended in a cleaner cut. Make sure you have a cutting mat or something under your project so you don’t cut into the floor. Take it from my personal experience haha!
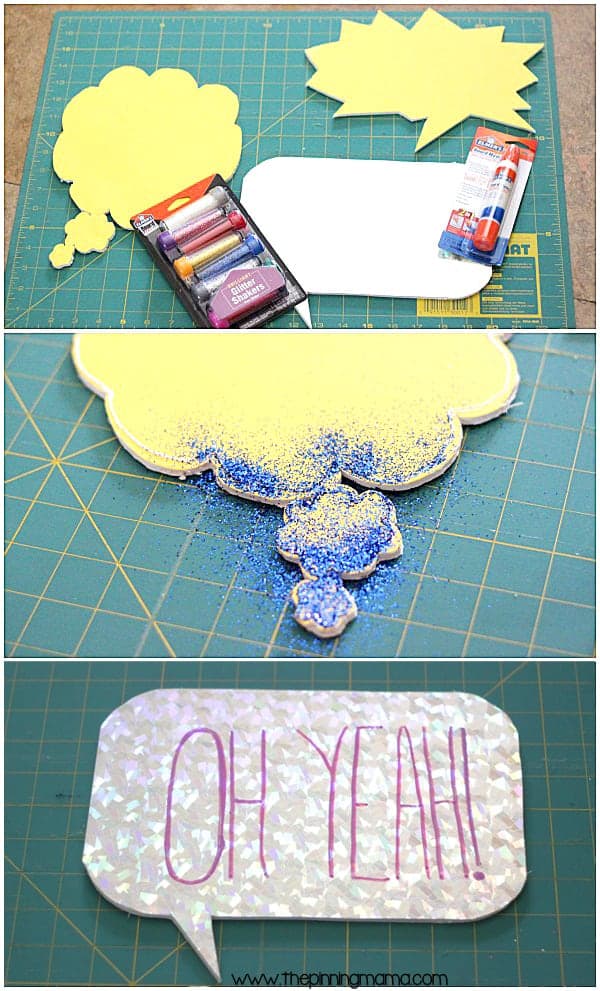
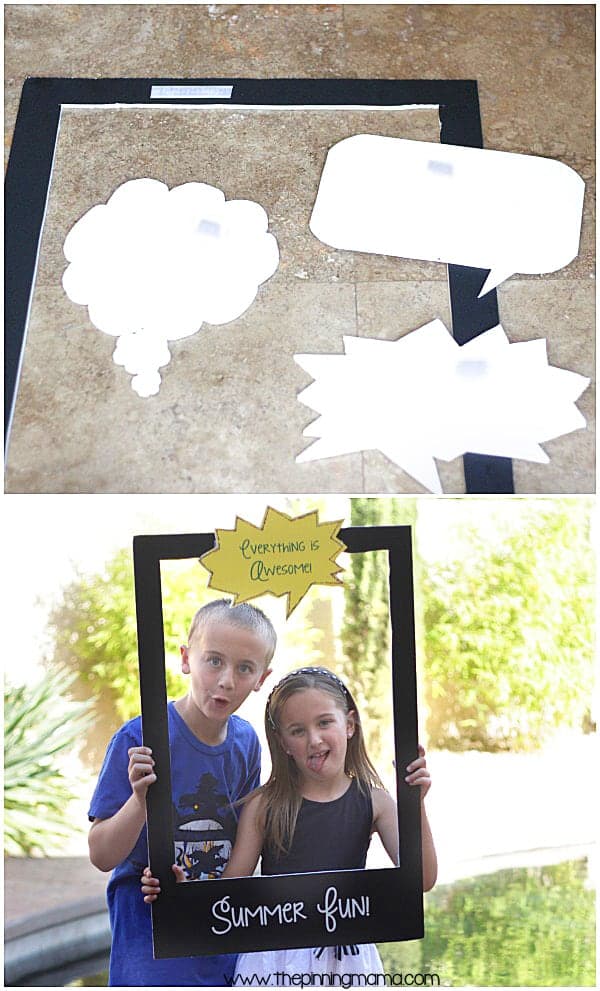
Once your designs are cut it is super simple to add whatever words and phrases you want to your photo booth. I put summer fun on the photo booth and then made three speech bubbles. The kids helped my come up with “Everything is awesome!” “Oh Yeah!” and “Cool Dude ->” for the signs. We had some good laughs deciding what it would be. I think it would be even more fun for older kids to have a bunch of blank signs and be able to write their own messages for the pictures!
For a last detail I added a glitter outline to the yellow speech bubbles to give it a little extra something. I used the skinny side of the Elmer’s Dual Tip Glue Pen to trace the outline of the bubble and then used the Glitter Shakers to add a little color and sparkle. Let them dry for a bit in the summer sun and you are good to go!
Cut self adhesive velcro in 1-2″ strips and add one of the back pieces to the top of the photo booth foam board. Then use the top part of the velcro on the back of each of the speech bubbles. Your photo booth is ready to go!
We have already had so much fun with our photo booth but the best part is that we will be bringing it along all summer long! It might even make an appearance at a certain little girl’s birthday party coming up!
Want more kid friendly fun and quick and easy tutorials? Follow us on Pinterest!
We also have some amazing freebies only for our Facebook fans! Like us on Facebook to get exclusive access.
We love to share fun tutorials with you. If you use it we just ask that you pin this to Pinterest, share it on Facebook, or leave us a comment! Those things help keep our website going! You can use the sharing tool bar at the top and bottom of the post to share or the Pin it! button on any image. Thank You! You can see all of our many freebies here!
Also, check out these posts you may just love!
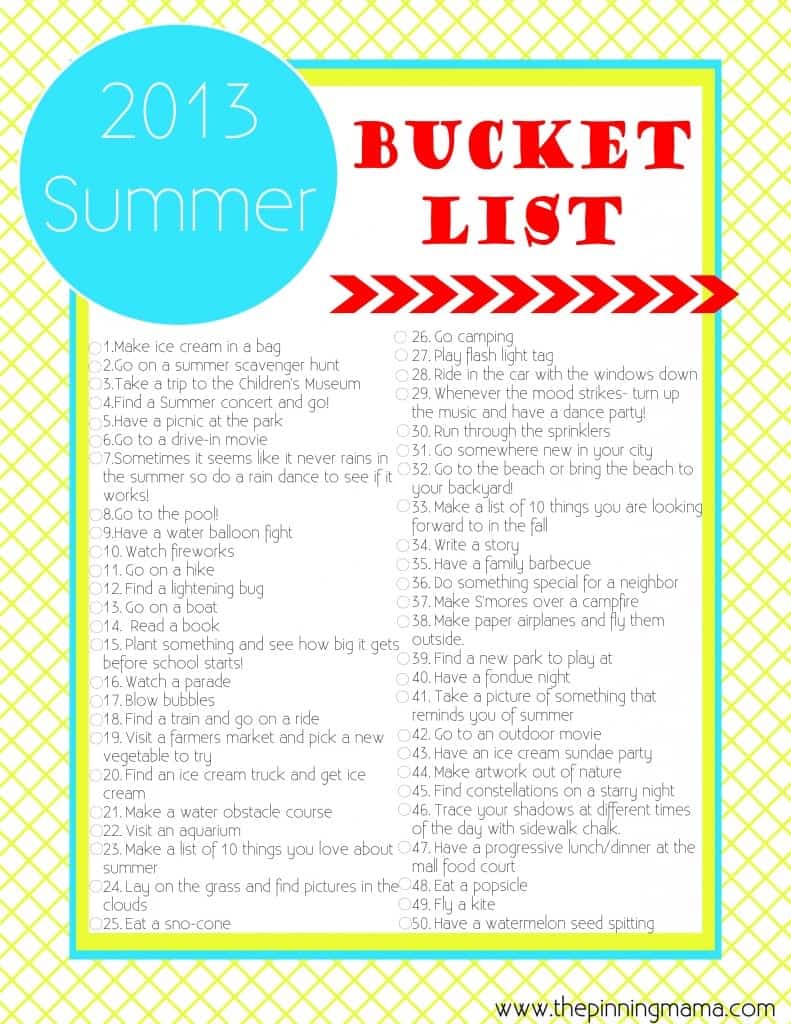
Summer Bucket List – Free Printable Check List
Free Printable Last Day of School Sign
2014 Summer Bucket List – 50 ideas for kids w Free Printable checklist!
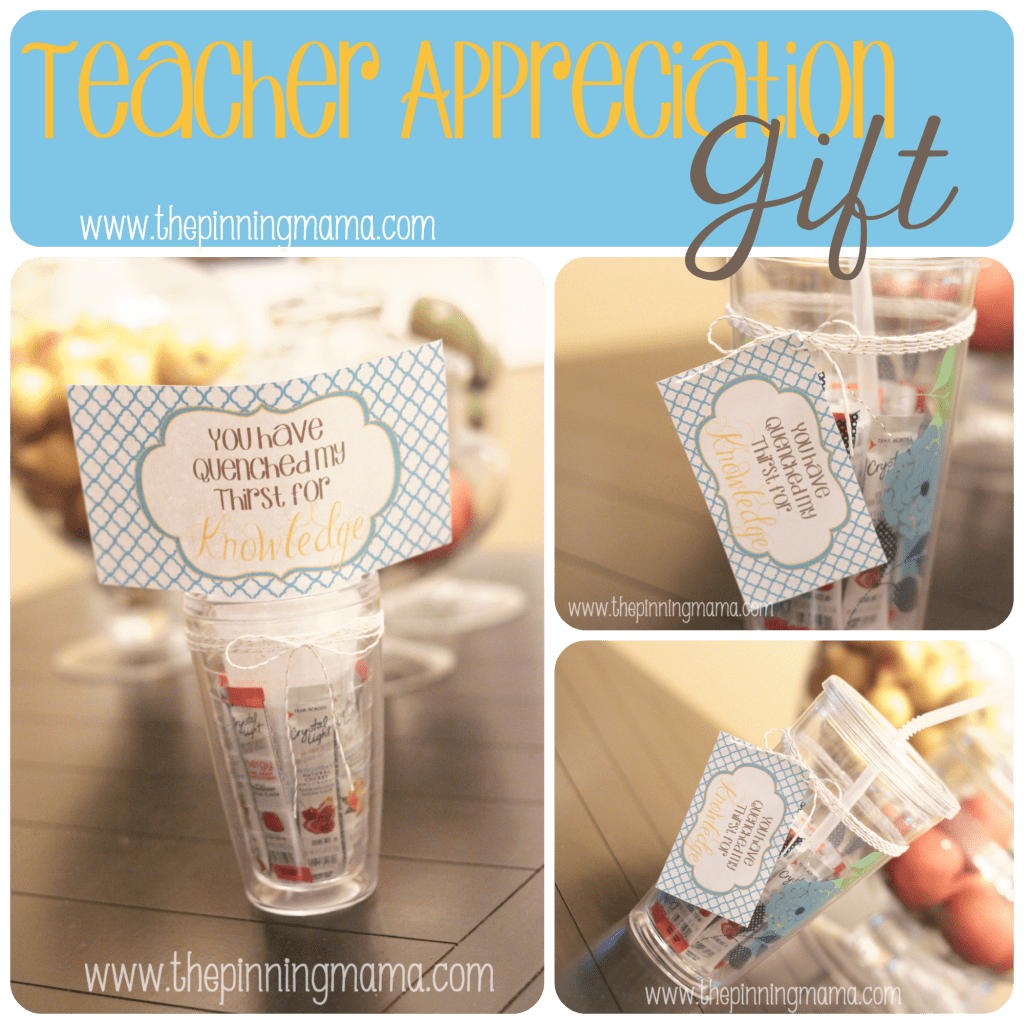
You Have Quenched My Thirst for Knowledge – Teacher Appreciation Gift
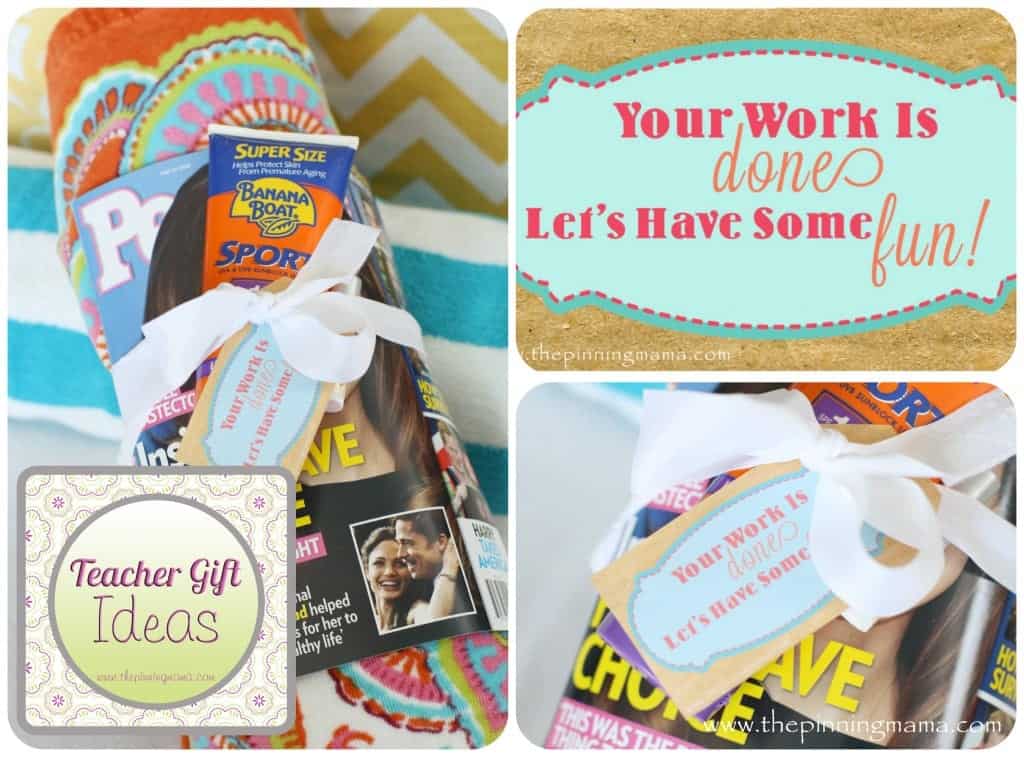
Your Work is Done, Let’s Have Some Fun! Teacher Appreciation Gift



Alexis @ Persia Lou says
This is such a fun idea! I love the velcro word bubbles. Genius! If you had a minute to come by and link up at The Makers link party, I would love it. 🙂