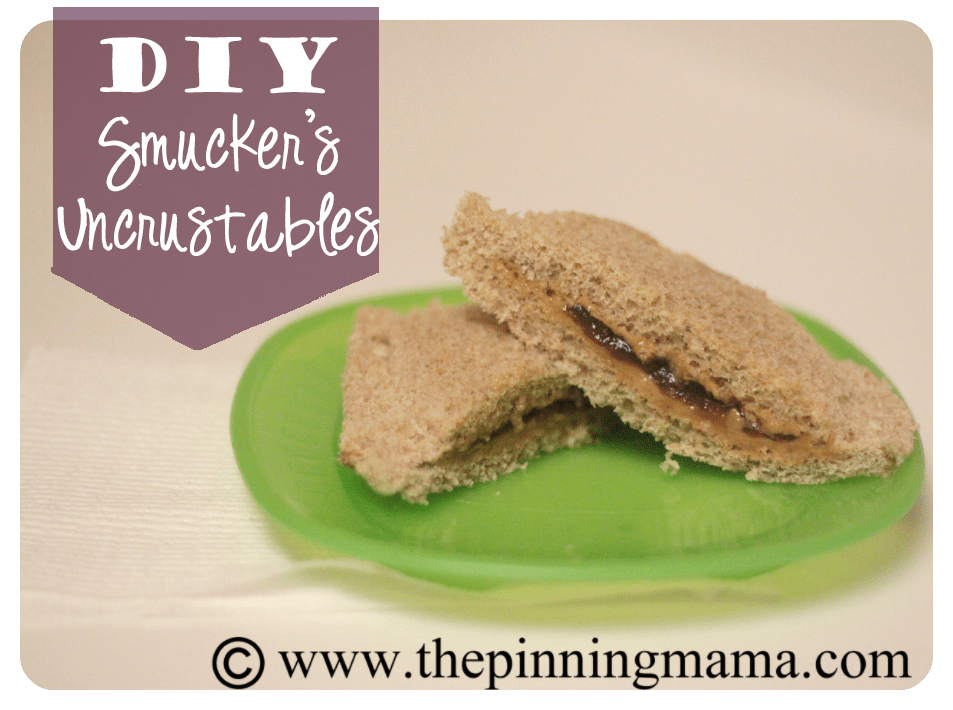
I have been really into freezer cooking ever since having baby #2. I am all about things that make my life as Mom easier. Enter Smucker’s Uncrustables, the ready-to-go PB&J waiting for you right inside your freezer door. Smucker’s Uncrustable’s are great for making life easy and there is no doubt that kids love them but here is my hang ups:
1. I have a hard time buying something so simple to make
2. I like to have control over the ingredients I put in my children’s food
3. I am just kinda cheap, and I hate to spend $13 on a box of them at Costco!
The thought of freezing PB&J’s has crossed my mind many times but I never attempted it because my little guy wouldn’t even touch one that was a few hours old and the jelly has started to absorb into the bread. Upon a little reverse engineering (read cutting in half) a Smucker’s Uncrustable I learned the trade secret of these sandwiches is applying the peanut butter to both sides of the bread. So simple yet so genius! So with that epiphany I set out renewed to add the PB&J to my freezer cooking list and I cannot tell you how amazing it is to be running out the door and just reach in a grab a wholesome lunch or snack.
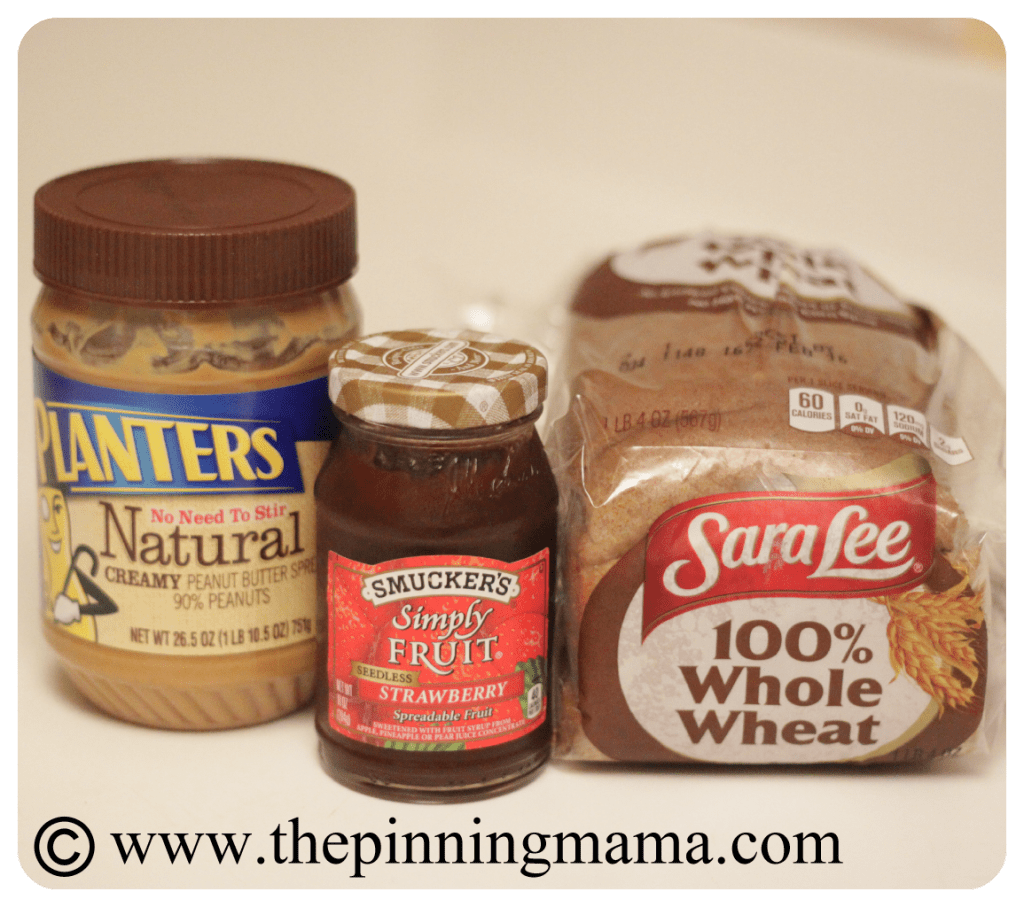
Like I said before, I do like to watch the things I feed my kids. Although, we eat all sorts of things that would make a Paleo dieter cringe, we do try to instill healthy habits with the kids. I use 100% whole wheat bread. Growing up, I only liked white, but I think that’s because I was never exposed to wheat. I try to only give my kids wheat when I am making their food so that they love it and shhhh… so far it’s working. Also, by making these myself I am able to use natural peanut butter (you could substitute almond butter for any peanut allergies!) as well as fruit only jelly. If we are eating PB&J, this just makes it seem much more wholesome 🙂
Even though it is just a peanut butter and jelly sandwich, I did experiment with it and find a few tips and tricks that should help you make your sandwich a success!
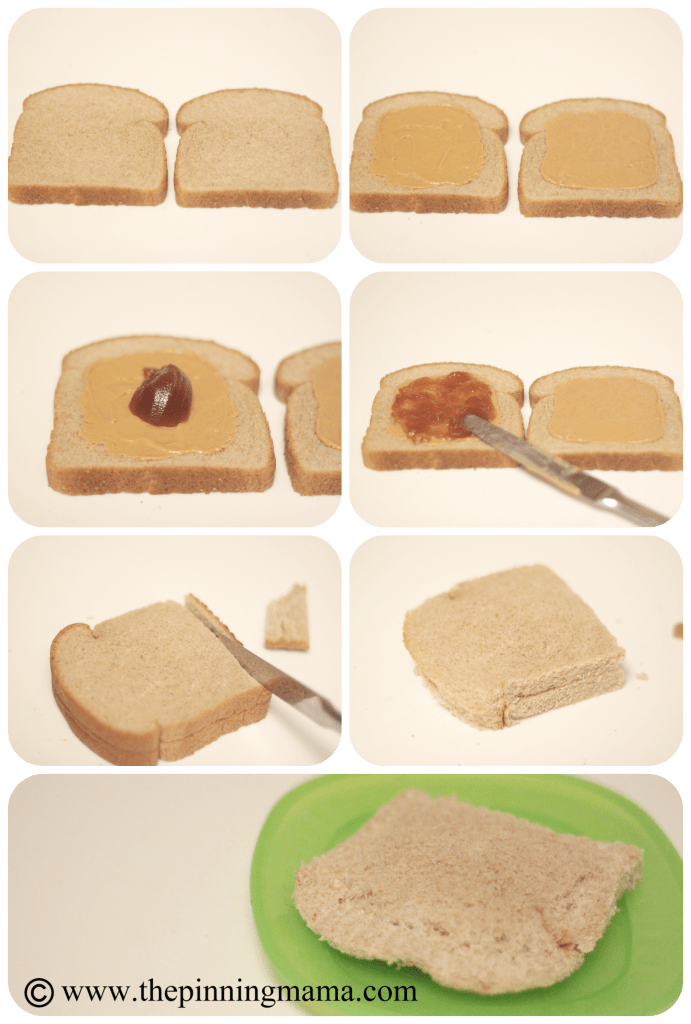
1. Spread peanut butter on the top side of both slices of your bread. IMPORTANT: You only want to spread it in the middle of the bread, leaving about a half-inch border of bread around the edges. This will enable you to crimp the edges of the bread closed with out jelly seeping through.
2. Next add the jelly spreading it on top of the peanut butter on one slice.
3. Close your sandwich up and cut the crusts off as closely as you can to the crust.
4. To finish use a fork to go around the edges crimping the bread down. Flip the sandwich over and repeat on the bottom side. NOTE: The fresher the bread the more easily the crimping will work. Older bread will sometimes crack instead of crimping.
5. Put your sandwich into a ziplock and pop it in the freezer. NOTE: Do not precut the sandwich into slices. The jelly will leak out and make a big ol’ mess!
Finally grab and go when you are on the run!
If you want to get really fancy with it you could get the Pampered Chef Cut N Seal which pretty much makes the sandwich look neat tidy and pretty much exactly like an uncrustable. I just stuck with the fork method which worked just fine!
One of the best parts of this project was the cost savings. Here is how it breaks down:
Peanut Butter: $3.89 used 1/3 jar
Jelly: $2.49 used 1/3 jar
Bread $2.49 used whole loaf
Total cost: $0.46 per sandwich compared to $0.72 at Costco! And that wasn’t even shopping sales or store brands so the cost could probably go down to even half of the store price, with the added bonus of getting control over the ingredients used! In all honesty, I don’t do this primarily for the cost savings but it definitely adds to the awesomeness of it!
Make sure to check out our other posts on Healthy Kids Snacks.


Tracy says
Okay! I’m going to try this!!
Kimber says
You totally should. I had a PB&J assembly line going and just made a whole loaf of them. That way I can grab on the way to the park or if we are going out for lunch to a place I know Micah doesn’t love the food I can grab one and save myself $5 by not having to buy a kids meal! He gobbles them up too!
Jessi says
When I was younger my Mom had a tool from pampered Chef that cut the crust off and sealed the edges of the sandwich. It would up the cost a bit, but save you some work.
(I never had white sandwich bread as a child and I still really dislike it. Wheat was what I knew.)
Kimber says
I think I have tried to reply to your comment 3 times, so I am sorry it has taken so long!
Yes! That tool is awesome! I actually have a link to it towards the bottom of the post. I am trying to steer clear of all the crazy extra kitchen gadgets though so I am sticking with a fork for now.
Melissa says
I feel so stupid! I buy these once in a while at Costco for the convenience of having them to grab on the way out or throw in the big kids’ lunches when I don’t want to “make lunches” for school. NEVER THOUGHT to do it myself! And, I use the same jelly as you and same type but difft brand of PB. Duh! Gonna set up an assembly-line soon and crank those sandwiches out!!! Thanks!!!
Kimber says
I thought it was kind of a “duh” post, but because I had never thought of it before I thought I would share anyway. I am glad I am not the only one who thinks this is pure genius!
Angie says
I also grew up on wheat bread. I’m 21 years old and as a kid I always wished my parents bought white instead of wheat because all my friends at white bread…but I’m glad that wheat was all I knew. In college I learned what white bread really was and ick…glad I was raised to love wheat bread.