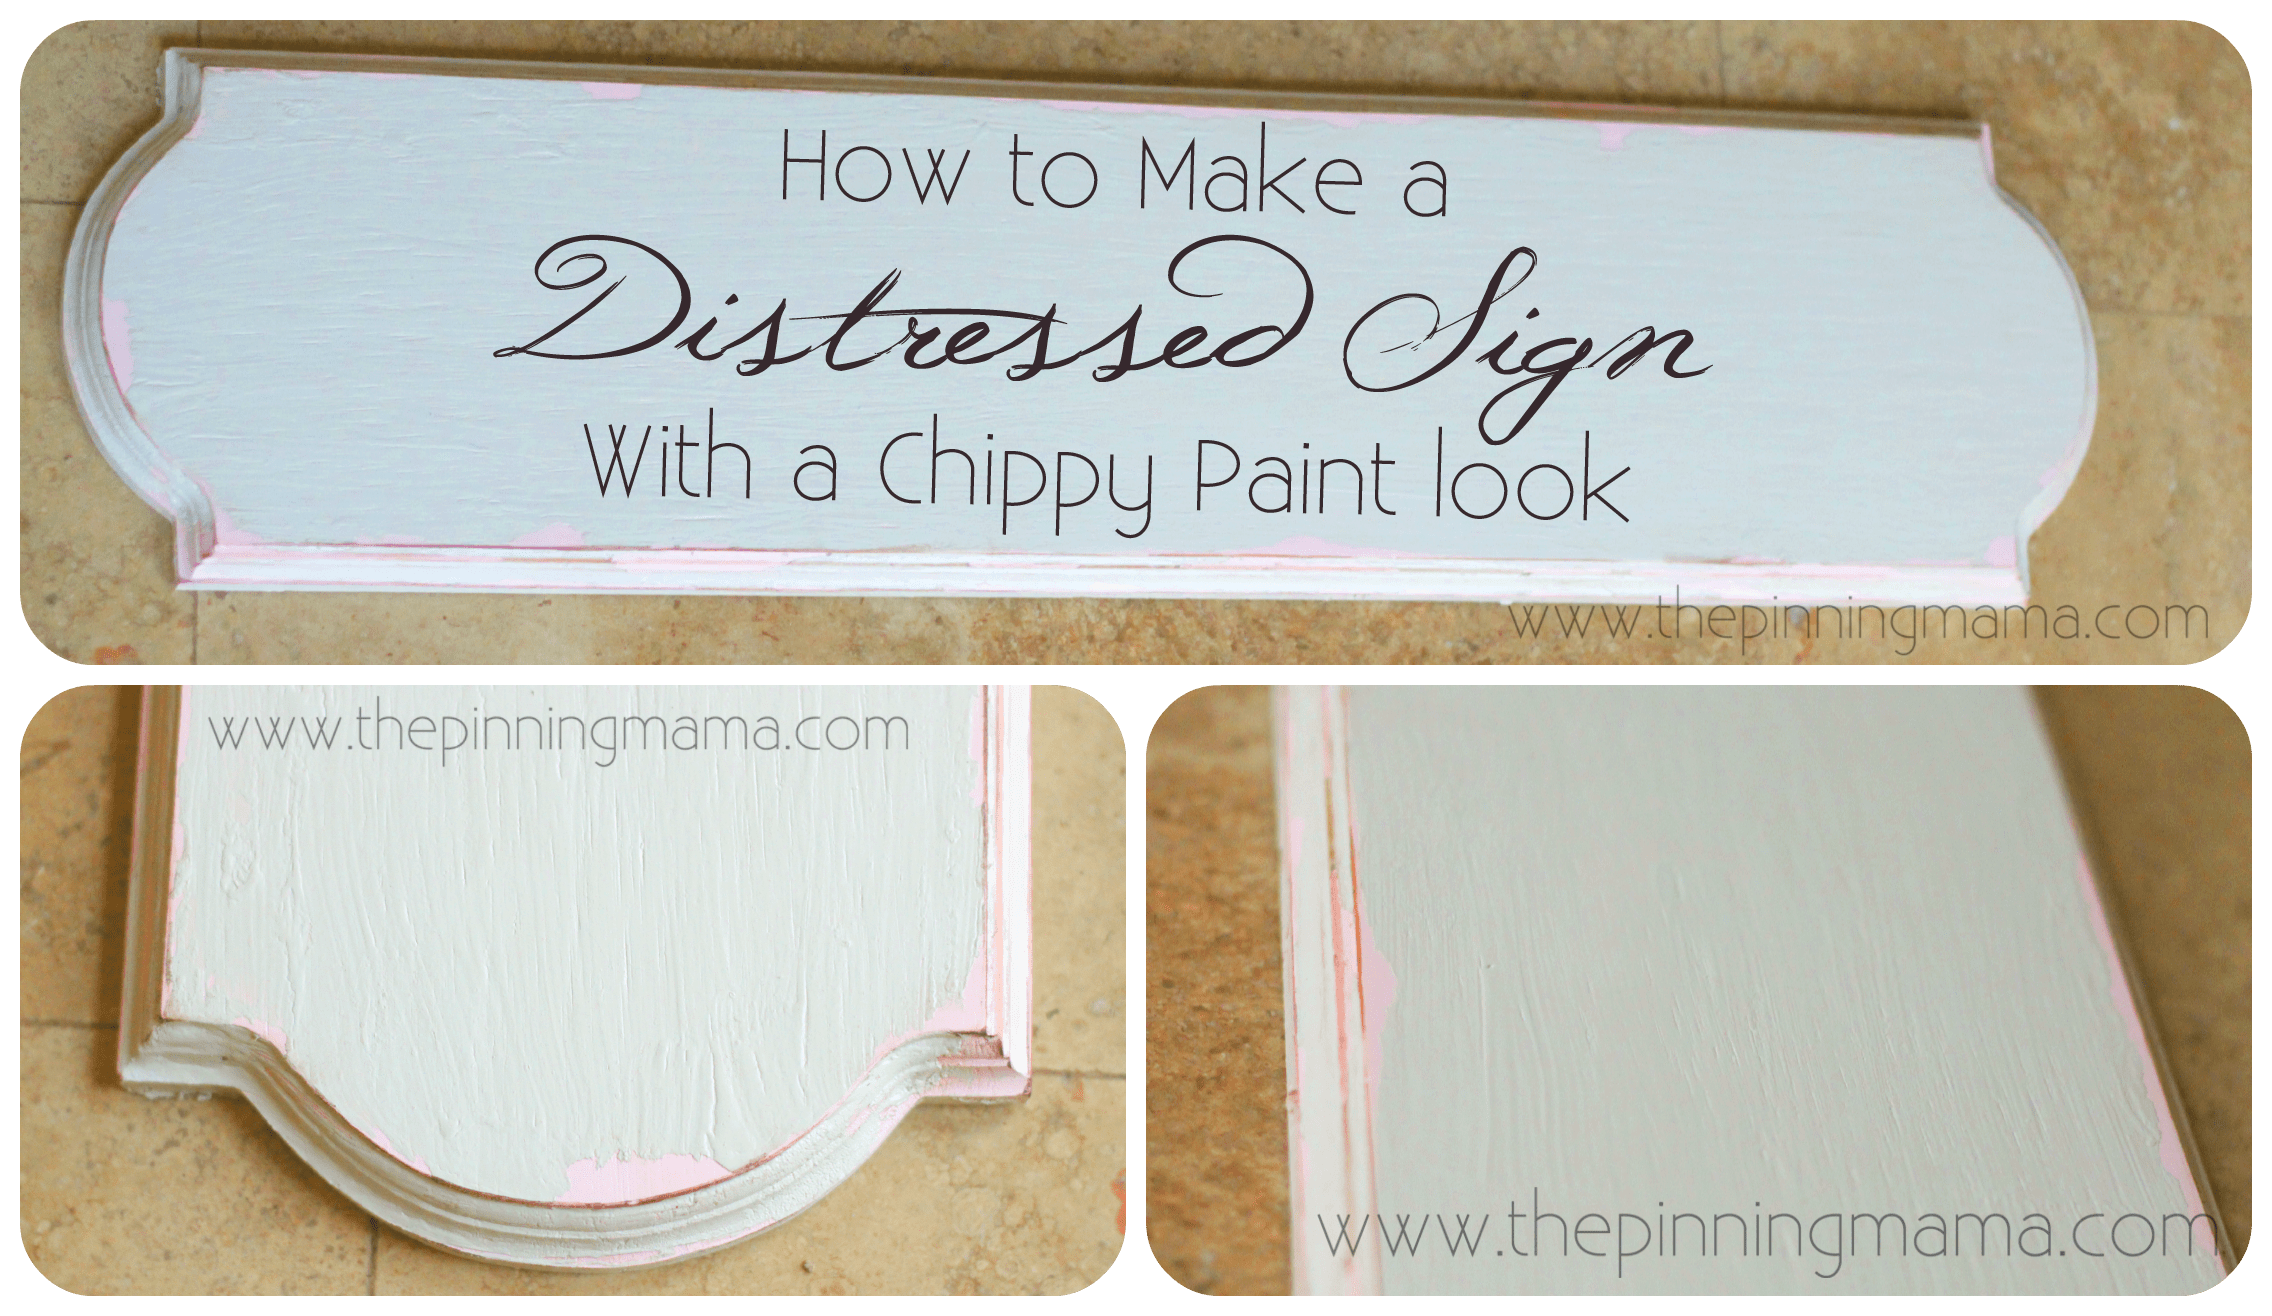
Because of the overwhelming amount of bows my baby girl has accumulated, I decided it was time to make a bow organizer. I knew I wanted a very shabby chic look and so I decided to go with a distressed sign with some hanging ribbons to organize the bows. Over the past year and past few projects, I have been experimenting with a few different techniques on making distressed and vintage looking signs, but one thing I hadn’t yet done, but wanted to do was use vaseline as a method for getting a very certain vintage chippy paint look.
I have followed Sweet Pickins for a long time… since before she was even Sweet Pickins! I love all of the furniture she revives and giving a new life. Her work is amazing and she has really inspired a lot of what I have done in my home. This pin shows how to achieve the chippy paint look with vaseline. The first time I read about the vaseline technique was on her blog and I finally decided it would be perfect to try on this project! The look is so particular and I wanted to get it right. It is really a very highly distressed look and I was wondering if I would be able to pull it off!
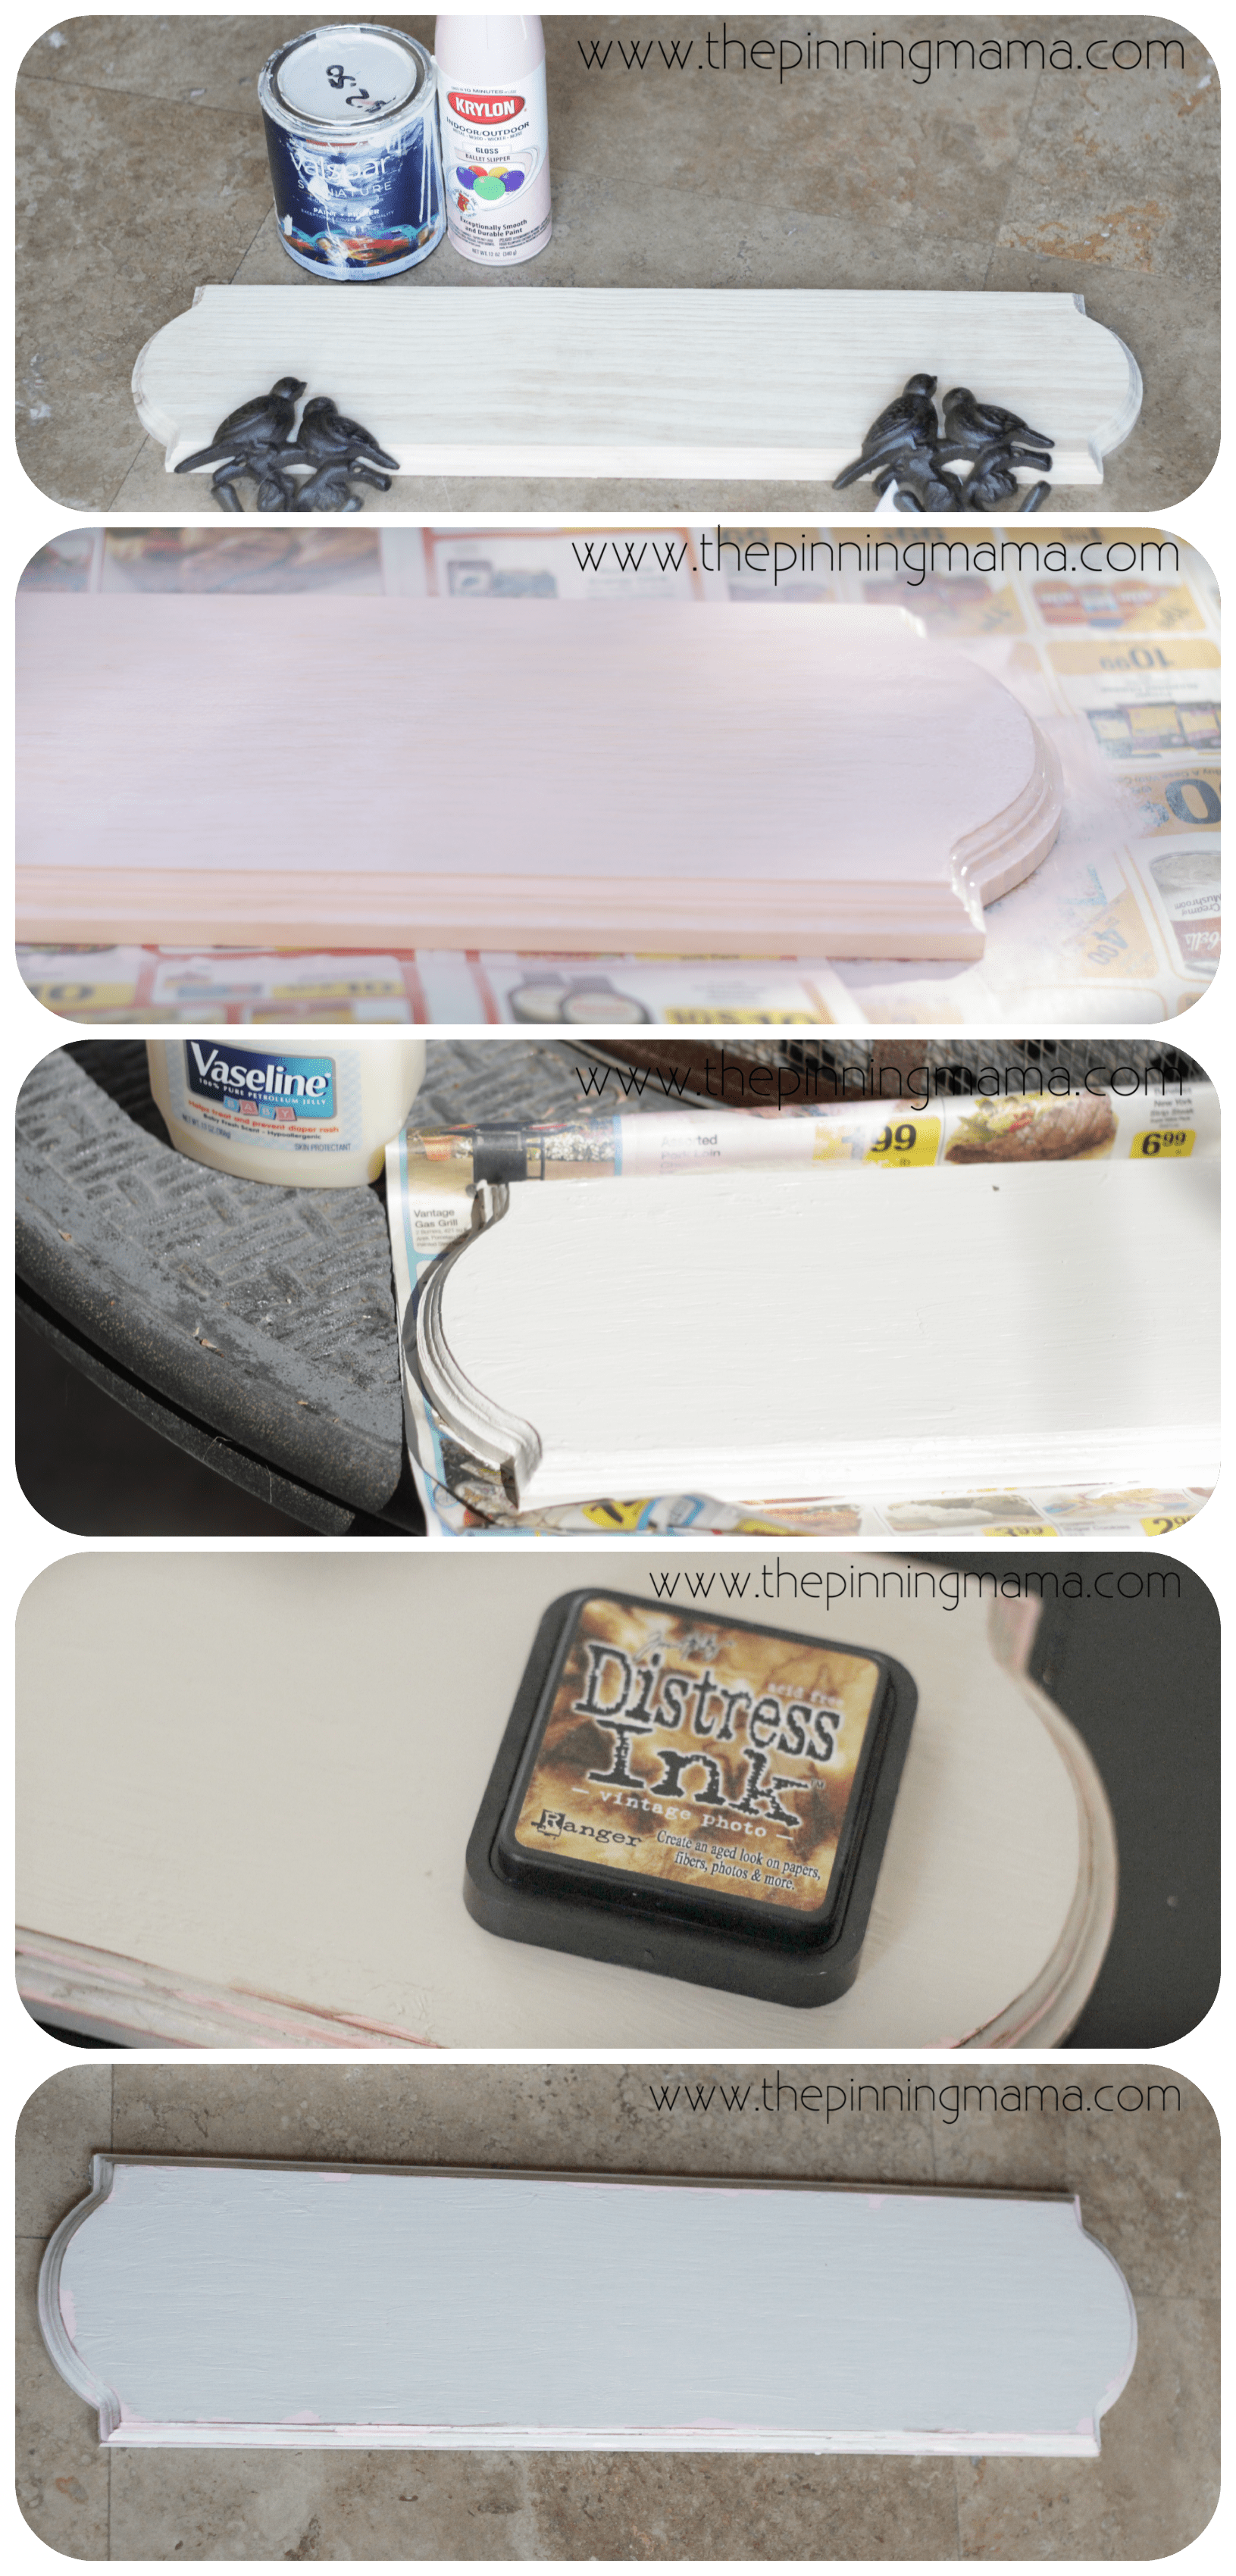
To start I bought an unfinished plaque from Hobby Lobby for a few dollars. I wanted to have a cream top coat of paint with pink paint showing through the chips. I used a baby pink spray paint I had used on a lot of other decor in baby girl’s room as the first coat. Nothing fancy, just took it outside and sprayed a couple of coats until it was adequately coated allowing it to dry in between.
After the pink base coat was very dry I got a tub of vaseline and just used my finger to dab some around the corners and edges any place I would want the paint to chip off. You don’t need a ton but enough to solidly coat the area that will chip off.
Next I used a brush to paint the cream top coat (mistint clearance from Lowes) over the entire sign including the areas with the vaseline. Since I wanted a distressed look I did one fairly thick coat and didn’t worry if there were small areas that could have used a second coat for better coverage.
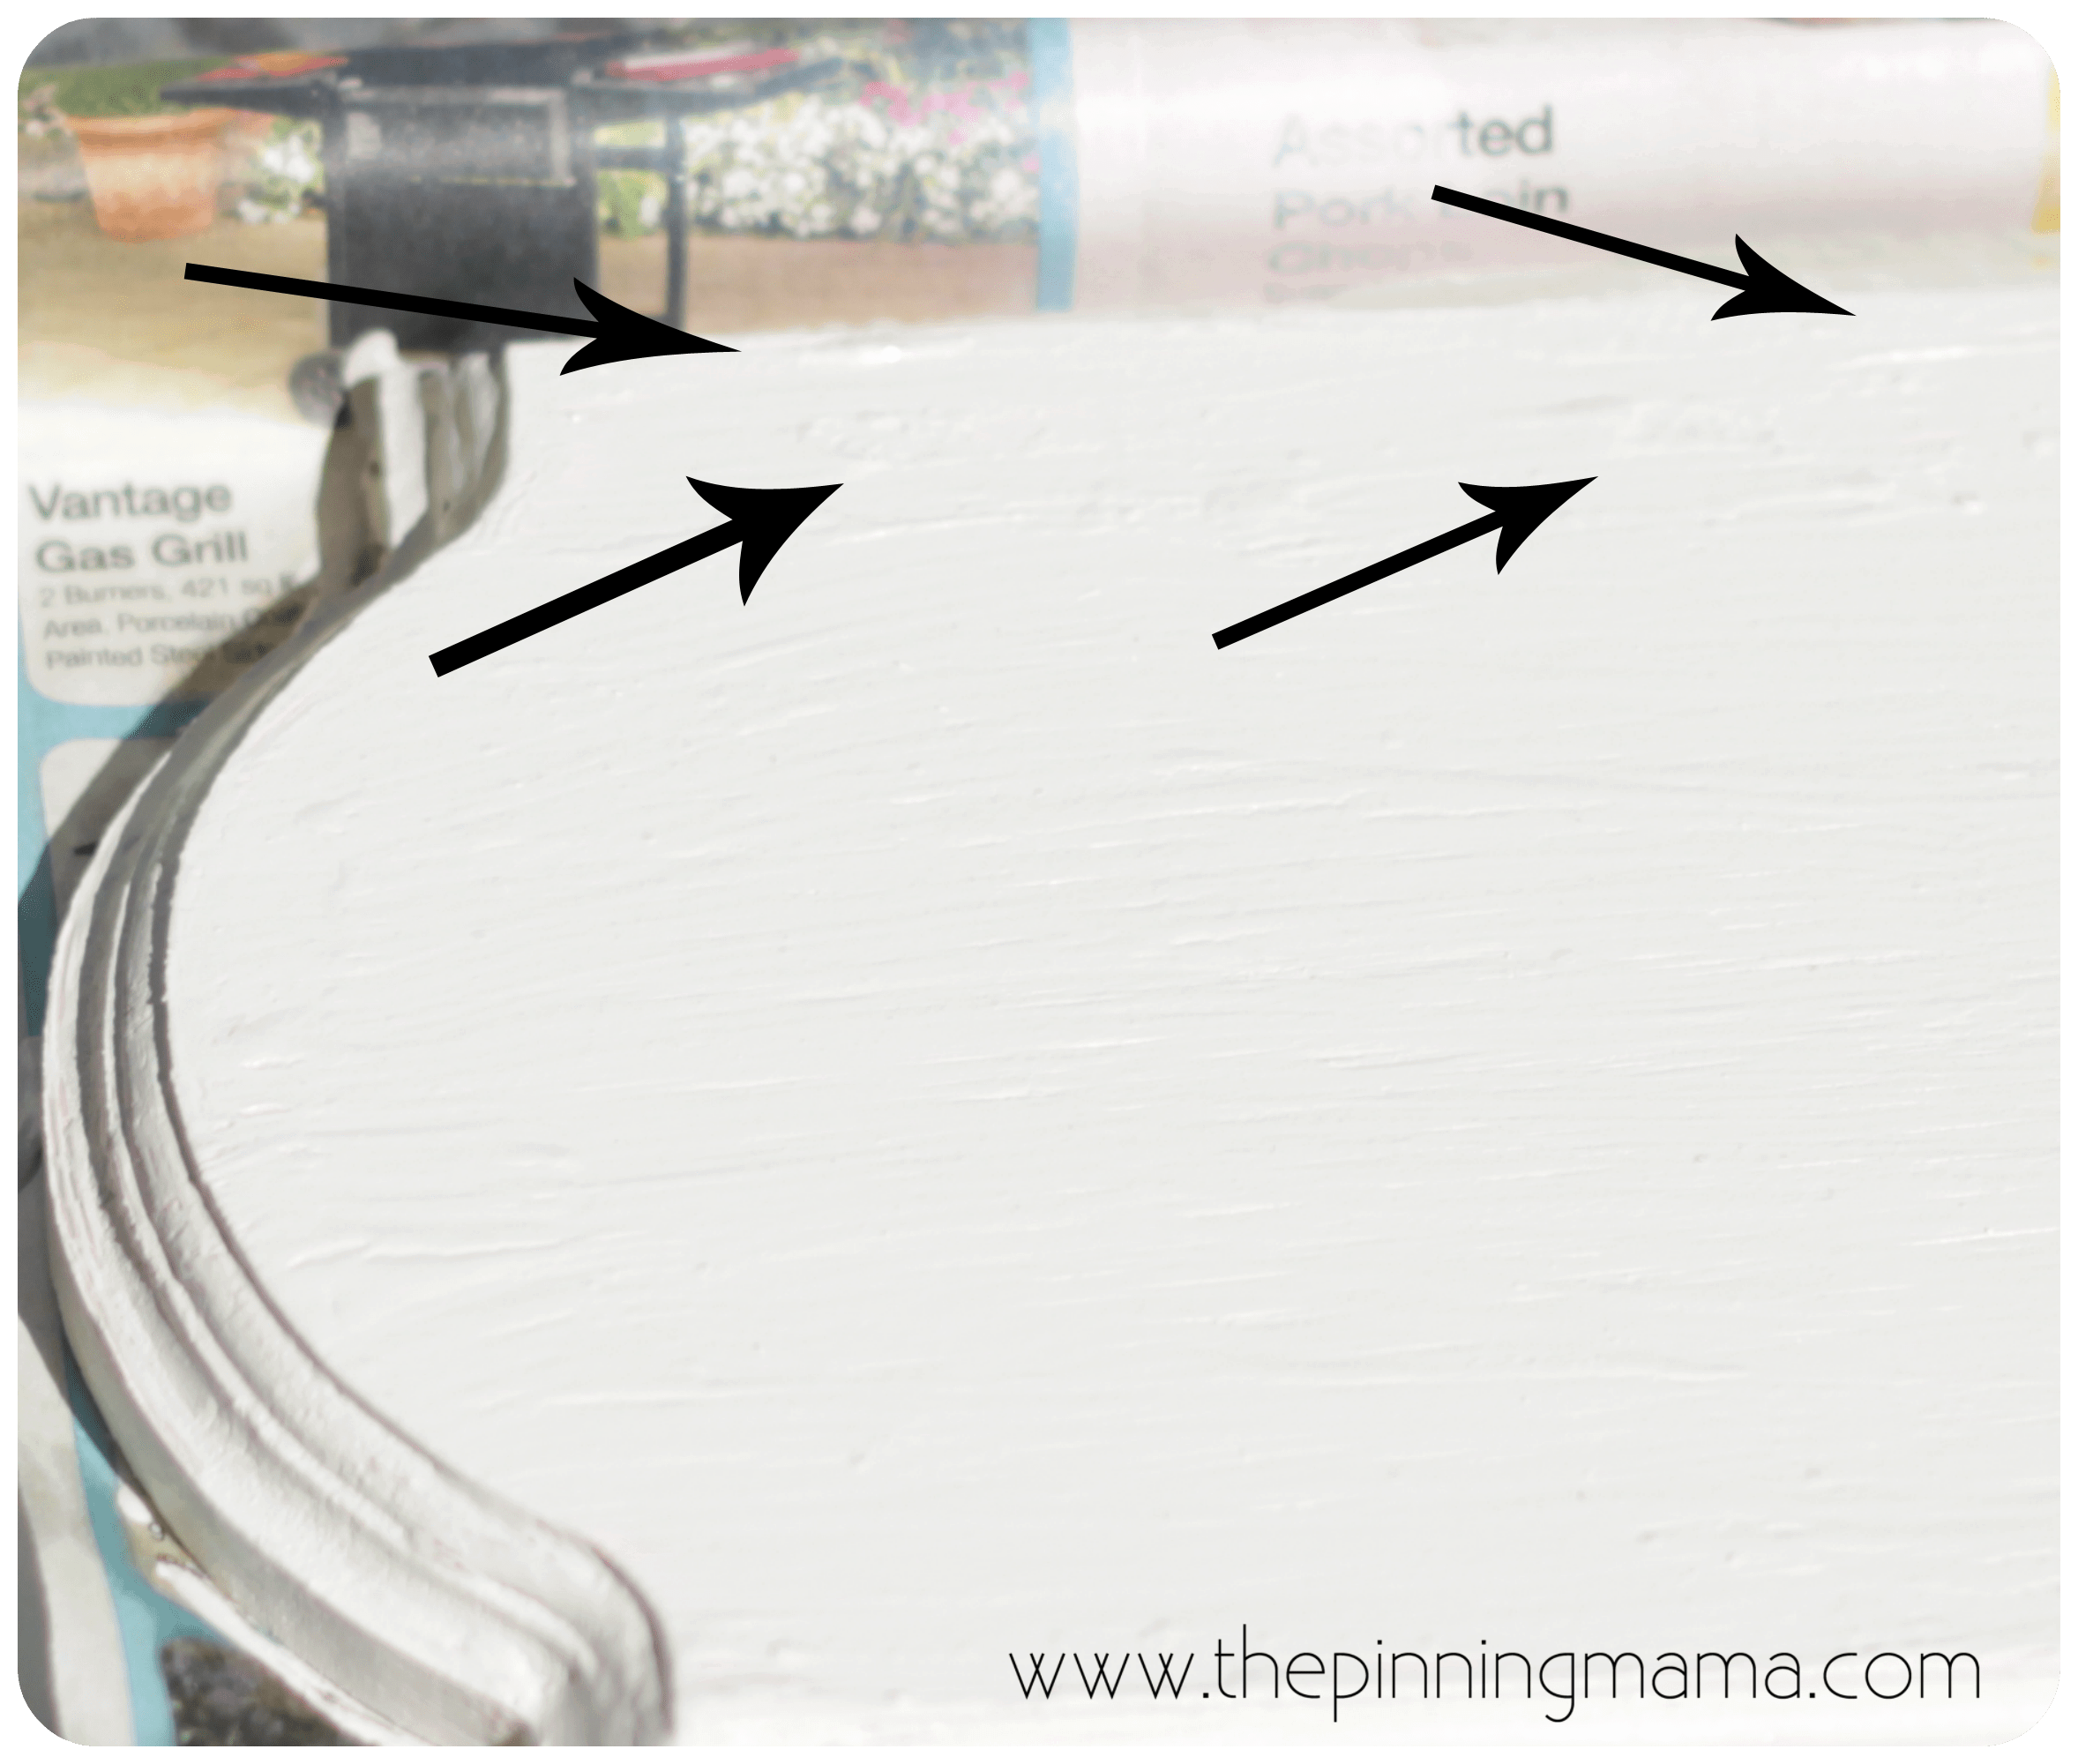
After this coat is dry you will want to look for the raised areas under the paint. This is where you painted over the vaseline. You can see in my pic that it almost looks bubbled up a bit in those spots. Use a sanding block to lightly sand over these spots and it will peel the paint right off of them, leaving you with a perfectly old, vintage, chippy look!
After I was done sanding I wiped my board down and decided that because the baby pink under the white was really not very high contrast I would finish it off by using distressing ink around the edges. I was a little scared to do this at first, but I am so glad I did. With the super light colors this really brought out the depth and dimension in the wood and made it just look more authentic!

Make sure and follow us on Pinterest to see all the crafts we are crafting. Also like The Pinning Mama on Facebook to get access to special FB only exclusive freebies!
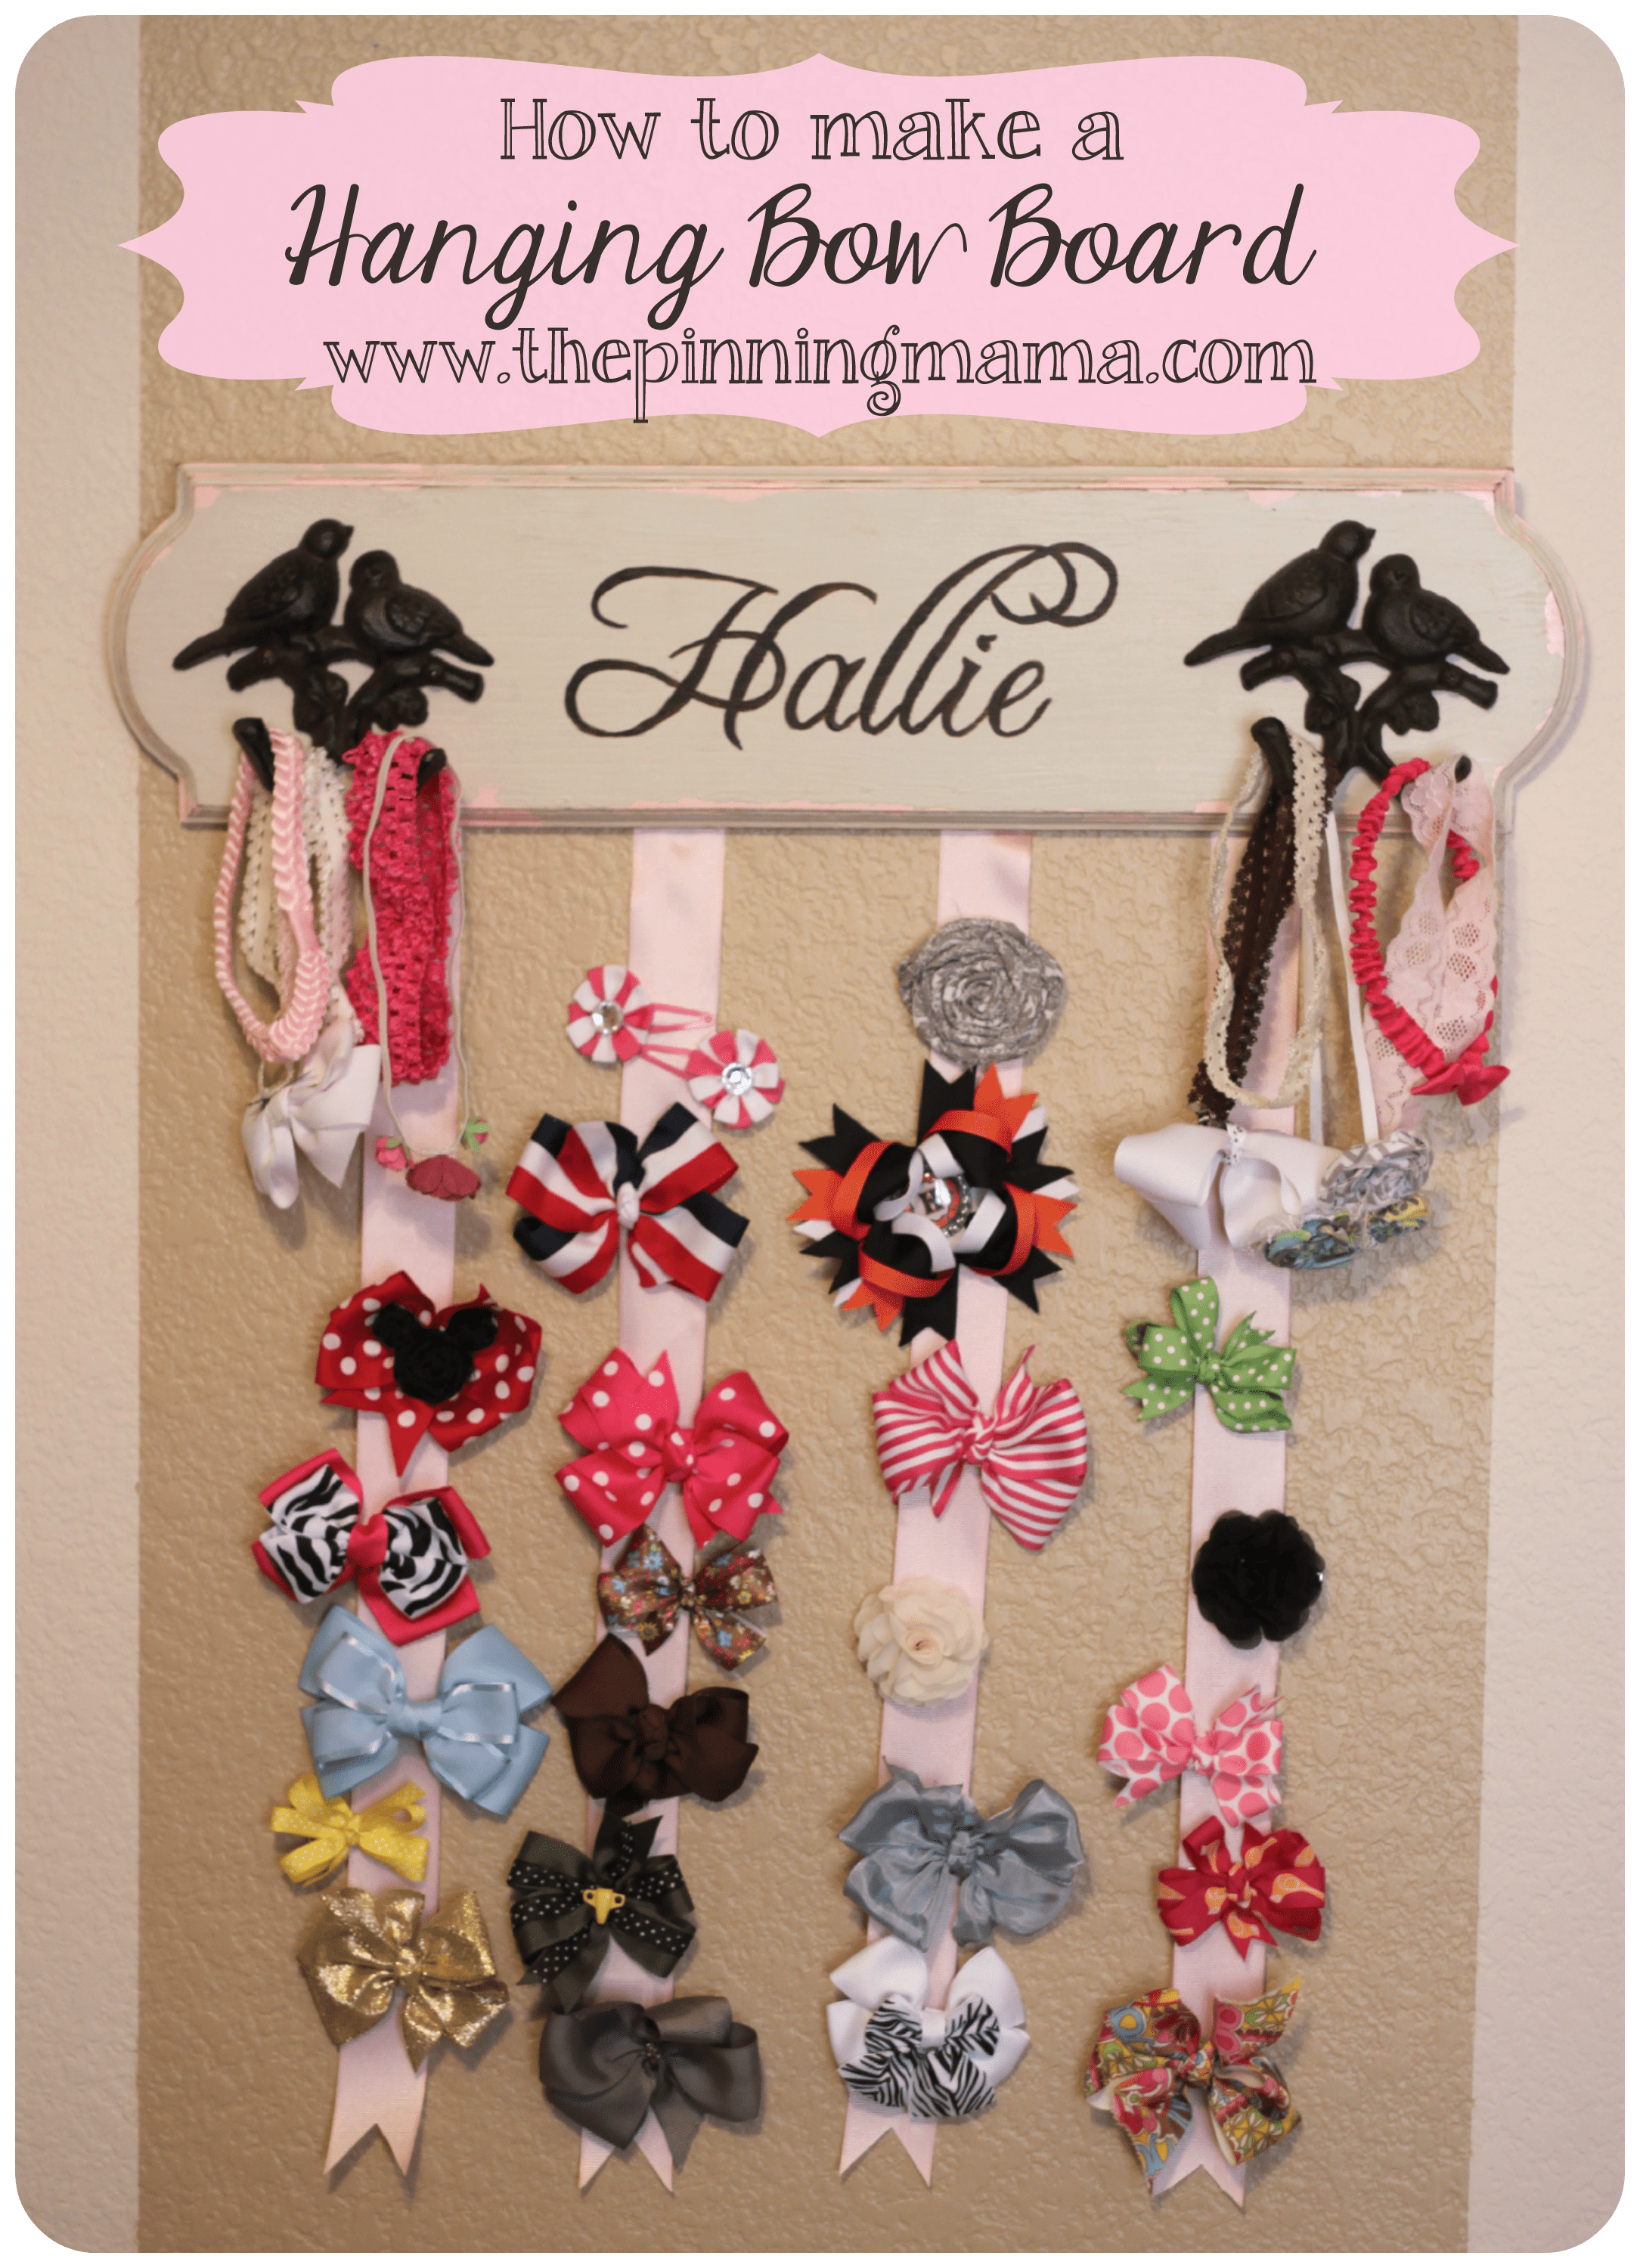
Check out the finished bow board here!


Leave a Comment