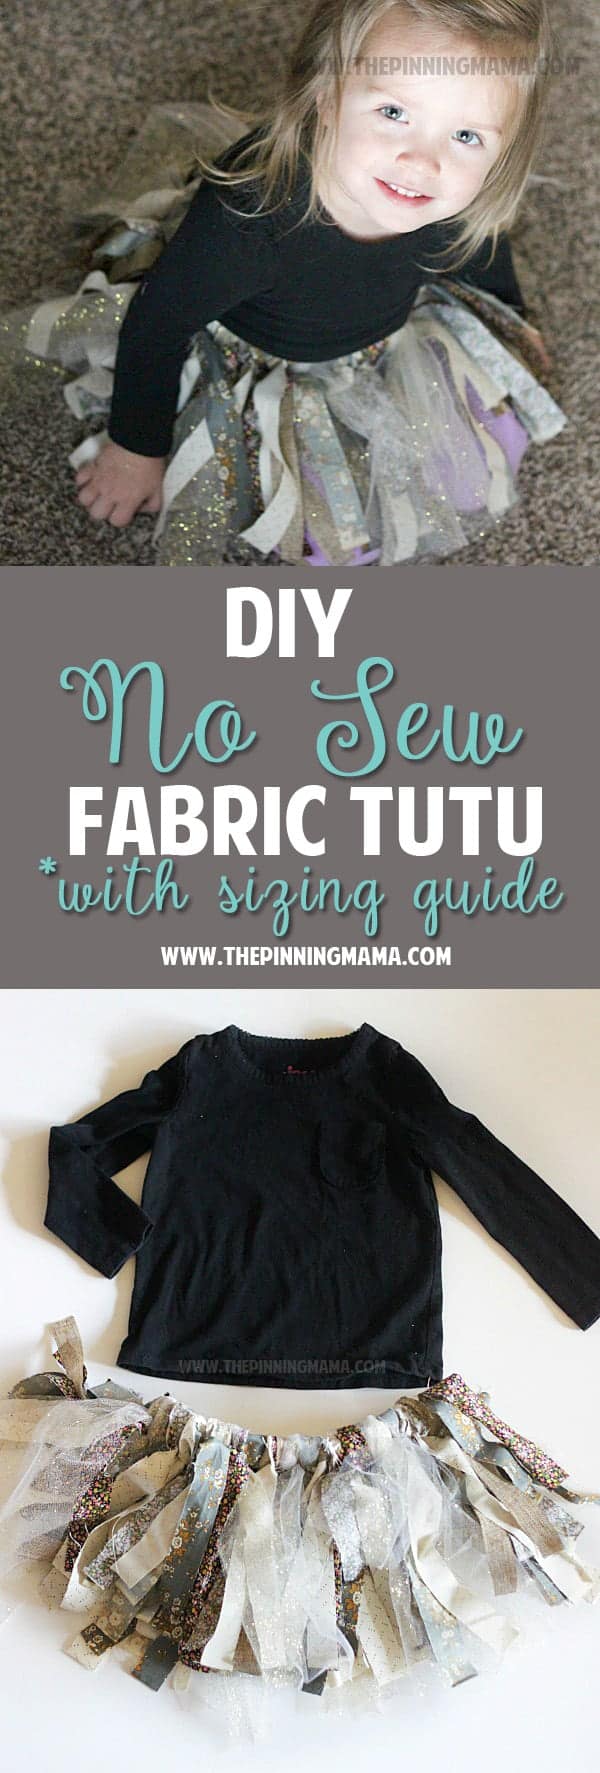
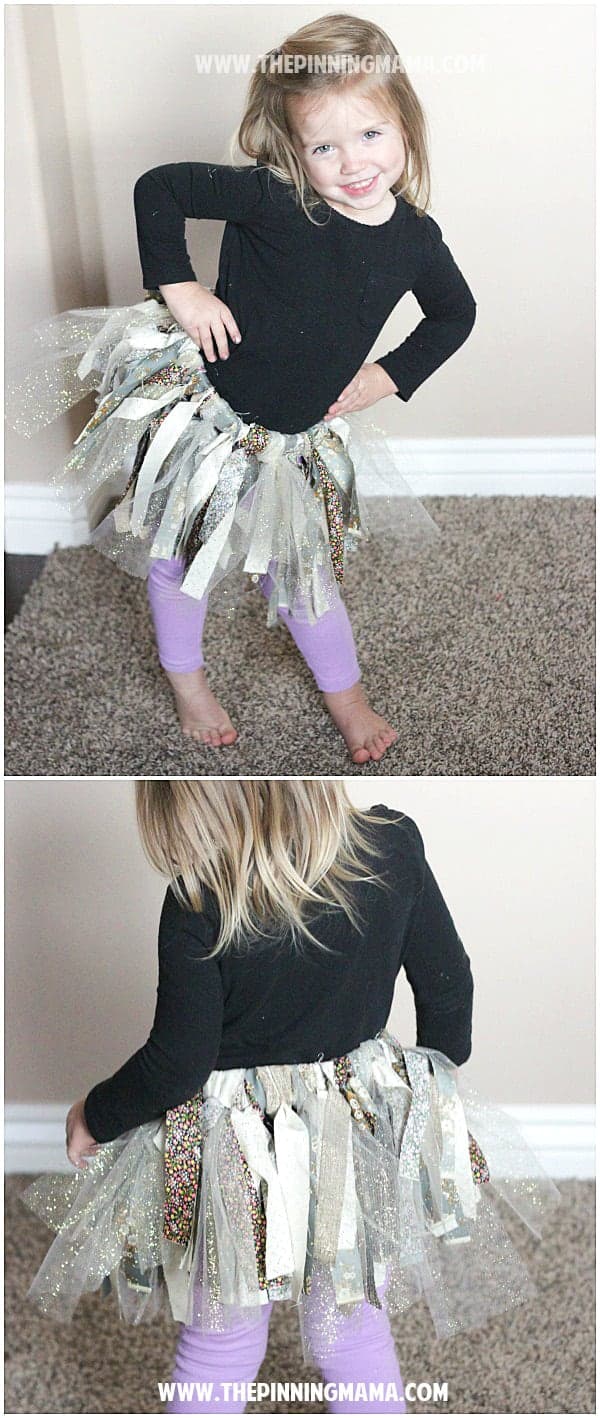
Making a fabric tutu skirt for a baby or little girl is easy with this tutorial and tutu size chart from newborn to 5 years old! They are perfect for a birthday outfit, or just to jazz up everyday. Just follow these simple instructions and you will have an adorable tutu dress for your little princess.
When my daughter was born I was excited about a lot of things. I mean I had always dreamed of having a daughter and everything that meant, and there is little more that encompasses it all than a big PINK tutu! I had several made before she even made her arrival and her newborn photos were decked out with them.
I had so many compliments and questions that I made a really in depth tutorial on how to make a no sew tulle tutu skirt here, with all the tips and tricks I have learned along the way. Make sure to check it out for even more ideas!
Now that she is a few years older, we are still pretty into tutus for dress up, but I needed something a little more practical for every day wear. So naturally, I figured out we could just adapt our tutu to a more casual look! The classic tulle tutu is taken down a notch when you incorporate fabric and ribbon and makes quite a stunning look for a little lady! Follow along below for easy instructions on how to make your own tutu dress!
How to Make a Fabric Tutu Dress:
Materials needed for Tutu:
(Quantity not included because it will change based on size, however you can see my notes below on what I used in mine)
- Fabric in 2-4 prints- I used 3 prints from the Little House on the Prairie Line provided to me by Andover Fabrics
- 6″ Tulle
- Ribbon
- Elastic – 1/2 inch
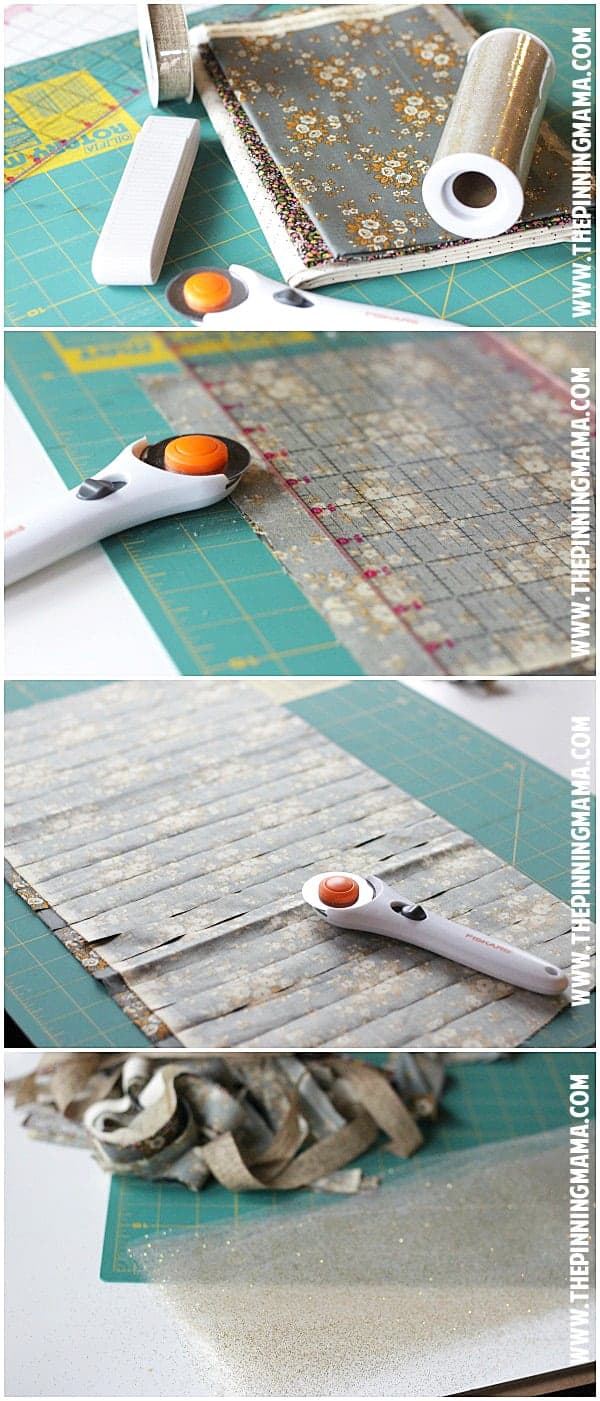
- Rotary Cutter, Cutting Mat, & Acrylic Ruler (You can use scissors, but a rotary cutting set
will make your life WAY easier!)
Instructions for Tutu:
- Gather your materials. For my 3 year old I used about 1.5 yards of fabric, 1/2 25 yard roll of 6″ tulle, 1 10 yard roll of burlap ribbon.
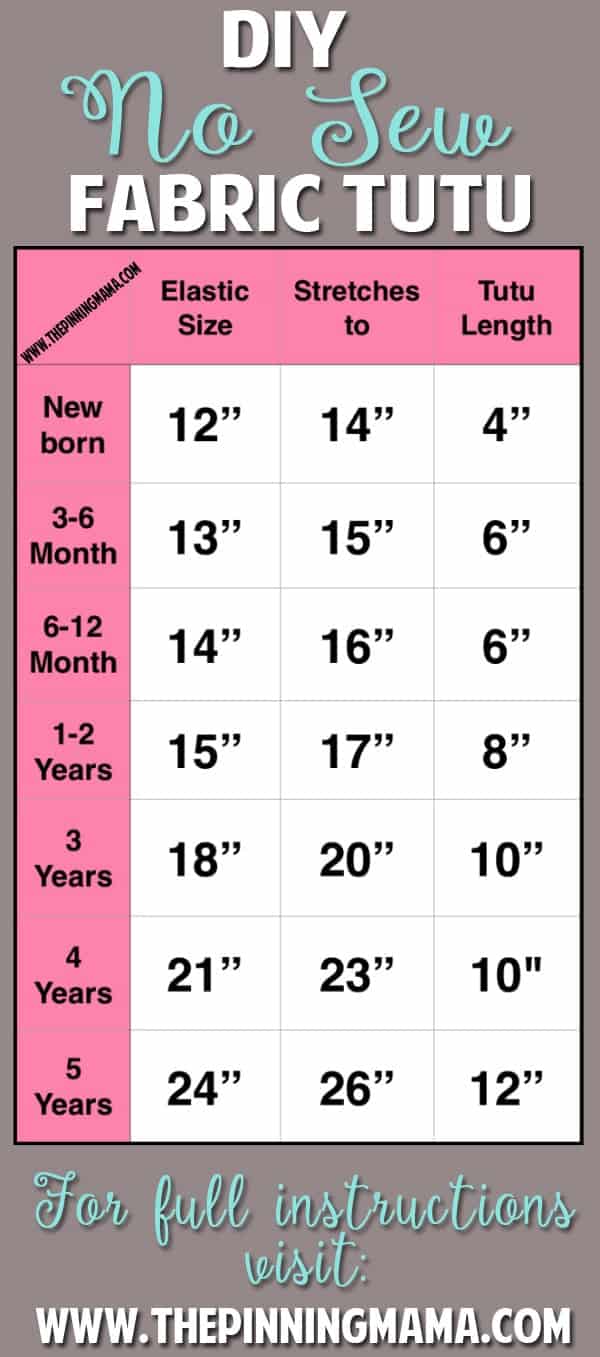
- Cut everything to size. The best way to do this is to measure the child you are making it for, but if you don’t have the ability to do that, the chart above should get you pretty close. It is what I use. A couple of notes:
- Tutu length x 2 + 2″= Total length for each fabric strip. You will want to double the tutu length then add about 1-2″ (when using 1/2″ elastic) to account for where it will wrap around the elastic and knot, to get the total length you will need to cut each fabric strip.
- I cut each fabric strip approx. 1″ wide using a rotary cutter. I was able to make it quicker by layering the fabrics on top of each other and cutting them all at once. It took me about 22 strips of each of my 3 fabrics to make my tutu, but this will vary based on size.
- I used gold tulle and burlap ribbon in my tutu to compliment the fabric and give it more body and texture. If you don’t want to use these it isn’t required, but you will need additional fabric.
- Cut the tulle and ribbon to the same size as the fabric strips. Make it super quick and easy using this tulle cutting trick.
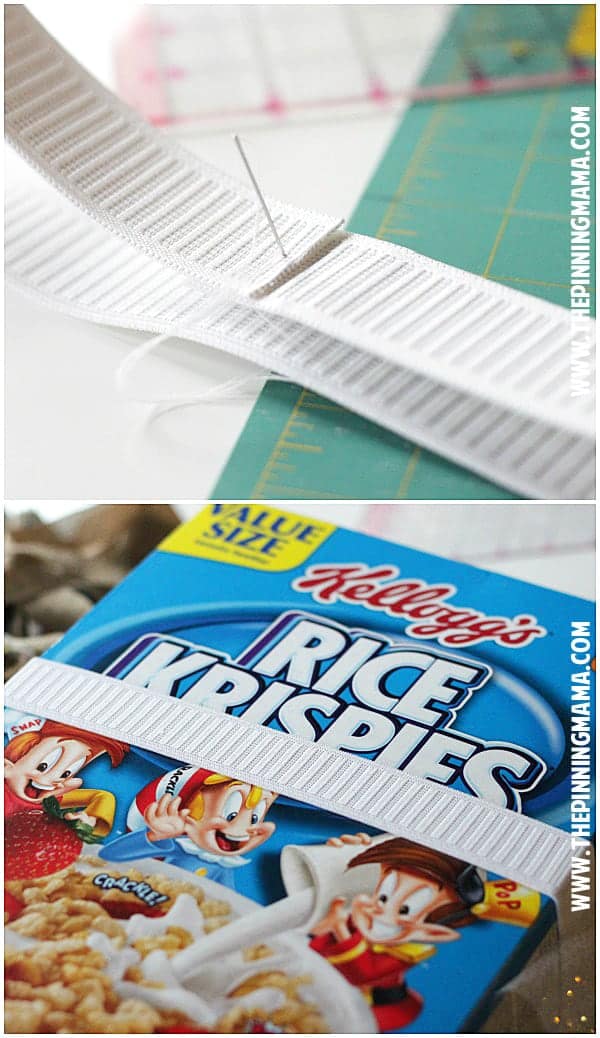
- Waist size + ~1″ = Total Length for elastic. Cut the elastic to the waist size plus about an inch if you hand stitch it together or about 2″ if you tie it.
- Secure your elastic into a waistband. I usually do this with a couple of hand stitches, but to make this truly a no sew, you could give it a tight double knot. Each will work and be hidden by the fabric once finished.
- I recommend using 1/2″ elastic, however after going to the store 3x I still had none, so I used the 1″ elastic I had on hand. Most elastics will work, you just need to add on a little extra to the length of your fabric strips if using a thicker one.
- Make sure to cut off any extra outside of the knot or stitching so that it doesn’t show through the fabric on the finished tutu.
- Place the waistband around a piece of cardboard (or cardboard box) that just fits it. You do not want it to be stretched, just held taut as you construct your tutu.
- Assemble your tutu
- Place 3 layers of material together. It can be any combination of the materials you are using. I alternated between using all three layers of fabric, and 2 layers of fabric and one of tulle or ribbon.
- You don’t have to use 3 layers but this will create more fullness in the body of the tutu and keep the patterns well mixed so it is my preference to do it this way.
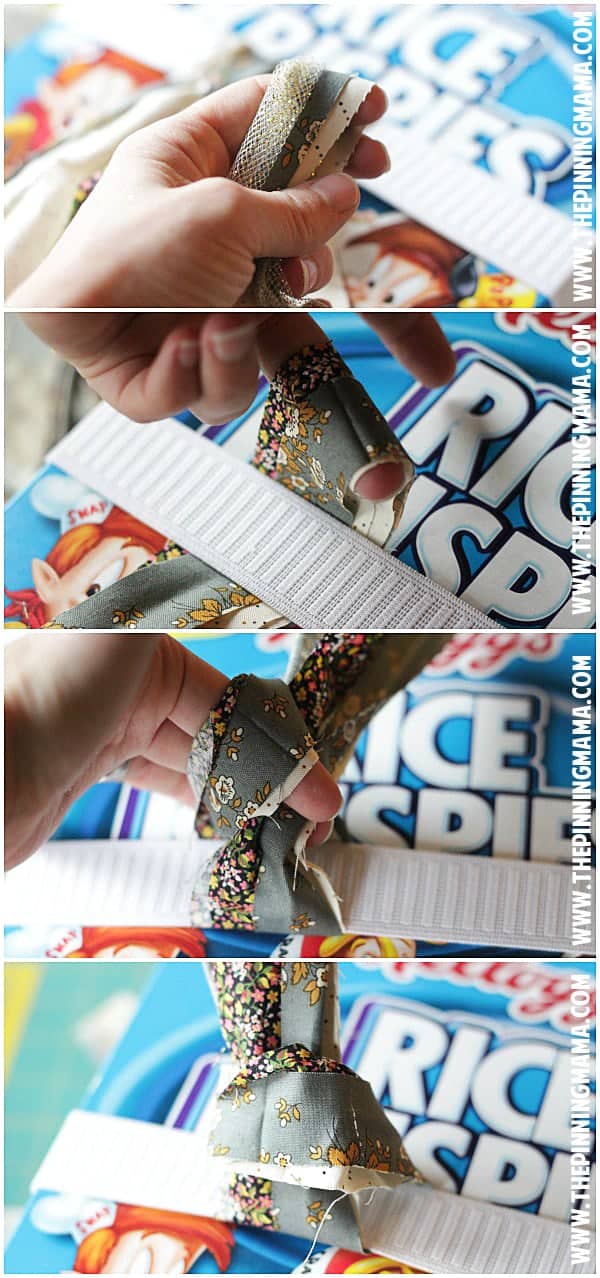
- Once you have the materials together fold them in half and slide the loop under your elastic.
- Place the tails of the material over the elastic and through the loop to form a knot as shown in the picture above.
- Pull the knot taut, but do not pull so tight that you “squeeze” the elastic. If you pull it too tight on the elastic it will cause it to stretch and then there will no stretch left in the elastic once you are done, and it will likely be too big.
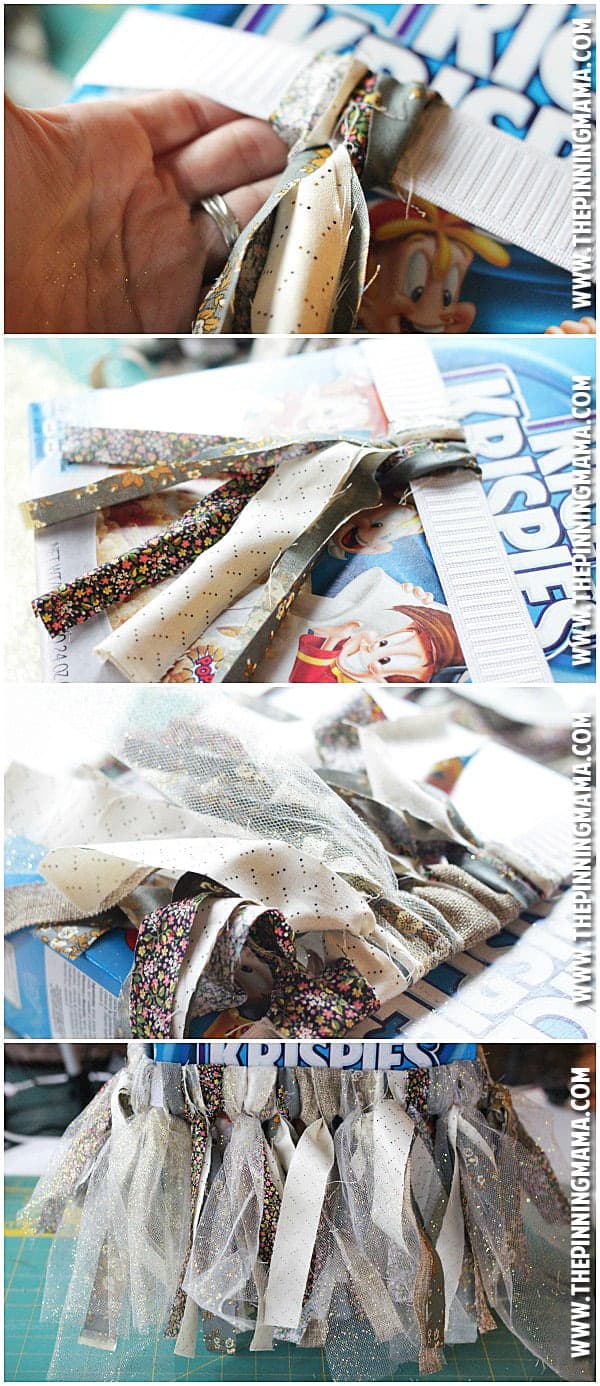
- Repeat until you have the fabric knots all the way around the tutu.
- Place 3 layers of material together. It can be any combination of the materials you are using. I alternated between using all three layers of fabric, and 2 layers of fabric and one of tulle or ribbon.
- Fluff your tutu by separating each layer in each knot and gently pulling it outward.
- Enjoy! Slide your tutu off the cardboard and put it on your little girl!
The tutu is really simple to put together and once you do the first couple of knots you will have it down and be able to finish it pretty quickly. It is simple to make and the end result is stunning! If you make one, please snap a pic and tag me on Instagram @thepinningmama! I would love to see it!


Seana Turner says
Very helpful tip about putting the elastic around a cereal box. This is a handy tutorial to pin for those times when you suddenly need a costume!
Kimber says
Yes! I forgot I got rid of my cardboard stash in the move and needed to find something that would work quickly. Never a shortage of cereal in our house, little did I know it would also be my craft aid!
Karen says
This is absolutely adorable Kimber! And your daughter is rocking the posing, haha. I love it when they reach that age where they are just like look at me, I’m glamorous.
Kimber says
Oh she is something all right! She is absolutely the sweetest frozen in time. Unfreeze the frame and all that attitude comes right out at you, but really, girls are so fun. You can’t ever predict what they will say or do and just the cutest pretty much all the time. Thanks for stopping by!
Witch says
Oh this looks great! I want to make my 4&5 year old granddaughters a tutu and they look so fiddly to sew. I will go and order my material and have a go with your method. Thank you so much for taking the time to do these posts. And your daughter is adorable, my granddaughters pose like that too lol.
Lisa says
What a great tutorial! I’m going to try making one for a friend’s baby and my little girl. Just adorable! Thank you!
Jasmin says
Hi! Did you leave the tulle 6″ wide? Or did you cut them down to 1″ as well? Making my daughter one for next week 🙂
Kimber says
Leave them 6″. I hope she enjoys it! I’m sure she will look adorable!
Abbey says
How many yards of each fabric did you buy?
Kimber says
I bought 6 in rolls that were 25 yards each