We made it to Lesson 9! One of the all time most used features of Silhouette Studio is our topic of discussion today, the weld function. If you are new here, Silhouette Boot Camp is a series of posts filled with mini lessons that help us learn the terminology used in the Silhouette Studio software so that we can cut any design we can dream up with ease!
In lesson 8 we covered how, when, and why to use Subtract All in Silhouette Studio Version 4. We learned how it can be a really powerful tool when you are layering or creating designs inside of designs! We also really dug into how the subtract and the subtract all features differ. If you missed it, then make sure to check out how to use the Subtract All feature in Silhouette Studio here.
Before we get started, there are a couple of things to help you get the most of the Boot Camp:
- New to your Silhouette CAMEO? Take a look the Silhouette Boot Camp Outline with all courses listed and catch up on any you missed.
- Sign up for my Silhouette Newsletter which will email you when the lessons are released each week.
- Pin this post! Each of these lessons takes me on average, 8-12 hours to create for you. I can do these lessons for FREE thanks to your support in coming to my site. By pinning this post or sharing it on Facebook with your Silhouette friends, it helps me spread the word so that I can keep the resources and freebies FREE to you!
Today we are FINALLY finishing up with the Modify Panel by learning all about the weld tool! We really saved the best for last, because the weld tool is something that almost everyone who uses the Silhouette CAMEO will use at some point. It is crazy useful from text to shapes and we are going to go over it all below..
What Does Weld Mean in Silhouette Studio?
Weld on the most basic level takes two or more overlapping shapes and merges them together by removing interior cutlines to leave one solid piece. As defined by Silhouette:
Welding will take two or more selected overlapping images and join them together into one single continuous image.
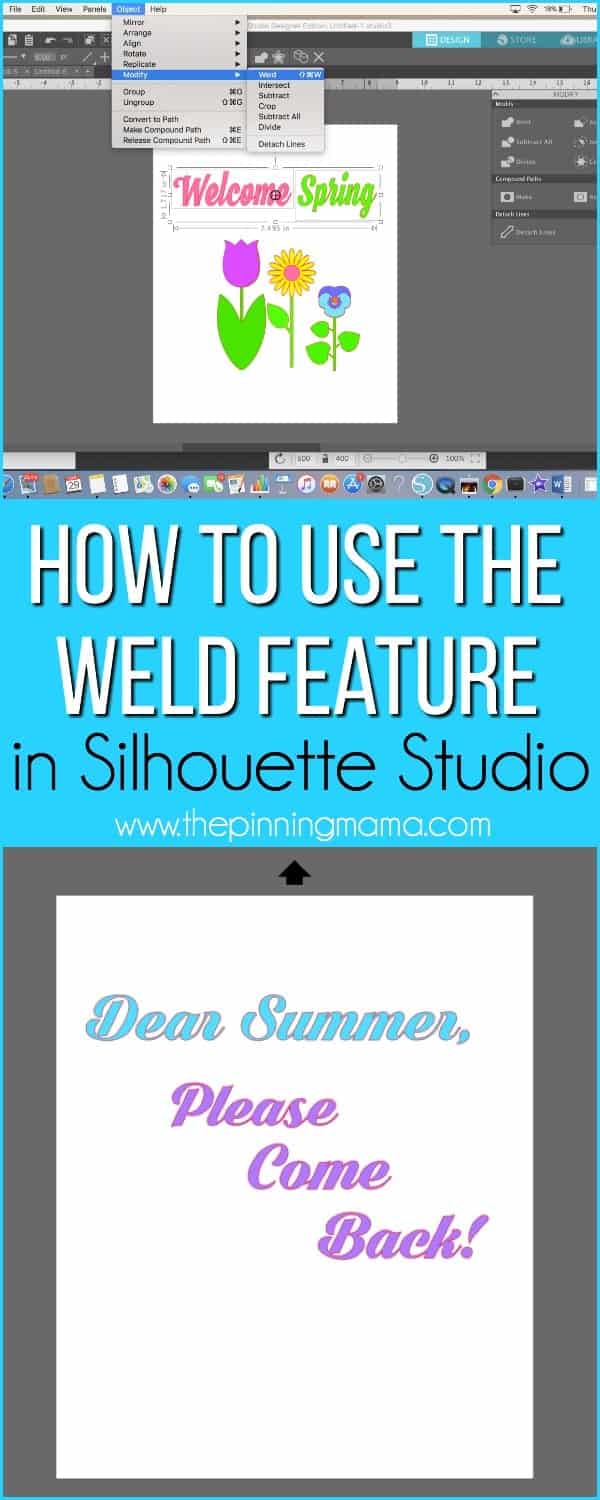
Welding is very necessary for script fonts. Although you don’t see it when you type in a word processing program, each character of the font is actually completely individual, even though a script font appears to be continuous when it is typed in one color, when you try to cut a script font, if you zoom in you will notice that it places cuts fully around each letter instead of making a word one smooth cut. Any script font that overlaps one another leaves tails that will cut into the next letter creating as many pieces as letters you have. By selecting your words and choosing weld, you will make your typed text one fluid cut with no cuts into the next letter.
This will be a step you will most likely make anytime you use script font, but note, make sure you are exactly sure about your text because once you weld it will make your text no longer editable.
Where do I Find the Weld Feature in Silhouette Studio?
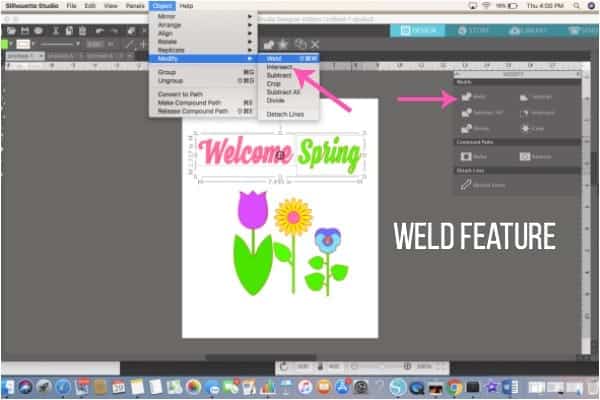
You can find the Weld Feature in the modify panel, accessed in three main places:
- In the right side menu bar, click the button to open the modify panel. Then choose Weld in the menu
- From the pull downs at the very top of the screen: Object –> Modify –> Weld
- Right click and select Weld from the menu (my preferred method)
How do I Weld Shapes in Silhouette Studio?
- Open up to two or more shapes or write in a script font.
- Move the shapes so that they overlap in one or more places. Note: If you are writing with a font, you can use the character spacing slider in the text panel to make sure the characters are overlapping just perfectly to weld.
- Select all overlapping designs by clicking one, then holding shift and clicking the other(s), or using the select tool to draw a box around the shapes/text. (You will know they are selected if they have a light box around the shape)
- Right click and choose weld from the menu.
Example of Weld:
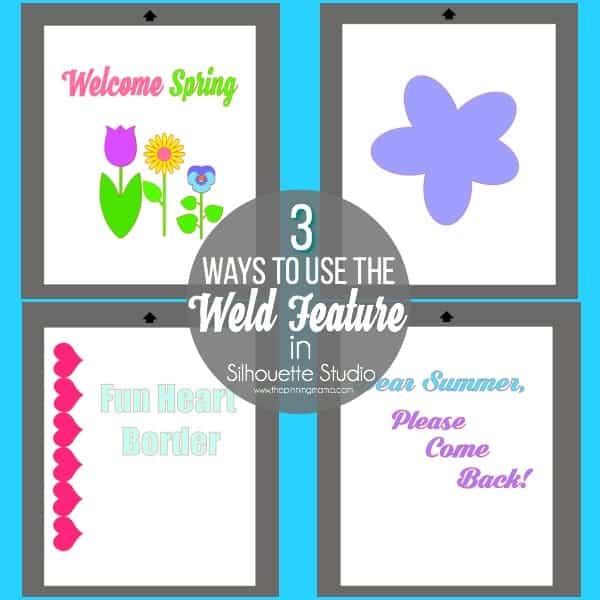
Some examples of using the Weld function in the Modify Panel are:
- Cutting any script font continuously. Making it so when you cut it, the cut lines do not run into the other letters.
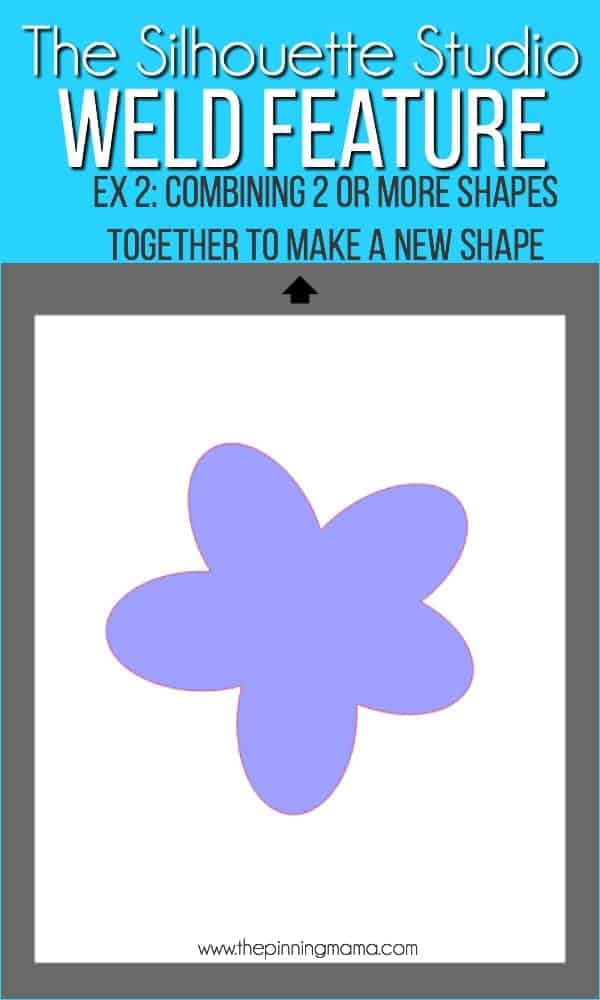
- Combining two or more shapes to cut together or make a new shape. Example, combining ellipses to make a flower.
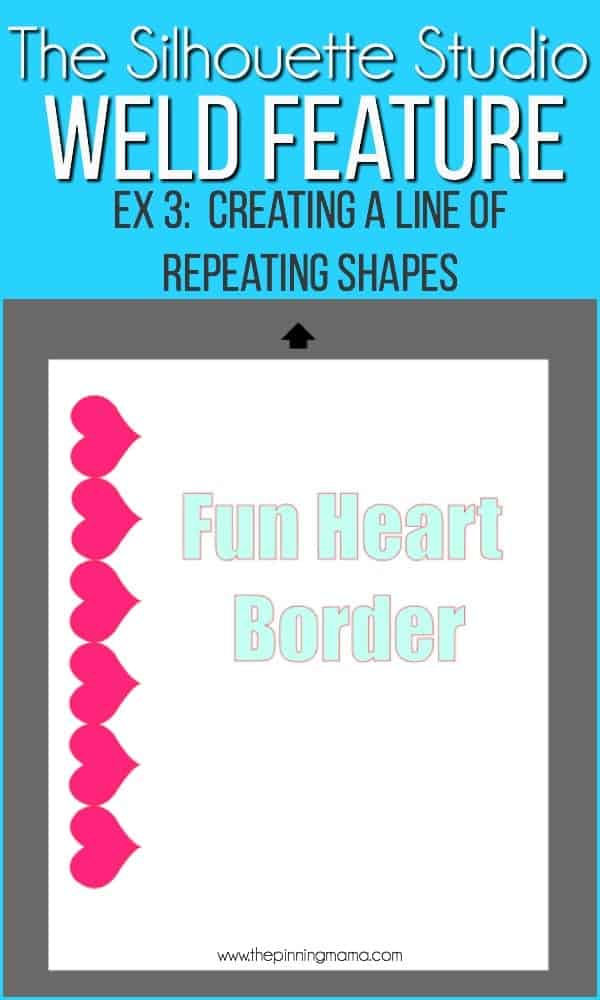
- Creating a line of repeating shapes, for example creating a line of hearts for a border.
That is all for today’s lesson on welding. You might also want to check out my 5 Beginner Tips for Text in Silhouette Studio for more easy ways to use text in your designs.



Tricia Chavtur says
Thanks again! Great tips.
Emily says
You’re welcome, keep joining us on this bootcamp journey.
Jess says
I’m new to all of this and your posts have been SO helpful! Thank you for putting these together!!