Creating curved and shaped text is one of the most fun ways to design with your Silhouette CAMEO 3. The Convert to Path feature of Silhouette Studio makes it super easy to create text on any shape or path you can imagine and by the end of this lesson you will have it mastered!
It is a great day for Lesson 3 in our Silhouette Boot Camp! In lesson 2 we talked all about what groups and compound paths are and when, why, and how to use them or release them. This starts us with the basics of creating our own designs or modifying existing designs to meet our needs. Today though we are going to shift gears a bit and talk about text and when and how to convert text to a path.
Before we get started, there are a couple of things to help you get the most of the experience:
- If you are new here, take a look the Silhouette Boot Camp Welcome with all courses listed and catch up on any you missed.
- Sign up for my Silhouette Newsletter which will email you when the lessons are released each week. {click HERE to sign up!}
- Pin this post! Each of these lessons takes me on average, 8-12 hours to create for you. I can do these lessons for FREE thanks to your support in coming to my site, reading the tutorials and sharing it with your friends. By pinning this post or sharing it on Facebook with your Silhouette friends, it helps you know where to find it if you need to reference it again, and it helps me spread the word so that I can keep the resources and freebies FREE to you!
Today’s lesson is all about manipulating text to the shapes you create. One very common thing people want to do with their words is change the shape of them. You might want to make it into a wave, or round it up or down. You might want the word to follow the shape of a specific design that you are creating. Silhouette Studio gives us a simple way to do this referred to as convert to path.
What Does Convert to Path Mean in Silhouette Studio?
Convert to path is commonly referred to as text to path or text on a path. This lets you to take typed text and allow it to mimic the shape of any shape or design drawn in Silhouette Studio, for example, curving text around a circle.
How do I Make My Text Follow the Path?
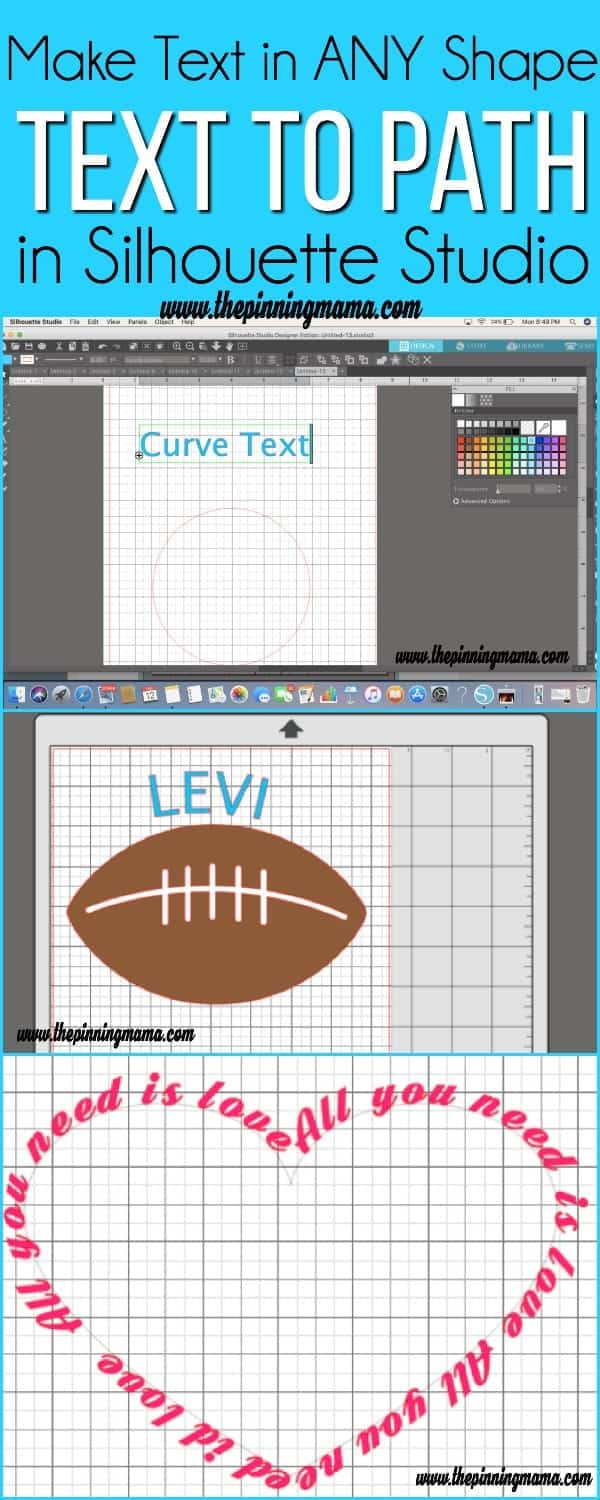
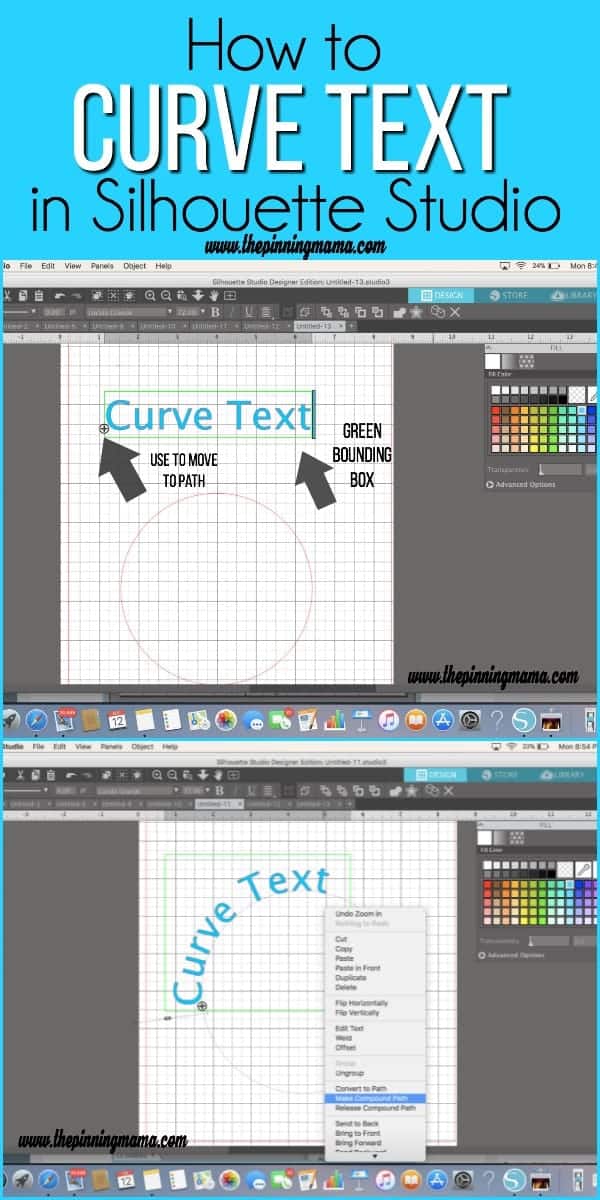
The first step to draw your path, it could be a square, circle, squiggly line, or open a design and then type your text. You will see a green box around your text with + sign. If you do not see this box, double click the text so that the text is editable and the green box appears. Grab the + with the cursor, and drag it to your shape. It will now conform to the shape that is has attached to.
You can then right click the text and choose Convert to Path from the menu, then select and delete the path (shape) you used to form the text, or you can just leave the shape attached. Both will cut the text in the shape that it has taken without cutting the shape itself, however, the benefit of leaving the shape is that while the shape remains, even though it is not technically converted to the path yet, both the shape and the text are completely editable so you can make changes without starting over.
If you didn’t follow any of that, don’t worry! It is SO easy and I show you exactly how to do it in the video above. Sometimes these things are far easier to show you in a video than tell you in words!
Example of Convert to Path:
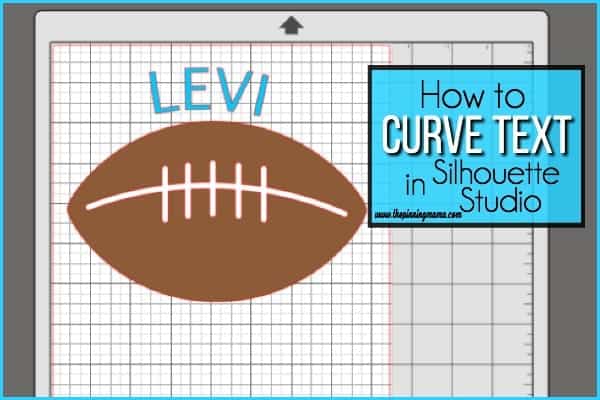
There are many reasons you would want your text to change shape, but one of my most used is to make the text follow the path of my other design elements. For example I created a football design for a water bottle for my son. I used a football file I got at the Silhouette Store and I wanted to add his name above the ball, but following the curve of the ball. To do that I made wrote the name above the ball in the font of my choice. Positioned the font across the ball on the top, selected convert to path from a right click, moved my words up off of the ball. The result is that the name is perfectly positioned above the ball following the curve of the ball. A more simple solution would have been just to use a duplicate of the ball as the path, then use the slider bar that I show you in the video to move the text off of the ball to the desired spacing
As noted above, it does not have to be a shape bought or downloaded. You could use a squiggly line you drew or the rectangle, rounded rectangle, or ellipse tool right in the Silhouette Studio tool bar.
Special Notes on Convert to Path:
There are a few things to note on this function in Silhouette Studio. First, convert to path only works for typed text and does not work for images. You can get around this by using a dingbat font (images that are converted to a font file) but you cannot just take an image, for example a row of hearts, and try to put it on a path without it being in a font file.
Even though this is a fairly simple concept there are a few rules of thumb that make it usually look better.
- Using either all caps or all lowercase characters, or fonts where all of the letters are the same height generally look best following a path.
- Designs that are rounded work better than designs with hard corners or jagged edges. The letters form to the shape better around broad curves and hard corners often result in overlapping characters
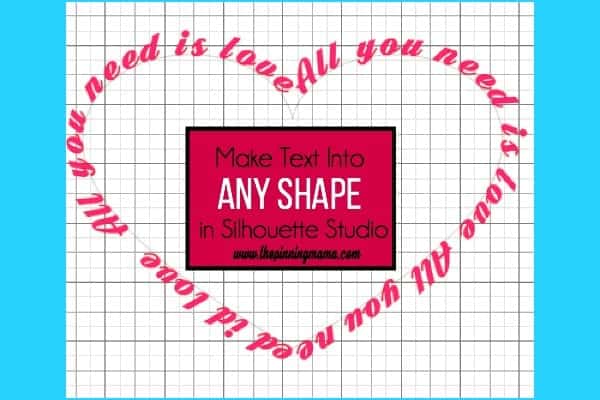
- If you want your words to form around a shape in that they take on the look of the shape outline, generally, you will need the text to be a much smaller scale than the shape. For example, if I have the shape of a car and want the text to form the complete outline of the car, the individual letters will need to be very small in comparison to the size of the car outline. You can see an example of this in the image above where very small words make up the heart so that the shape is really sturdy.
- You can do many adjustments to make your text look just the way you want it too. After you move the text onto the path, use these to change the look and feel of how the text lays on the path:
- Font size
- Font spacing
- Slider bar next to text – This will move the text closer or farther from the path.
This wraps up lesson 3! Text on a path is a super simple tool that allows you to get some really cool effects! If you have any ways that you love to use this feature, any questions, or just enjoyed the tutorial, I would love for you to leave me a comment. It makes my day to know that you are out there following along! Now, MAKE SURE to stay tuned next week for lesson 4. We are going to start our discussion on the modify panel and kick it off with the crop too which allows you to make some of the coolest designs! I had so much to show you I made 3 different videos and a free cut file just for lesson 4! I can’t wait to see you then!


Tricia Chavtur says
Thank you! Loving your Boot Camp tutorials.
Emily says
Thank You, they are fun to do!
Lisa McPherson says
You are so good for my learning this in the silhouette. Thank you so much.