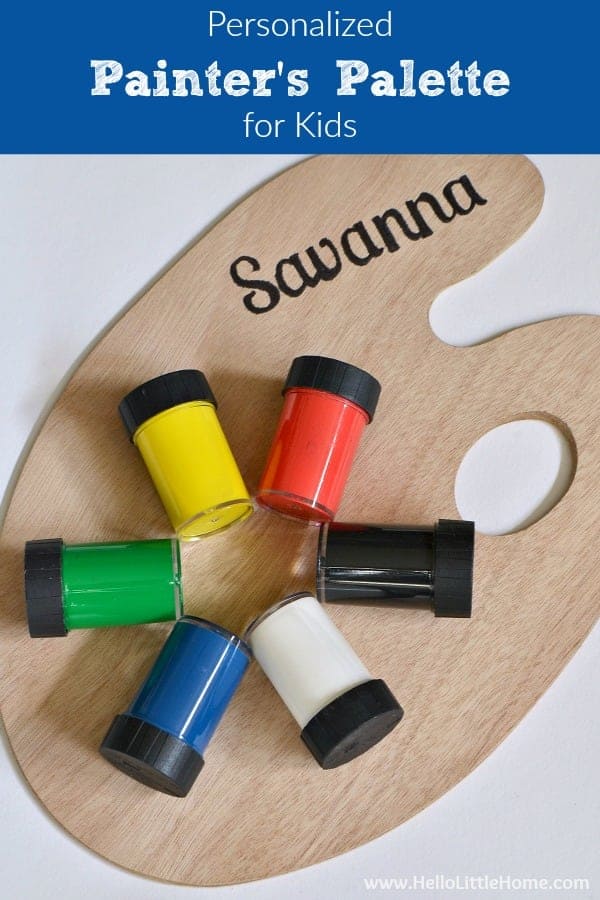
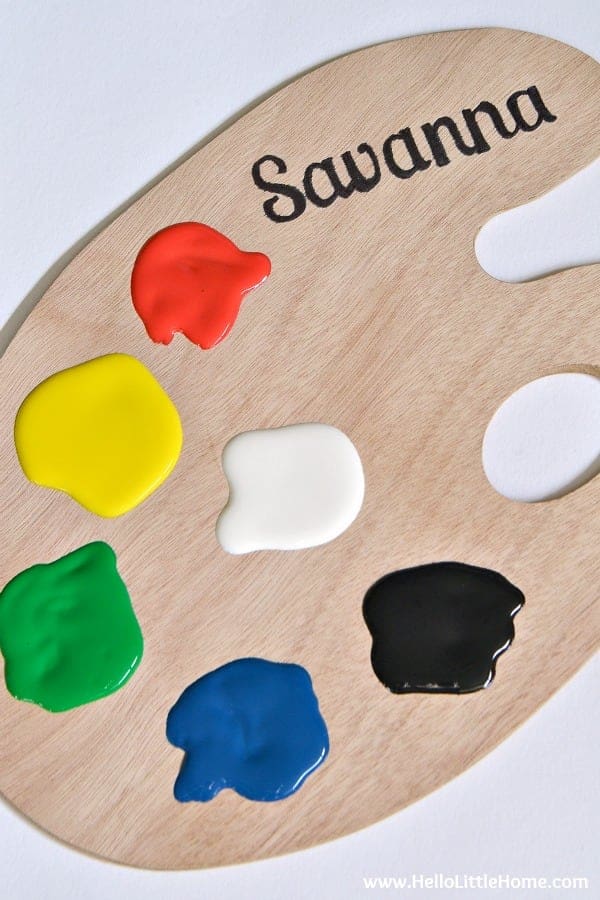
Do you know a budding artist? Surprise him or her with this personalized painter’s palette for kids!
Hi, it’s Ginnie from Hello Little Home! I’m excited to be back and sharing a super easy tutorial for a personalized painter’s palette for kids.
As a child, I loved doing anything creative. Most days, I could be found sitting on the couch drawing, sewing Barbie clothes, or working on another fun project. I still enjoy all things artistic and crafty, but it’s even more fun if I can involve my niece or nephew.
I spotted a wooden artist’s palette on a recent trip through the craft aisle, and I couldn’t resist grabbing it for my niece Savanna. She’s right at the age where she’s starting to enjoy craft projects, so I knew she’d love a personalized paint palette to help create her masterpieces.
The best thing about this personalized painter’s palette? It takes minutes to make. Plus, there are no special skills required, and you can make from supplies that you probably already own (apart from the palette).
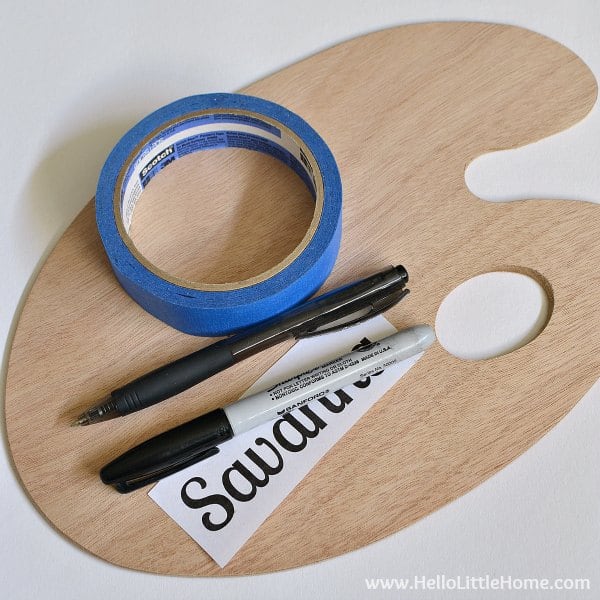
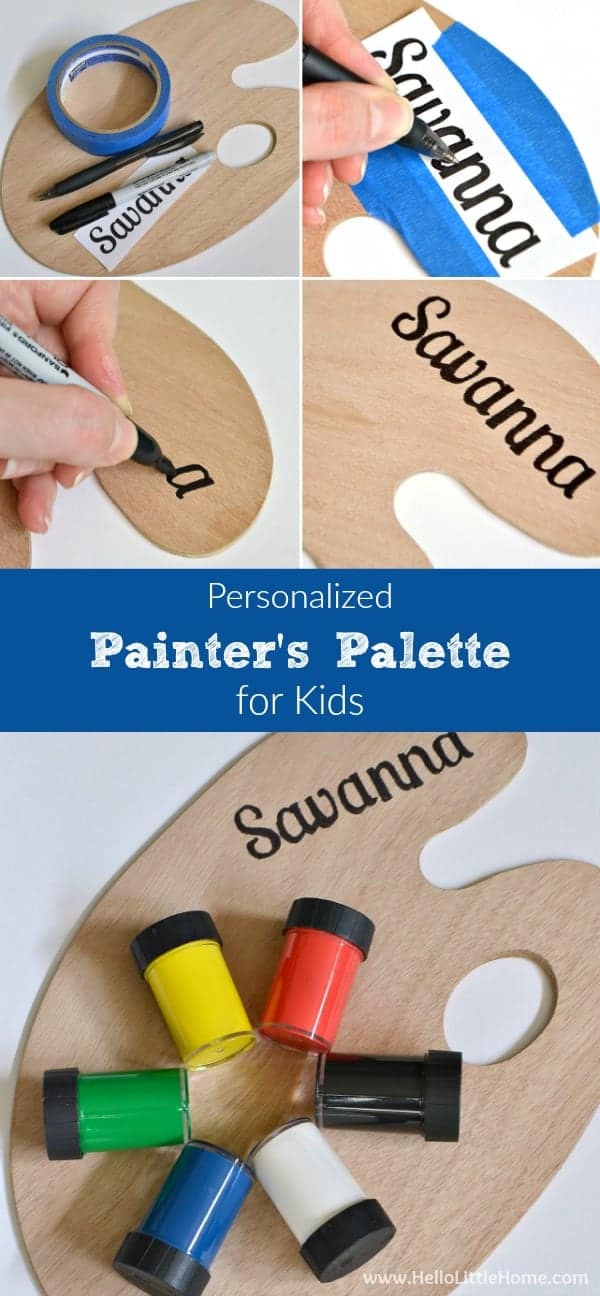
Want to make your own personalized artist’s palette? Here’s what you’ll need:
- printer and printer paper
- scissors
- wooden painter’s palette (I found this one at Walmart, but any art supply store has them or try Amazon.)
- painter’s tape
- ball point pen
- fine point Sharpie
Start by typing out the recipient’s name, initial, or monogram in Microsoft Word. Play around with the fonts until you find one you like. You can also use an online program like PicMonkey for more font options. That’s what I did.
Next, increase the font size so the name fits your palette. I sized Savanna up until it was about 4 inches long.
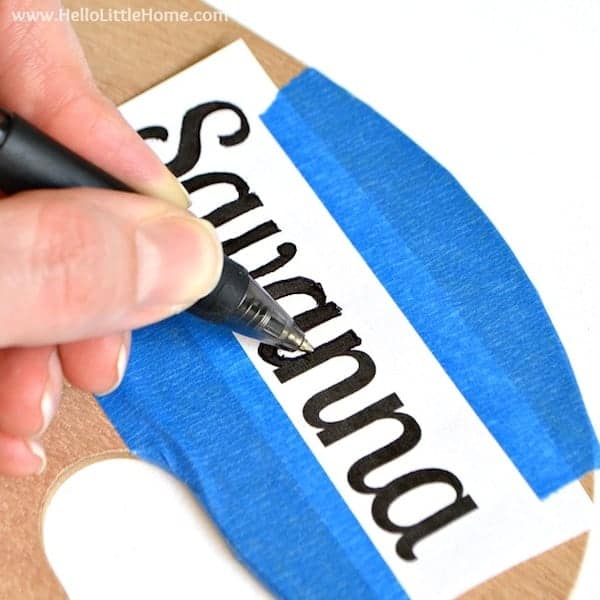
Print out the name, trim it down, then tape it to your palette with the painter’s tape.
Carefully trace around the letters with a ball point pen, pressing hard so you leave an impression in the wood.
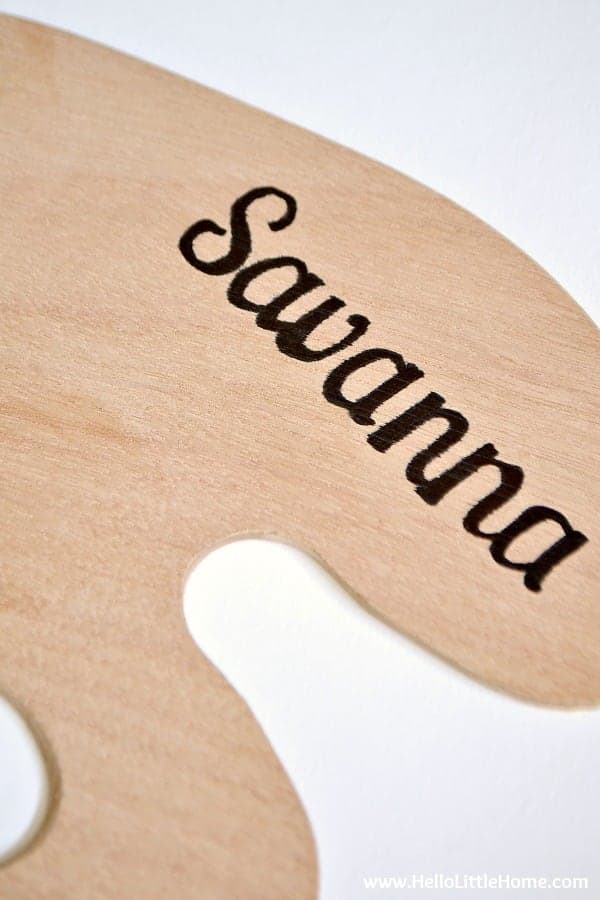
Remove the paper and painter’s tape, then fill in the name with a Sharpie.
Since you are working on wood, the Sharpie will bleed slightly. It’s not too noticeable on the finished palette, but take your time and try to stay in the lines to account for a little bleeding. Go over the letters a second time to darken them.
You could also try using an oil-based paint pen for this project, if you want to use a color other than black.
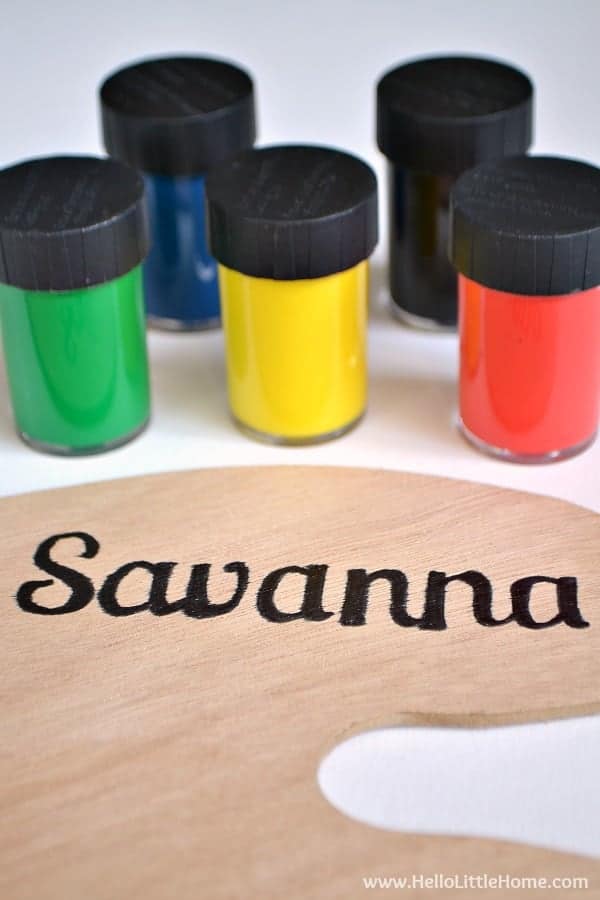
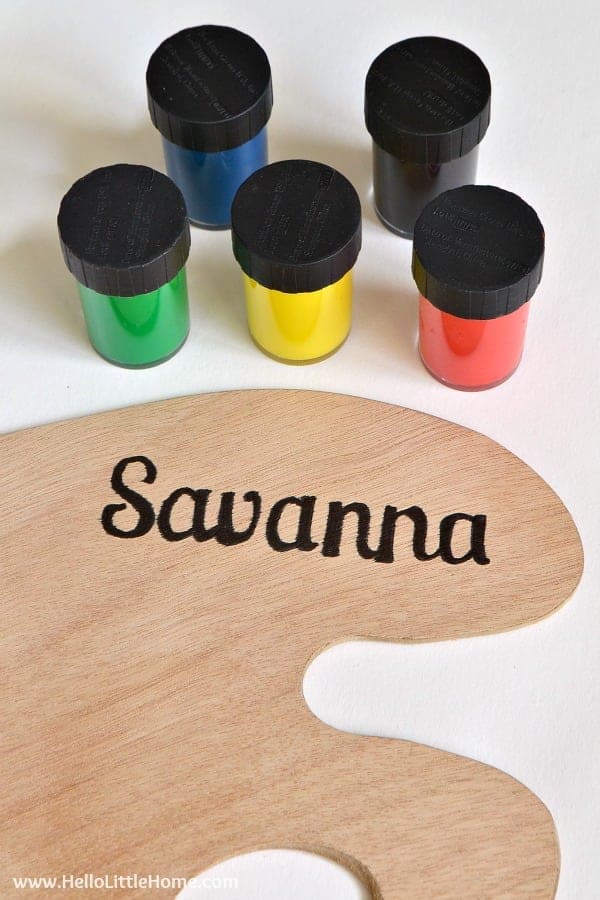
That’s all there is to it. You’re done! The Sharpie is permanent and will stay on even after washing the palette. If the letters fade over time, simply go over them again with the Sharpie.
I can’t wait to send this personalized painter’s palette to my niece! She is going to love it.
Did you like this Personalized Painter’s Palette for Kids? Then, you’ll love these other DIY projects, too!
Kids Fishing Game | DIY Kids Treasure Box | DIY Bubble Wand

Facebook | Twitter | Pinterest | Google+ | Instagram | YouTube



Leave a Comment