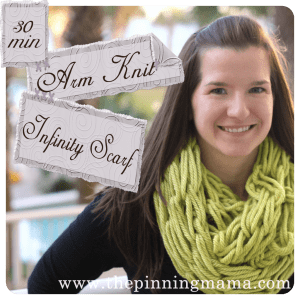
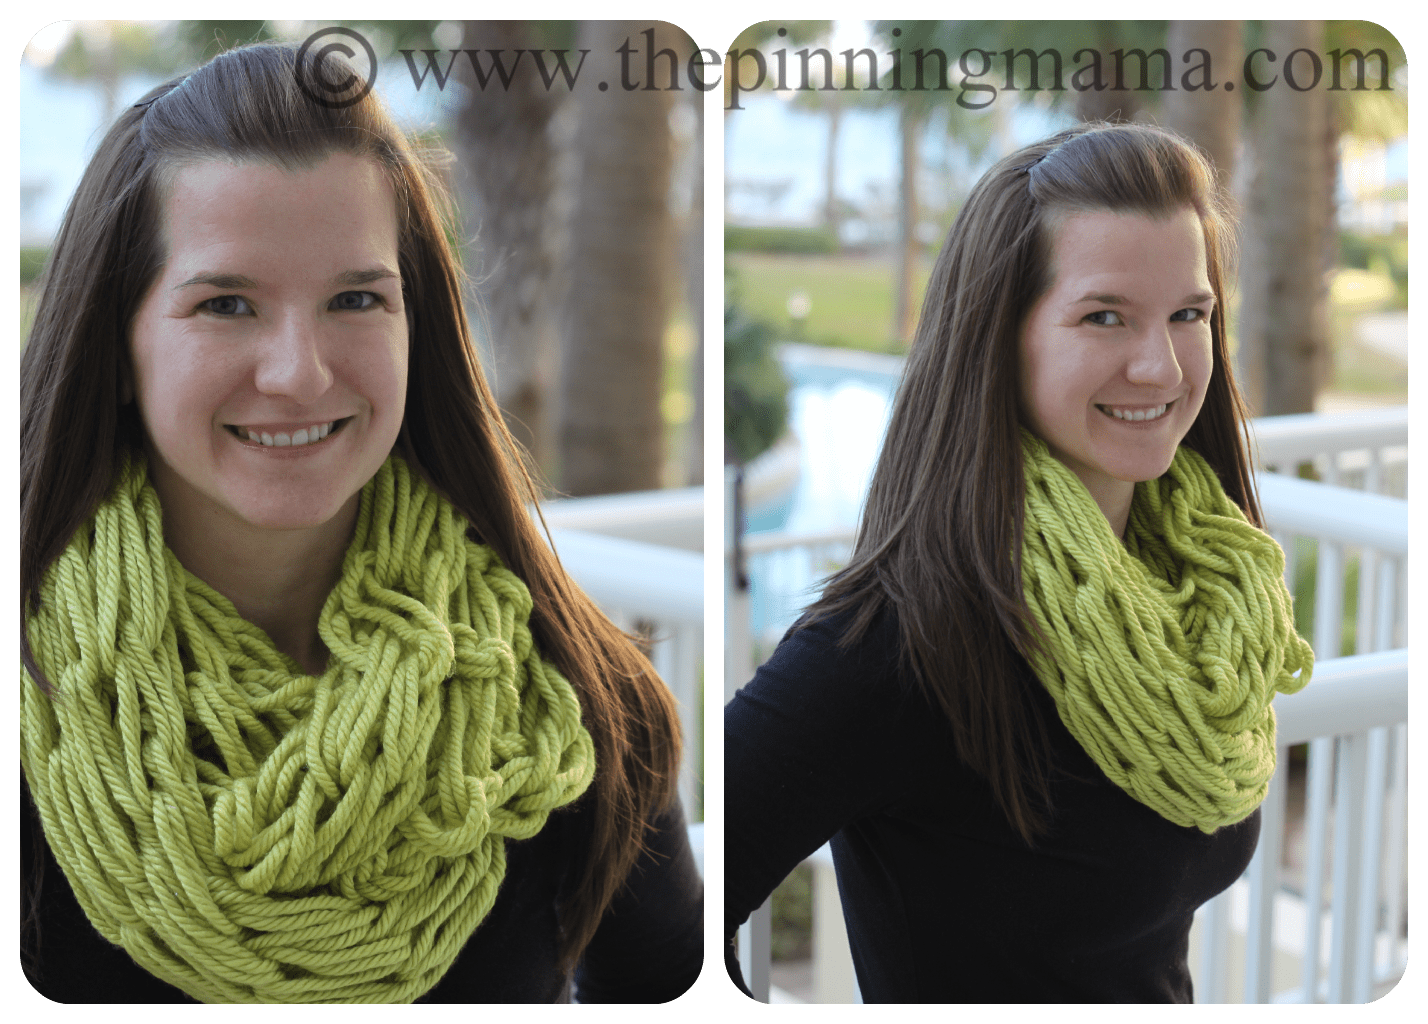
Okay, I am going to go ahead and give away the ending… BEST. PIN. EVER! If you need a confidence boost make this scarf and wear it out in public. I wore mine out for about 2 hours on a lunch trip to Chick-fil-a with the kids. I got at least 5 compliments on it and when I told them I made it people just gushed over how beautiful it was and how talented I must be. Joke’s on them though because this scarf was super quick and easy to make! Either way, it definitely made my day!
A while back I pinned this gorgeous chunky knit infinity scarf from Simply Maggie. I wasn’t too sure about this because I am not on any level a knitter or crocheter. I don’t know anything about it and even though I tried to learn once about 10 years ago, I failed miserably and admitted defeat. Not wanting to dig up those feelings of failure I didn’t click on the pin for awhile but when I was going back through my crafts board to get some ideas the other day I did it. I clicked on it and found myself at Simply Maggie. After reading through her post I was totally encouraged that I just might be able to pull it off. She explains everything so well and provided two videos to guide you through each step of arm knitting the scarf. And let me tell you, not only did I attempt it, it was easy and turned out fantastic! I love my new scarf and I love Maggie for teaching me!
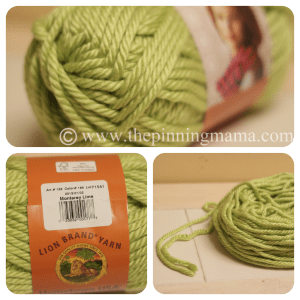
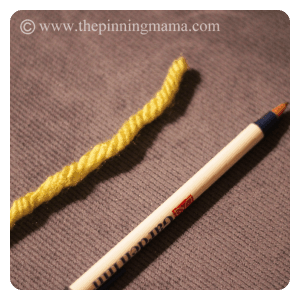
To make this you will need 2 skeins of pretty bulky yarn. You need a thick yarn to keep the shape of the scarf since the knit is so big. I used this Lion Brand Hometown USA yarn in Monterey Green. You can see the gauge of it is about the size of pen.
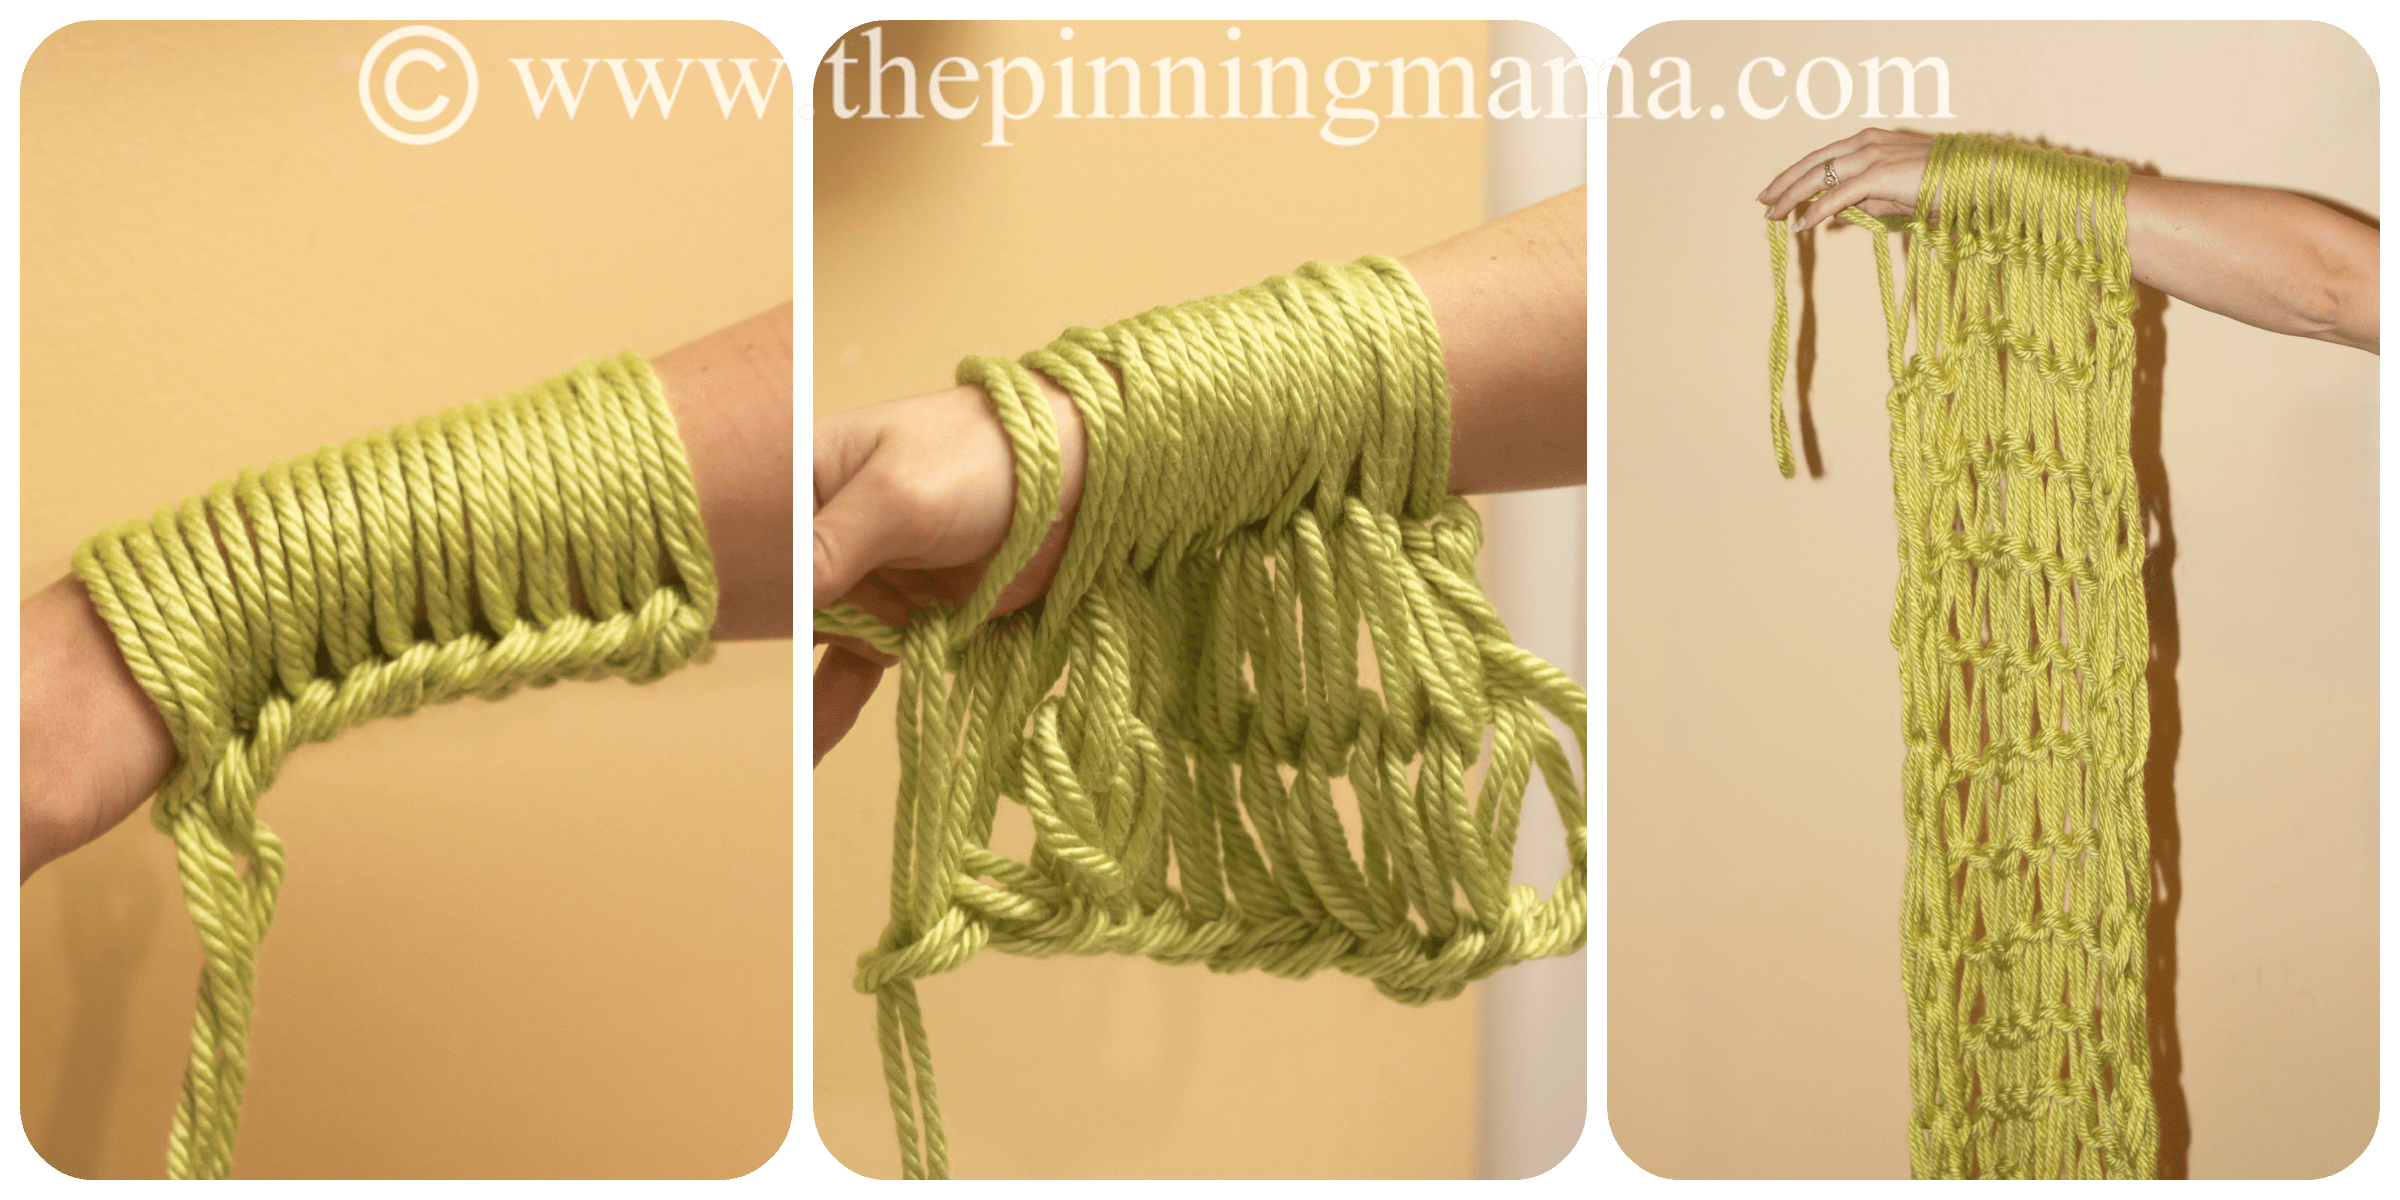
Once I had the yarn you will find the end of each skein and line them up together. You will knit using two strands in the place of one to give it body. The first part of the scarf was the casting on process. You decide how many rows you will want on your scarf and create that many rows casted onto your arm. I used 12 on this scarf but with the thickness of it probably could have used 10. When you watch Maggie’s video make sure to stick with it because after she shows you from the front the view will switch to behind her so you can see the knitting as you will when it is on your arms. This is very helpful. Casting on was not too difficult but definitely the hardest part of the scarf for me. My only other note here is that when she says to leave a long tail, really, leave a long tail. Mine ended up to be two arm lengths after my first was too short and I had to start over.
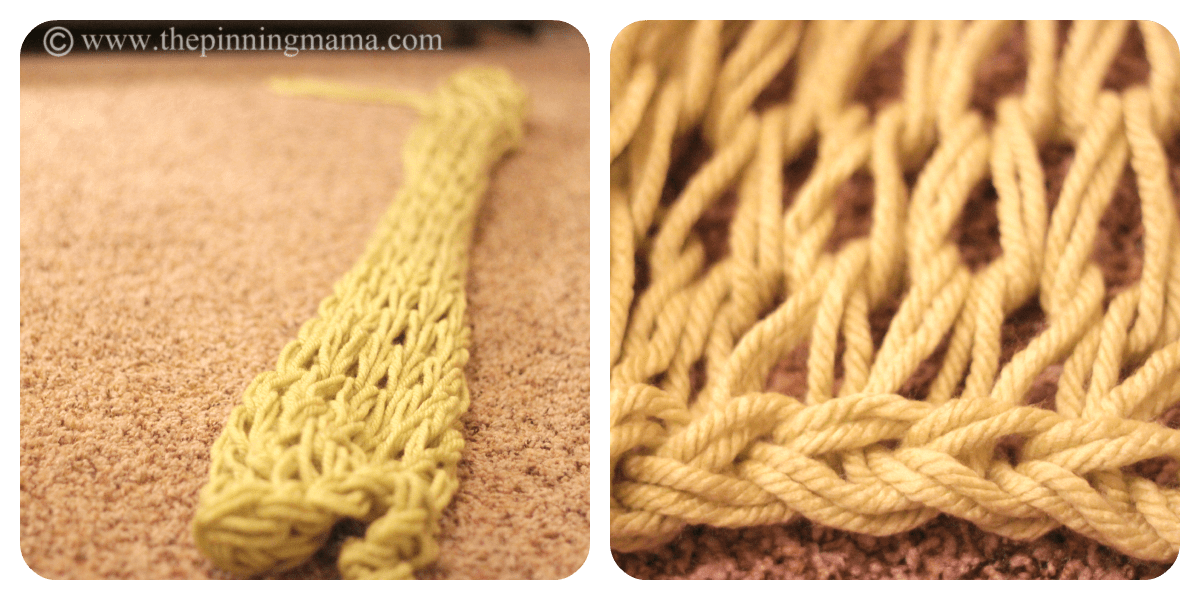
After casting on you start the knitting process which was super easy. You are basically pulling loops over your yarn and switching them from arm to arm. After about three loops you have this down pat and will be able to go lightening fast to the end of your scarf. At first it won’t look like much but after you get a few rows going you will see it all come together. Just to prove it, I made you a little video. This is me arm knitting my very first time. You can see I have to stop and think some times but all in all it goes very quickly!
Once you reach your desired length (mine was about 65”) you can finish the scarf by binding off. Again, super easy and great directions from Maggie. The video in the original pin did not include binding off and since I didn’t even know what binding off meant I read through the comments and found that Maggie had made a second arm knitting video that explained that process too, so make sure to watch it if you are a novice knitter like me. This video is also all shot from behind so I actually ended up using it more than the first.
Seriously though, look at this knit, the pattern the texture! I love it all. I would have bought this! only I didn’t because I made it for less than $6!
Once you have your scarf bound just place the ends together and weave the tail through the knit and tie off to sew the two sides together making an infinity scarf. Easy peasy. The first one probably took me an hour start to finish since I was learning but if I did another I could be done in 30 minutes easy.
I love this scarf. I would even go as far as to say it is my favorite craft I have done from Pinterest. I, the summer-loving, shivers in 70 degrees, loves the Vegas heat, person actually hope that it is cool enough to wear my scarf at least one more week. So get yourself some yarn and start arm knitting, hurry, before it warms up!
Did I enjoy this craft: Yes! Loved everything from the learning to knitting to finished product.
Did anything unexpected happen? I had to redo my first “casting on” row because I didn’t leave a long enough tail. Also, after reading the comments I decided to use 1 skein from both ends instead of two which was a mistake because I ran out of yarn and had to go back to the store in the middle of my project.
Overall Rating from 1-5: 5! I would give it a 6 if it was possible!


Carol says
Hello,
I love that scarf! I have tried to do one myself but have lost an end stitch does anyone know how to pick up the dropped end stitch. I cannot find a way to figure it out.
Thanks, Carol
Sonnet @ SohoSonnet Creative Living says
Great Post! I am hosting a pinterest challenge and one of the participants followed your pin for inspiration. Check it out on my blog tomorrow morning!
Kimber says
Thank you! I will have to take a look!
bannockbaby says
Hi there,
I’ve shared your blogpost and the picture for it in a tips discussion board on our Ravelry site (http://www.ravelry.com/discuss/jamiesons-of-shetland/2593666/1-25#2). If you would like me to take this down, please let me know, I don’t want to step on any toes!
Gabrielle says
Thanks for you tips, because i wanted to use only one skein, but i’ll buy 2 finally
Sue Rindflesch says
Kimber, I am a 66 year old disabled woman. I LOVE your scarfs! I wish I could complete one in 30 minutes! Do you ever sell any scarfs you make, and what would you charge? I would love to make on myself, but, thats not going to happen!
I am sure I would love one, maybe two. Let me know, if you would, Please. My name is Sue, my e-mail is Susanrenea1950@Hotmail.com. Thank you so much in advance.