When the weather starts cooling and the colors start to change it always makes me nostalgic for a few fall things… Apple pie, big soft sweaters, crisp air, and pumpkin carving! Ever since the first year we were married we have carved pumpkins together and it only has gotten to be more fun as we have added to our family.
The first year of our marriage, around this time I went to the supermarket and got us two pumpkins. As we started to carve I decided I wanted a cute monogram pumpkin and started drawing out an M on mine. When Brad looked over and saw what I was doing he immediately erased the face he was sketching on his and upped the ante. I ended up with a monogram and he ended up with quite an intricate F-16. Ever since that first year we go into it knowing that it might be just a little bit of a competition, ha!
Now that we have kids, our pumpkin carving rivalry has tamed, but I always like to change it up a bit mo make sure we don’t have just another pumpkin sitting on our porch.
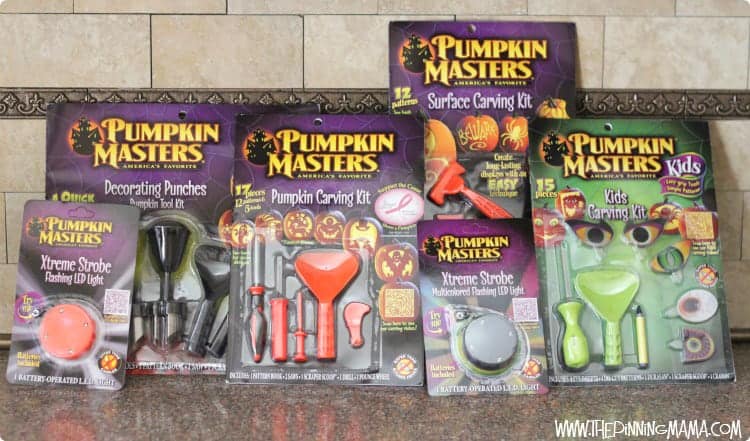
So this year we figured out a secret… well it’s not really a secret… more like we are the last ones to know! For the first time in our pumpkin carving history, we used a Pumpkin Masters Carving Kit. You know the one you see hanging on the shelves in the Halloween section at every local grocery, drug, or craft store, and nationally at Target and Walmart.
For years we have been using a kitchen knife to try to carve out these intricate designs. Let me tell you how silly we felt after about 2 minutes of using the Pumpkin Masters kit. Not only is it significantly easier to carve detail in your pumpkin, it is also significantly safer than using a kitchen knife.
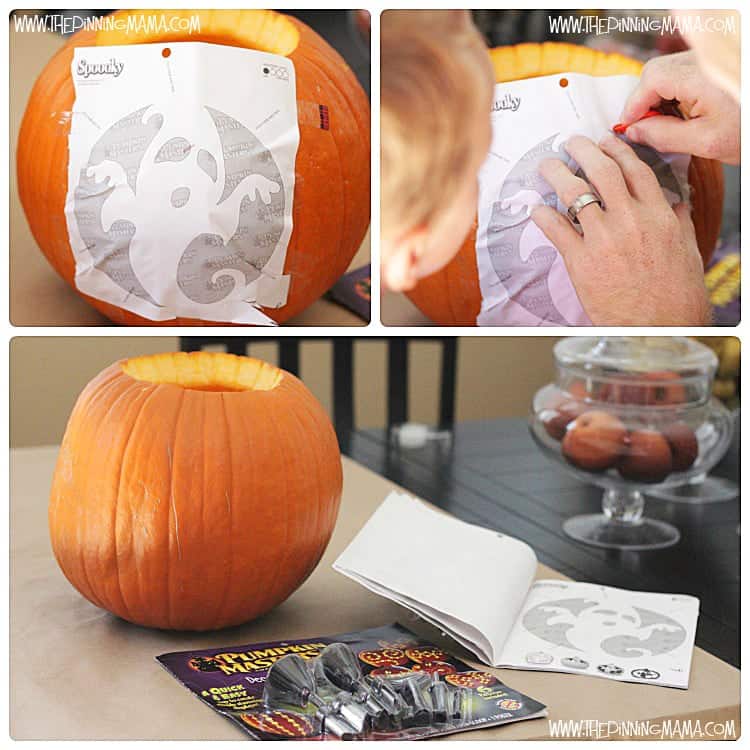
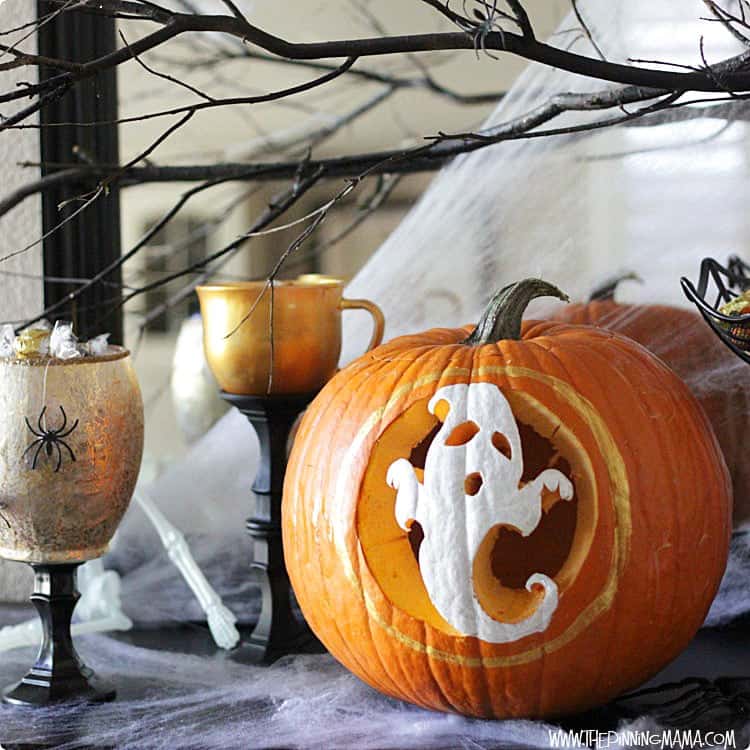
Pumpkin Masters makes all sorts of kits that allow you to carve, shave, or punch your pumpkin. This year we just went with the straight up carving. Each kit comes with a book full of premade templates to help you carve. My little guy picked out the ghost so after cleaning out our pumpkin we tore out the page and then taped it onto our pumpkin.
Next we used the pouncer wheel to trace the pattern right onto the pumpkin. This basically leaves a dotted line for you to follow when you cut your pumpkin.
Using the knife you cut through the pattern. The thin knife makes it much easier to cut and maneuver through the pumpkin than cutting with a kitchen knife.
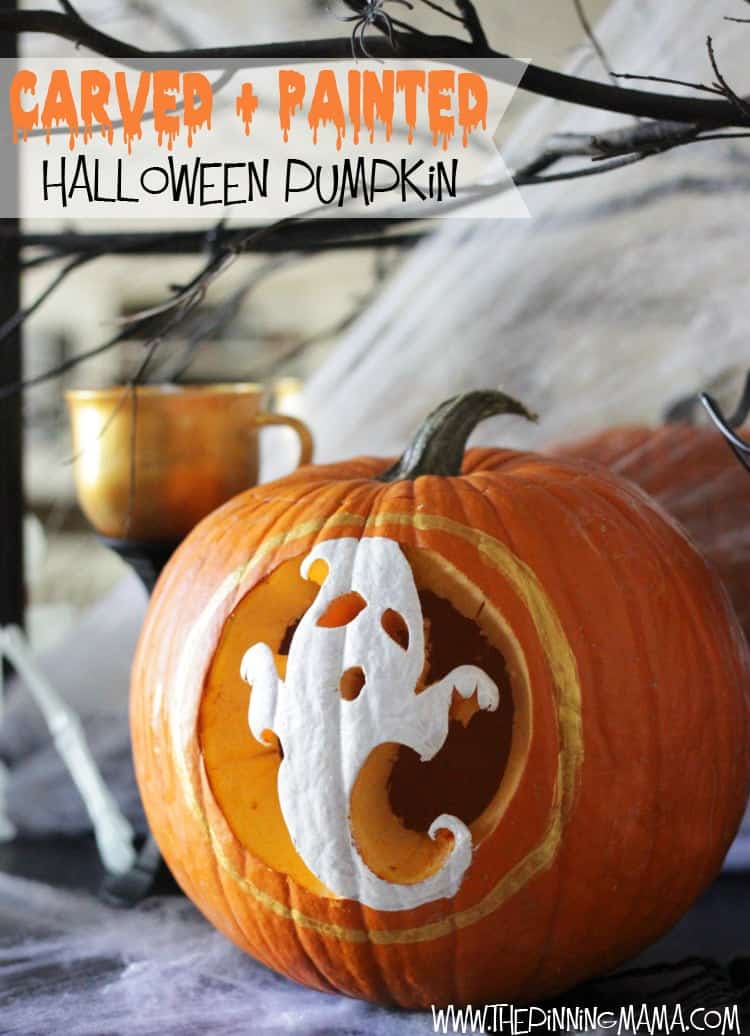
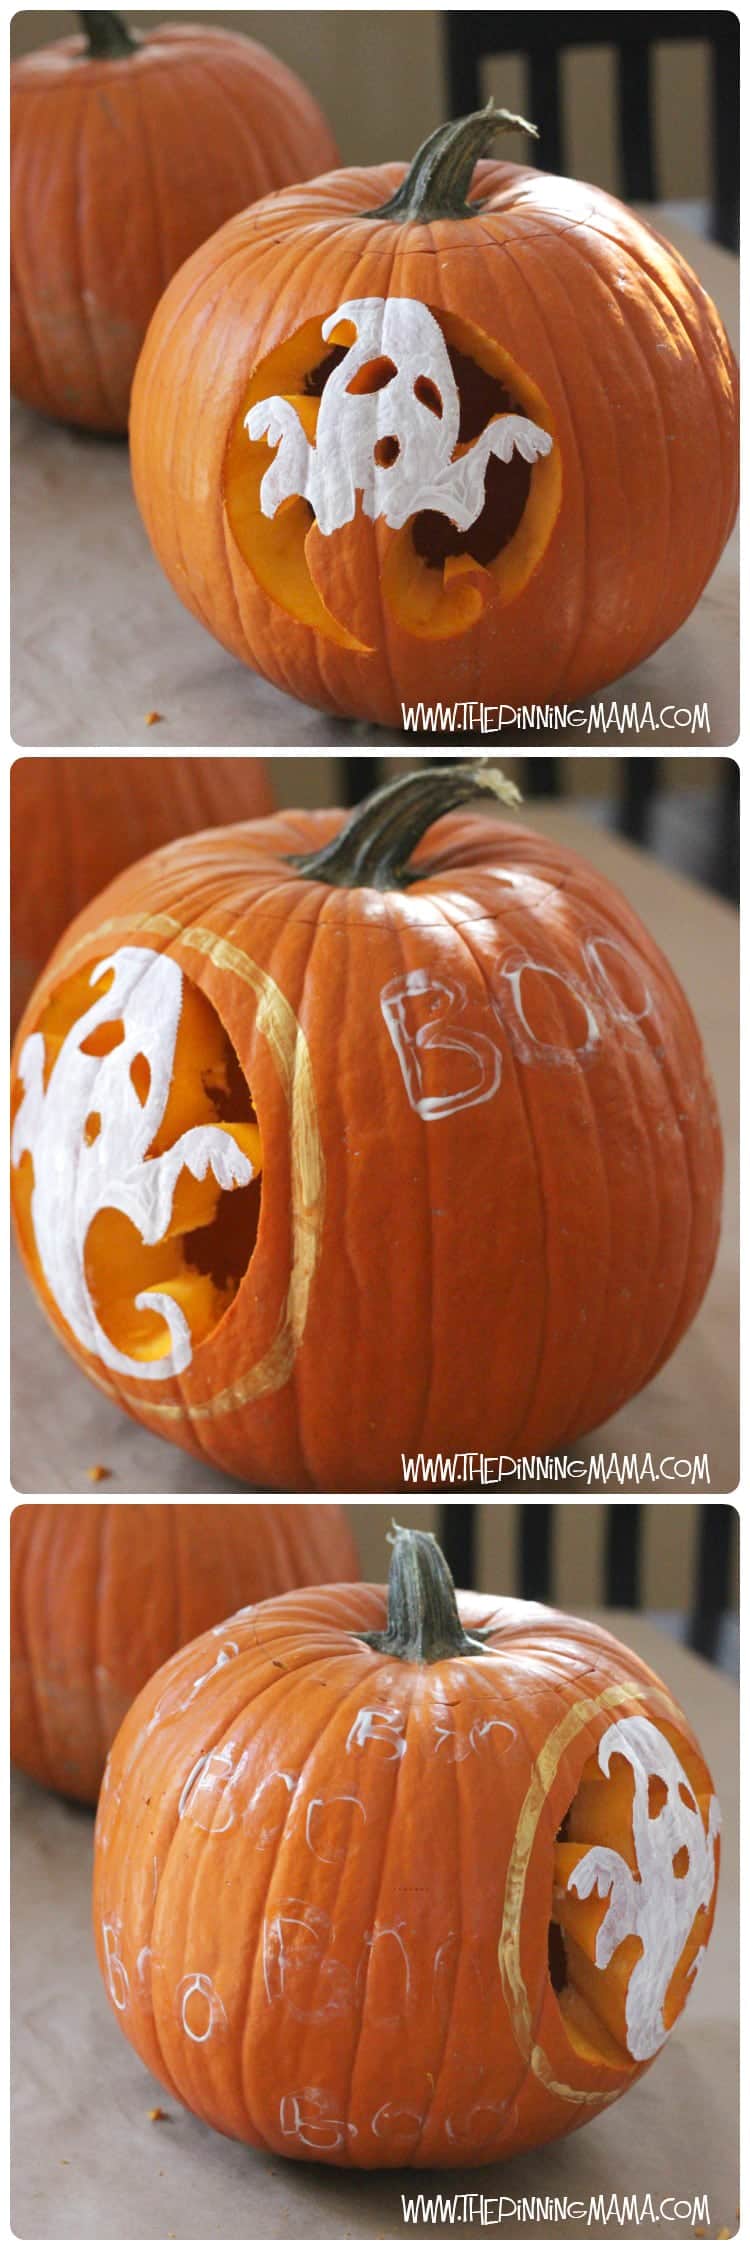
After the pumpkin was cut, we discussed it and thought it needed an extra special touch. By adding craft paint to the pumpkin you turn it into a striking piece of decor for daytime or after dark. The ghost was painted white and a simple gold circle was drawn around the design to frame it.
For one more little extra we then wrote BOO all over the sides and back of the pumpkin in clear glow-in-the-dark paint so that as the light fades the glowing BOO shows up as a special surprise!!
Spending quality time with your family and making your pumpkin extra special is really simple with Pumpkin Masters Carving Kits and a little paint!
Are you feeling creative now? Pumpkin Masters is having a carving contest! Pumpkin Masters is searching for carving talent as part of its annual Pumpkin Masters Carving Contest. All you have to do to enter is share a pic of your carving via Instagram or Twitter with #PumpkinMasters2013, submit via the Facebook app or send via email to: social@pumpkinmasters.com for the chance to win one of six prizes, including $5,000 for the Best Pumpkin. You can find more information on official contest details and rules here! Contest runs October 1 – 31, 2013.
I was selected for this opportunity as a member of Clever Girls Collective and the content and opinions expressed here are all my own.




Therese @ Fresh Idea Studio says
What a fun time and contest! So many possibilities for carving but most of all, I like how it’s all about the family time and sweet memory making with the kidlets.
Happy Halloween-ie!
Kimber says
Thank you Therese! I hope to have lots of traditions like this with my kids because I know traditions are what they remember through the years. Happy Halloween to you too!
Jen says
That’s really cool, and I like how you gave the background of your Mnogrammed M, and he has to “one up” you with an F 16. That’s too funny! We have used Pumpkin Masters Kits every time we carve a pumpkin, they are AWESOME!
Kimber says
I know Jen! Men just can’t be outdone haha! It is such a fun memory!
brett says
we love pumpkin masters kits too 🙂
we have a funkin carved with an M – it was our “card box” at our wedding 10 years ago and it’s always part of our halloween decor.
we like to mix it up with our pumpkins- my kids always ask for crazy intricate designs like “gotham city and batman flying and robin driving a car”
Kimber says
Haha! Brett! How in the world do you carve those things!? I am in awe. You should definitely enter the Pumpkin Master’s carving contest if you are doing designs like that!
popcosmo says
Wow, you are serious about your pumpkin carving! Reminds me of a contest I went to with friends and it was a no carve contest (say whaaat?)!! They had items we could use and we had to partner up. We made a hula dancer and had a blast. And yes, I’m a tiny bit competitive too… but the kids just like to have fun carving, because they know that Mom is no good with knives (in the kitchen, that is!) So you’ve solved all my problems: pumpkin creativity, the need for competition, and lack of knife skills. Those stencils and dots make it look so simple. Definitely giving it a try!!!
Kimber says
Haha! Thats a funny story. I thought the dots were so genius! You know I can never have a simple and straight forward project, right??
Recreate and decorate says
Cool carving!! What a fun giveaway for Halloween!
Kimber says
Thanks Wanda! I so appreciate you stopping by as always!!
Codie Aguilera says
i am having a pumpkin painting contest so im trying to get good ideas do u have any?? if so get back to me asap thanks!!!!
Kimber says
Hi Codie! Try browsing the Pumpkin Master’s website. They have a lot of great inspiration for all sorts of ways to decorate your pumpkin! THanks for stopping by!