Lesson 5! Can you believe it?! Today we are talking the who, what, when, where and why about the Divide feature. Silhouette Boot Camp is filled with mini lessons that help us learn the terminology used in the Silhouette Studio software version 4 so that we can cut any design we can dream up with ease!
Looking back, in lesson 4 we talked all about the crop tool in Silhouette Studio. We used the crop tool to stack shapes and crop the excess off to fill designs with patterns, make words into a shape and even help us make a knock out design in Silhouette Studio. It is definitely one of my most used tools, so you you missed that lesson go catch up now!
Before we get started, there are a couple of things to help you get the most of the Boot Camp:
- If you are new here, take a look the Silhouette Boot Camp Welcome with all 20+ courses listed and catch up on any you missed.
- Sign up for my Silhouette Newsletter which will email you when the lessons are released each week.
- Pin this post! Each of these lessons takes me on average, 8-12 hours to create for you. I can do these lessons for FREE thanks to your support in coming our site. By pinning this post or sharing it on Facebook with your Silhouette friends, it helps me spread the word so that I can keep the resources and freebies FREE to you!
With this lesson on the divide tool we are full on diving into the feature contained in the modify panel that allow you to combine shapes to change them into a new design. The divide feature does one very specific but very useful task, taking multiple shapes and allowing you to overlap them and break the shape into multiple pieces. This is one of those things that you don’t use all the time, but is a HUGE problem solver and time saver when you have the right task!
What Does Divide Mean in Silhouette Studio?
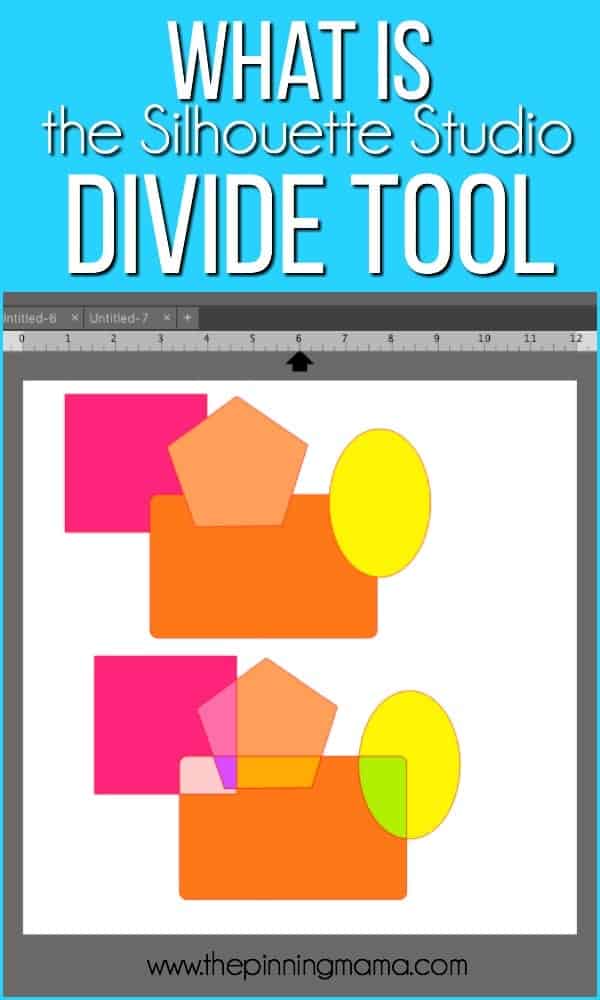
Divide allows you to overlap shapes and then divide everything that overlaps into individual pieces. Every intersection will become a break line and will be able to pull those pieces apart from each other. Example if you make 2 squares and have them overlap in a corner and divide them. You will now have a smaller square shape (middle over-lapping part) and the corner removed from both of the other squares (outer squares.)
Where do I Find the Divide Feature in Silhouette Studio?
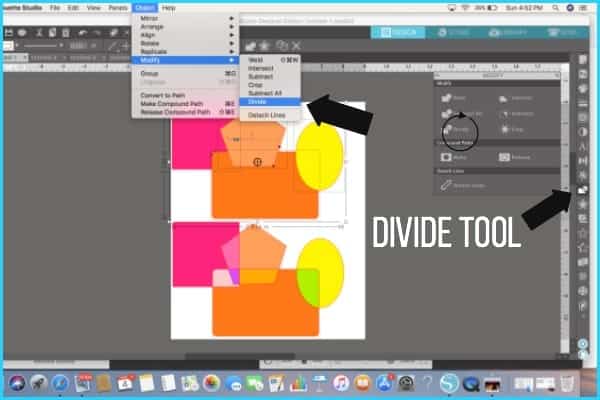
You can find the Divide Feature in the modify panel, accessed in two main places:
- In the right menu bar, click the button to open the modify panel. Then choose Divide in the menu. The modify panel is icon with the rectangle with circle.
- From the pull downs at the very top of the screen: Object –> Modify –> Divide.
How do I Divide Shapes into Multiple Pieces in Silhouette Studio?
- Open up two or more shapes. Up to eight shapes can be divided concurrently.
- Move the shapes so that they overlap in one or more places.
- Select all
- Overlapping designs by clicking one, then holding shift and clicking the other(s) (you will know they are selected if they have a light box around the shape)
- Open the Modify window in the top right tool bar and then click Divide in the menu options.
Example of Divide:
So I think we all understand now what the Divide tool does, breaking up shapes where they overlap, and that is all well and good, but let’s talk about the practical uses. Here are some examples of using the Divide function in the Modify Panel that are things that are frequently used for actual project applications:
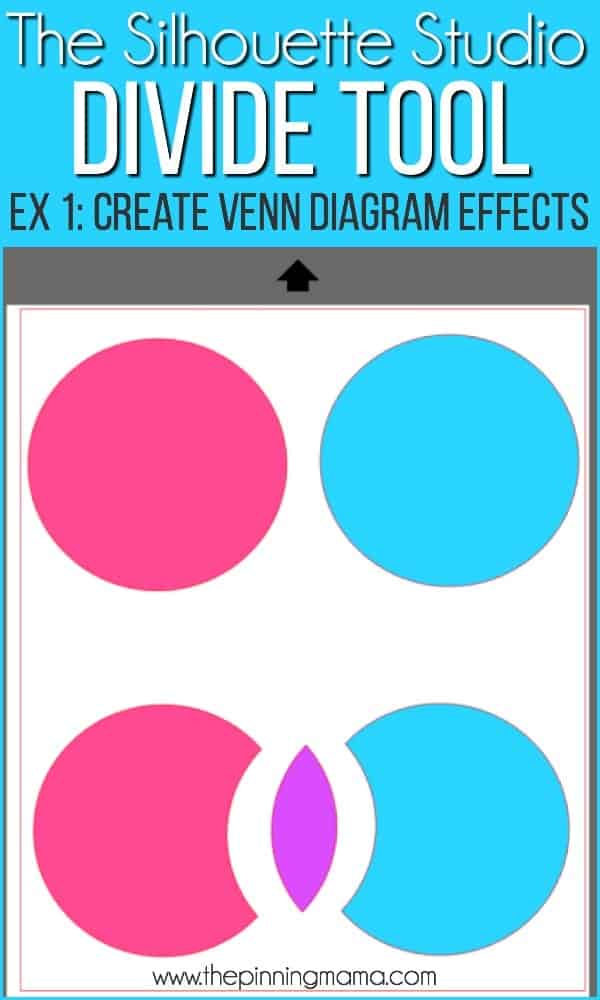
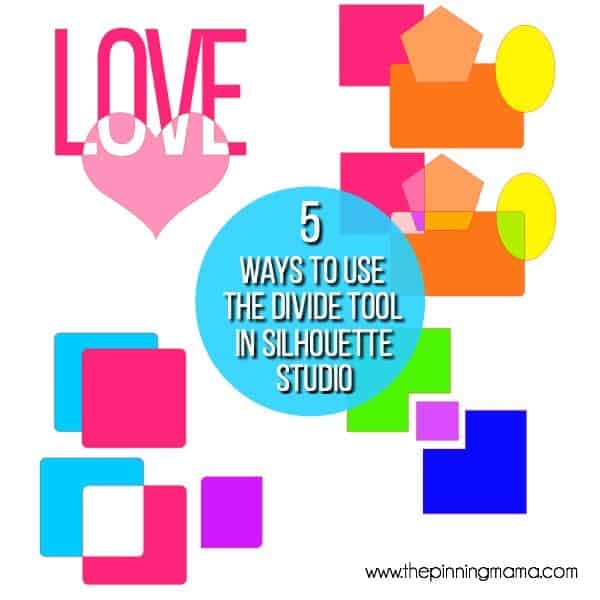
- Overlapping circles to create a Venn Diagram effect. This is the easiest example to start understanding just how the divide tool works. Any shapes overlap will break into individual pieces.
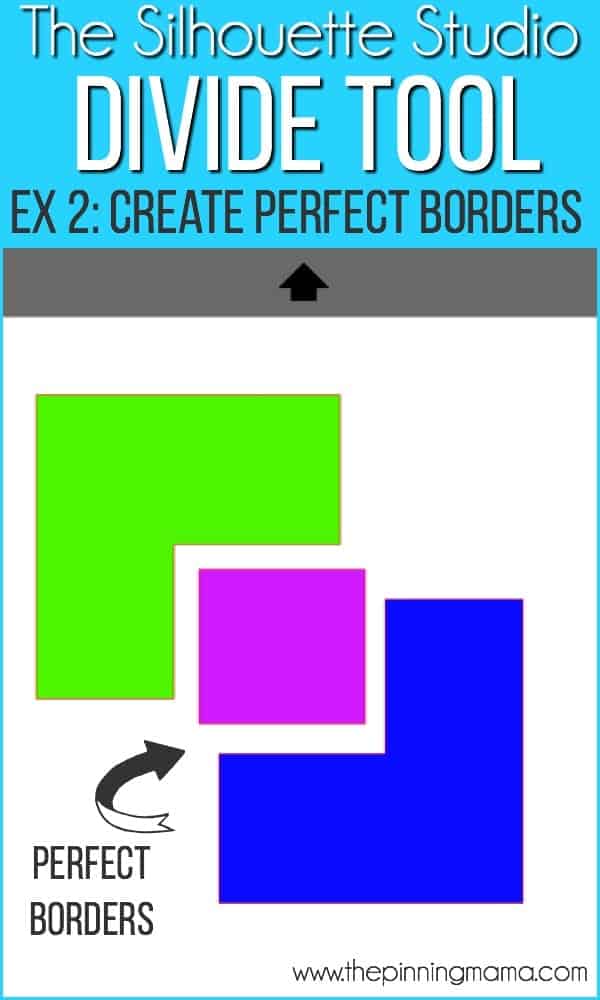
- Overlapping objects to create a perfect border in between. You can see where I used the divide tool below and then separated the shape to create perfect borders. A square is a simple example of this, but it can be really helpful when you have a more complex shape where you want to have another piece follow the outline of the shape.
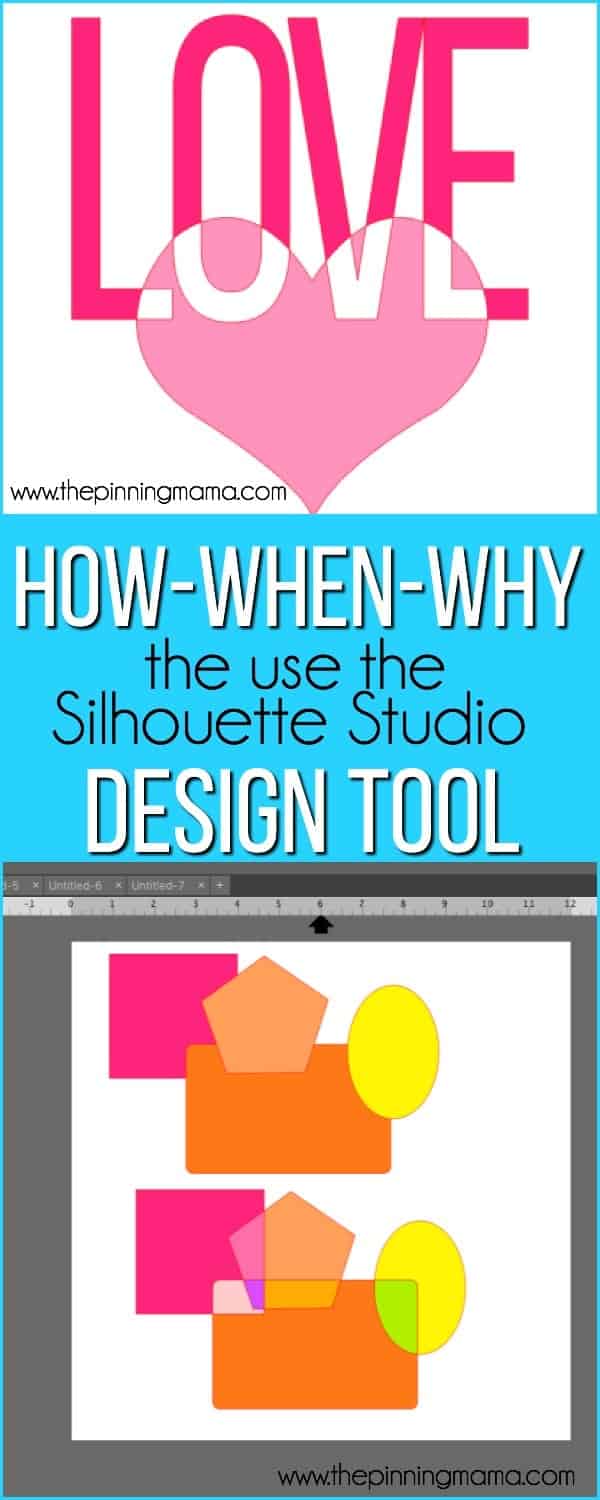
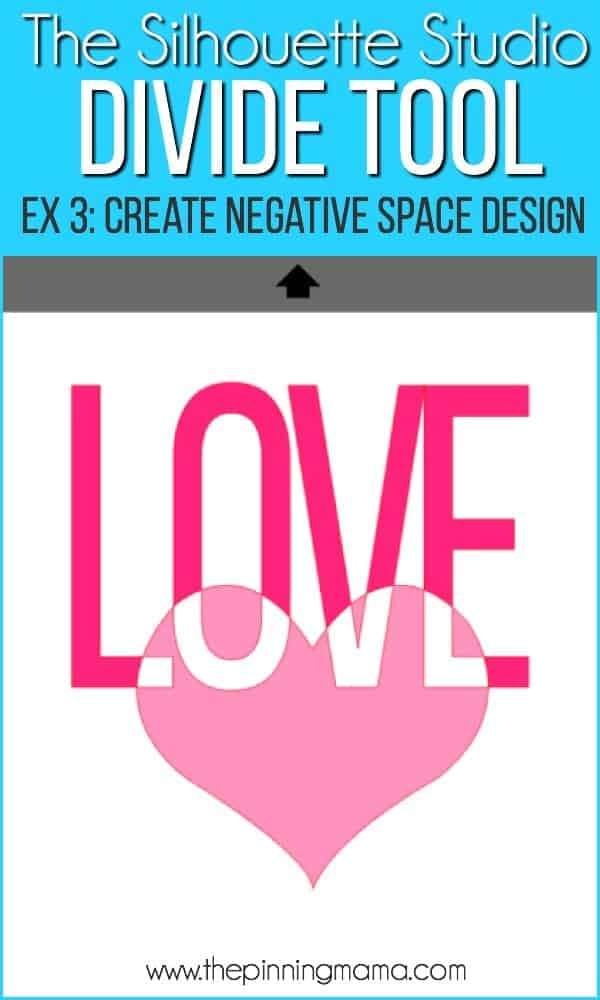
- To create a negative effect when overlapping designs or text and shapes. In the example below I used the divide tool to add cutlines where the heart and wording overlapped. This allowed me to easily remove the overlapping pieces to create a cool negative effect in the design.
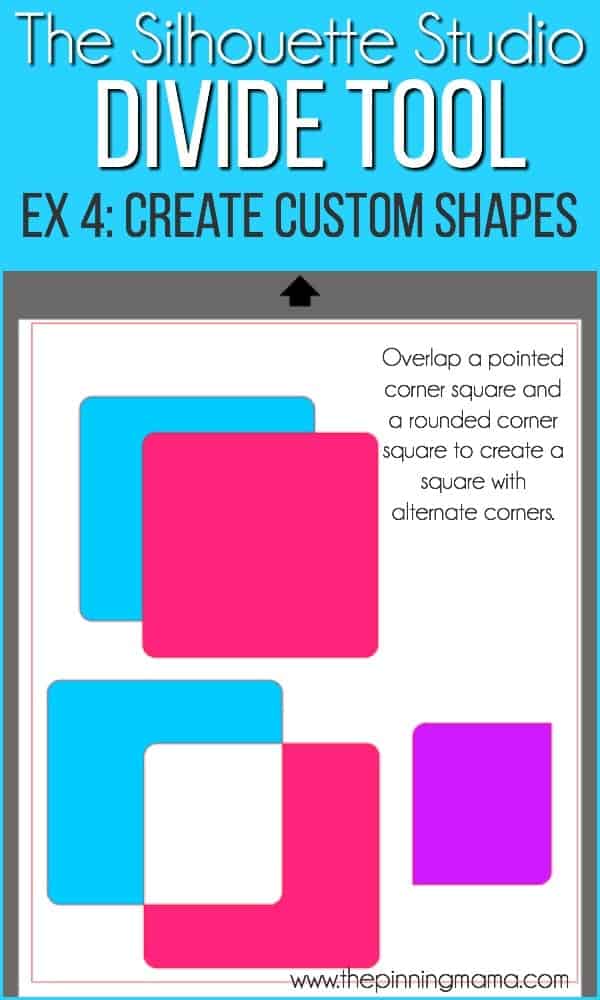
- To make custom shapes that are combinations of round/straight. For example creating a square with 2 rounded corners and 2 pointed corners. There isn’t a tool to do this, but it is really a basic shape and a shame to have to purchase. The divide tool makes combining a pointed corner square and a rounded corner square to make the hybrid very simple!
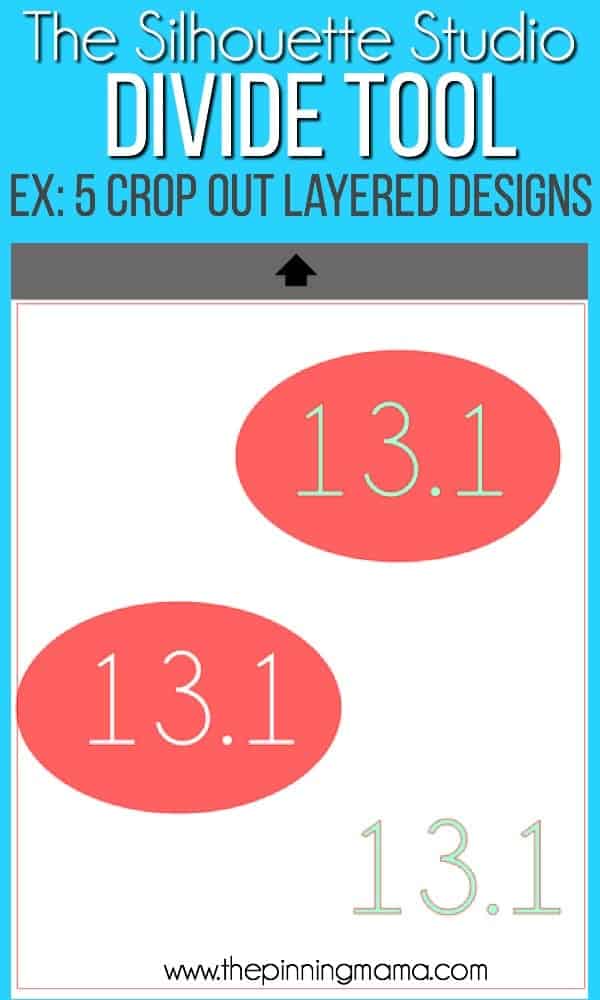
- When layering vinyl and you want to eliminate the excess behind other colors so that it is all the same thickness. If the example below was a decal we were making for our car to celebrate running a half marathon, we could design the decal as we wanted it, then select all —> click divide —-> remove number from oval to cut in separate colors. The oval will now have a perfectly sized and spaced cut out of the text you will layer on afterward. This way when you make your decal, the numbers will sit inside the cut out of the oval instead of on top which will make the entire decal the same thickness instead of building up layers to create areas that are much thicker. This is especially helpful when layering multiple colors of vinyl.
Make sure to watch the videos to get the full explanation for each of these. They are much more easily explained through showing you than typing words! After the tutorial and the video, I hope you have a much better idea on what to use the divide function in Silhouette Studio for so that you can get really creative with your designs! Make sure to stay tuned for Lesson 6: All about the Intersect Tool!


Gibboney Vicki says
Could you turn up the volume on your end? I have my computer’s volume at the highest level and would like to hear you a little better. Thank you.
Emily says
Yes I will, thank you for your input.
Sandy Wootten says
I can’t tell you how much I appreciate this bootcamp. I have had my silhouette for some time and now I am finding out how to use beyond just buying designs from the silhouette storm. Thank you for your kindness.
Alfreda says
I’m a beginner and quite overwhelmed with my silhouette. I want to print a quote and put it on a wall plague. You make everything look so easy. Can you tell me how to make it where l can move it around and adjust or edit if l have too.