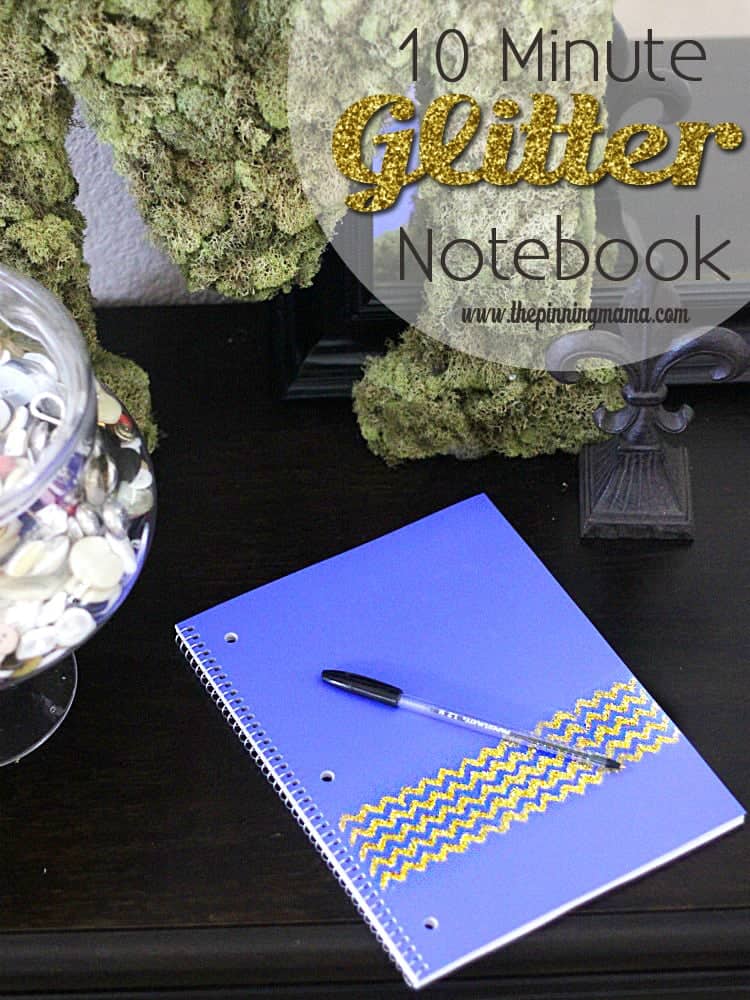
The FTC wants to make sure you know I was provided the Modge Podge Rocks Stencils I used to make this fabulous DIY chevron glitter notebook for free! I want you to know they were really fun to use 🙂
What is it that makes me compelled to jazz things up? Of course I could just write in a plain old notebook, and I am sure it would work just fine, but who really wants a plain notebook? I mean it is kind of my motto in life that if it can have glitter, it should! So it seemed almost fate that this notebook would get a makeover with chevron and glitter!
I picked up the notebook at the dollar tree. I really liked these in particular because the cover has no markings on it and is made out of a plastic-type material so it is a little sturdier than normal. The only other supplies you need are some glitter, a bottle of Modge Podge, a spouncer, and the Modge Podge Rocks Stencils that make it all come together. The whole project will only take you about 10 minutes (plus drying time.)
Make sure the surface of your notebook is clean and dry, then carefully peel back the stencil and line it up on your notebook where you want the chevron to go. I only used 5 rows of the stencil to make the embellishment on my notebook. These stencils are great! They are much thicker than vinyl you would use with your cutting machine so they are easily reusable for many projects. There are 6 pretty fun patterns, but I knew chevron would be perfect for this little notebook. See more about the Modge Podge Rocks Stencils here.
Next use your spouncer to apply Modge Podge to the rows of chevron that you would like to glitter. Modge Podge has a reduced drying time so make sure that all of the area you want to use is still wet when you finish, going over any areas that dried a second time.
Gently peel back the stencil and then sprinkle the remaining Modge Podge with glitter to coat. It is best to have piece of paper under your working surface so as you gently tap or shake off the extra glitter you can easily gather it up and pour back into the glitter bottle. Wouldn’t want to be wasting any of this precious resource haha! Now you will want to immediately wash off your stencil with warm water and pat it dry.
Repeat these steps, applying the stencil to line up the pattern across your notebook, applying modge podge, removing the stencil and sprinkling the design with glitter until the pattern stretches across your notebook.
Let your little beauty dry and then you can use a soft brush to brush off any remaining glitter. You can use a small brush to touch up any places that might need perfecting by applying a touch of Modge Podge and a sprinkle of glitter. Once you have it perfect (and dry) you can either just start to use it or use your small brush again, to apply a coat of Modge Podge to the top of the glitter to prevent shedding, ie. sharing your love of glitter with anyone who ever comes in contact with you!
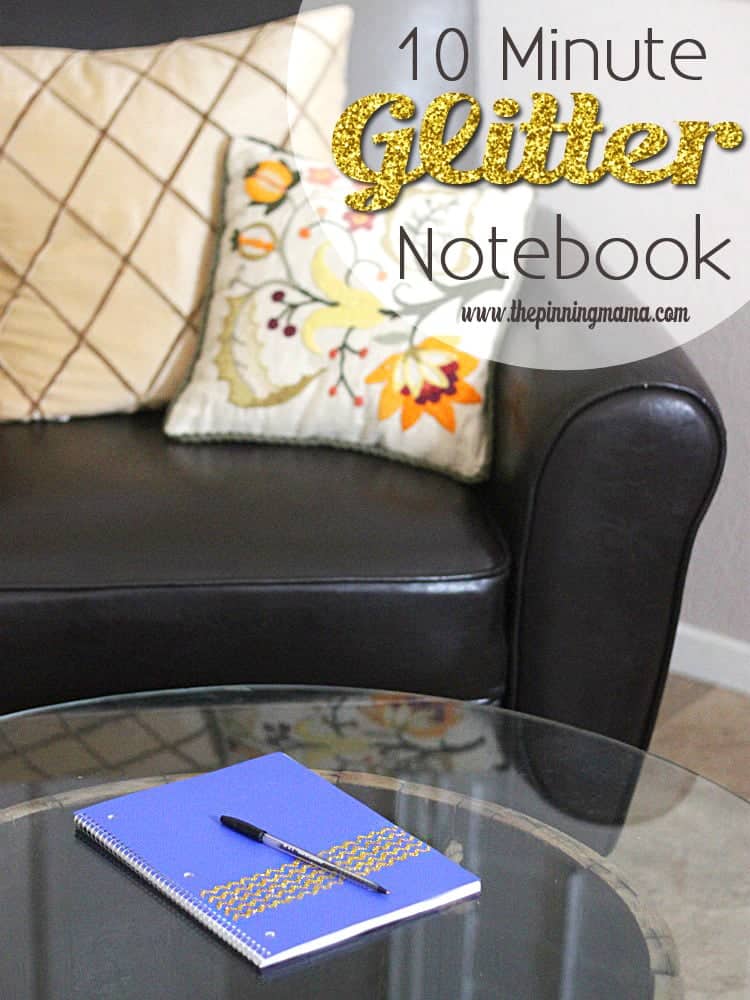
And there you go… 10 minutes later you are the owner of a glitterific new notebook! It looks fabulous on your table, or in your bag, or writing in it at a cafe, or sitting by a chair. Super cuteness overload! Enjoy!
Oh wait… before you go, are you following us on Facebook? We share all of our newest projects there. We would also love for you to find us on Pinterest where we pin some of the best crafty stuff from across the web!


Michelle says
Cute!! I bet my daughter would love this!!
Kimber says
Thanks Michelle! I bet she would! Nothing better than a super cute and easy to make project!
Jen says
This is sooo cute! I love that idea. We have a couple of notebooks we are doing a project with soon, and I bet Avery will love to add a chevron print to hers!
Amy Anderson says
Very cute! This would be great for gifts or party favors – thank you!
Kimber says
I didn’t even think about party favors Amy! That is genius!