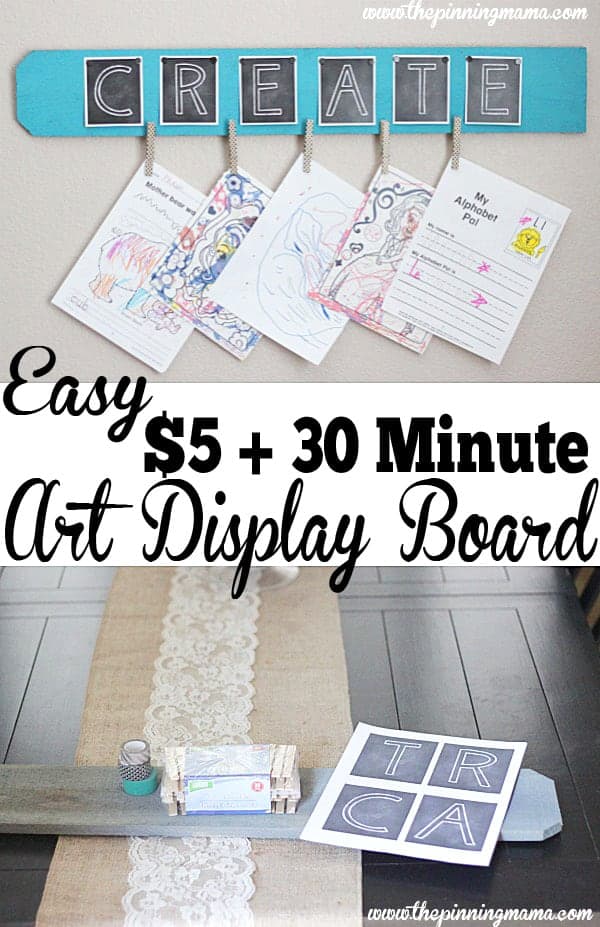
This is a great way to show off your kids art or school work in your home. You can make it in less than 30 minutes with only $5 worth of stuff!!
So my kids have been to “school” (what we call their preschool/daycare) for exactly 26 days and we are already OVERWHELMED with the amount of art and school work that the kids bring home. Don’t get me wrong… I am thrilled they are doing these things with them. I am pretty sure that in those 26 days they have been a better “mom” than I have over the past years of their lives cultivating their creative side. But really… what do I do with it all?
To avoid the sly shuffle off the counter into the trashcan, I have a new way that they can display the pieces they bring home that they are most proud of. A art display board we hang in the kids area of our family room. And the best part? You can make it in as little as 30 minutes with only about $5 worth of materials!
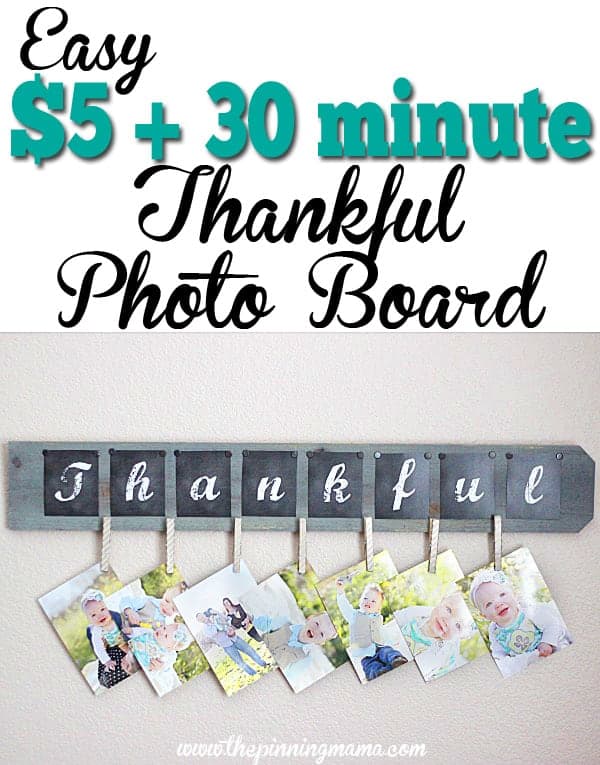
I got the inspiration from this Thankful photo board I put together earlier this year to display photos. It was such an easy project and I am constantly getting compliments on the result so I figured, why not make another one for the kid’s stuff?
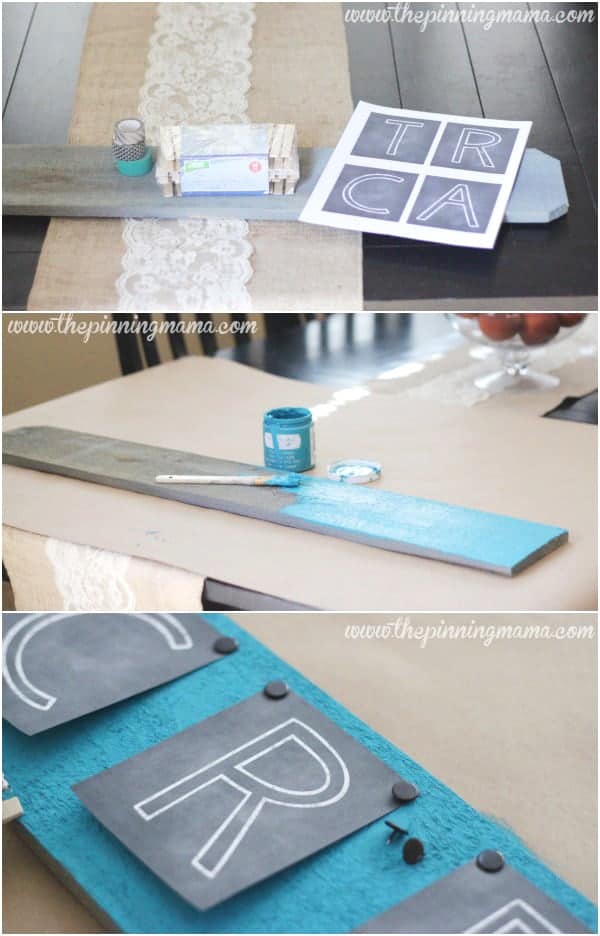
To get started you will need:
- 1 Fence post – cut in half
- Paint / Paint Brush
- Create Printable – Scroll to bottom for FREE printable chalkboard letter download
- Scissors
- Flat Thumbtacks
- Clothes Pins
- Washi Tape
- Glue gun/ glue sticks
How to Make a Kid’s Art Display Board
First you will need to get your wood. You can grab a fence post at any hardware store very inexpensively. Mine was $1.66 and each post will make 2 boards. You can either ask an employee in the lumber section to cut the post in half for you or take it home and do it your self with a hand saw or circular saw.
Next give your board a coat of paint or two to cover in the color of your choice. You can really use any kind of paint or stain you want since this piece is purely decorative. I used leftover paint from another project since I only needed a small amount to cover the board. If you don’t have any paint though, the most affordable way to buy it is either in the mis-tint section at the hardware store or just grab a little bottle of acrylic paint at any craft or superstore. They are usually under a dollar anywhere you go!
While the paint is drying print out CREATE chalkboard letters. {Scroll to bottom for free download} Then gather your clothes pins and decide how many you want on your board. I used 5 equally spaced between the letters, but you could easily do 7 adding one more to each end of the letters. I was able to buy the clothes pins at the Dollar Tree and got 36 in my package for, well, a dollar! I also searched high and low and found a great deal on washi tape at Oriental Trading. They have many colors and patterns for just $1 a roll. The one pictured though was actually bought in the dollar spot at Target and is seasonal. You can also find washi tape at any craft store and here on Amazon.
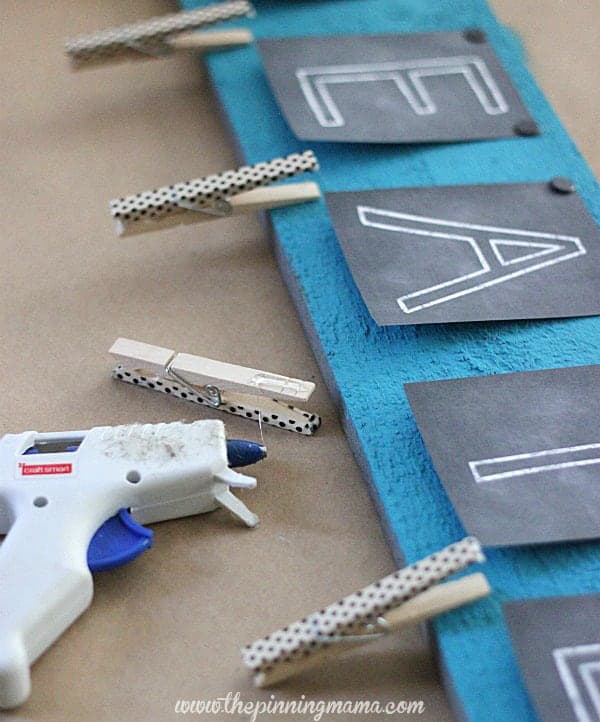
Cover each of the clothes pins with washi tape, folding the extra over the sides of the pin or just trim it with scissors. If you want to secure it better, you can use a dot of glue on the edges of the tape.
Once the paint on the board is dry, you can assemble all of the pieces. The best way I found to do this is to lay your letters on the board and space them out how you want them. Start with the center letters and then work your way to the outside to get the most even spacing.
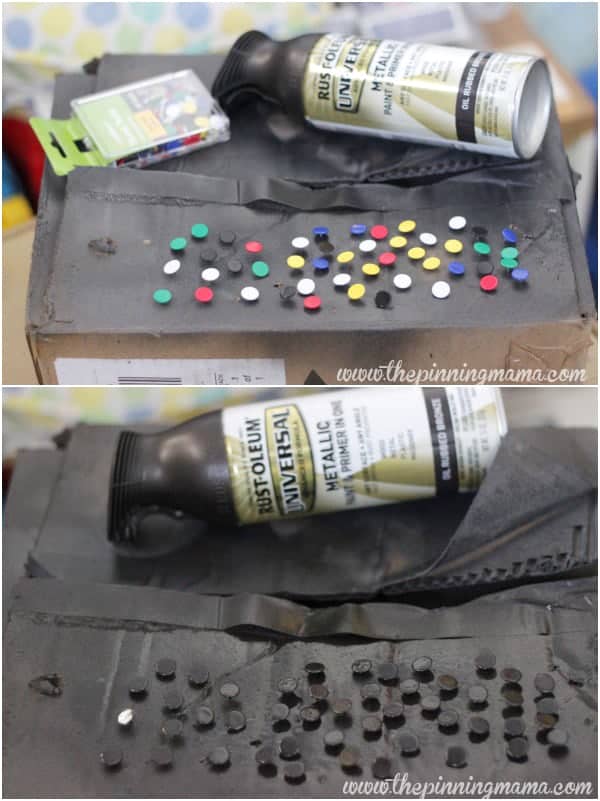
Once your letters are spaced evenly, use flat thumbtacks to push into the corners of the paper to give it the nail head look. I was able to find gold and silver thumb tacks at the Dollar Tree. I gave mine a coat of Oil Rubbed Bronze Rustoleum spray paint to give it a faux nail head look though which I love!
Then use your glue gun to glue the top half of each clothes pin to the board between each letter, or where ever you would like it to go. Let everything dry and there you have it! You are ready to display your sweet kid’s masterpieces!
As I mentioned before, we hung this up right in our kids area. They are so proud of their work and love seeing it hung up. They will even bring friends and visitors over to show off their creations. This would also make a great gift for Grandparents who love to see what their little people create or even a new mom who has years of creations to come!
Here is how the dollars break down-
- Wood – $2 (makes 2)
- Paint / Paint Brush $0.69
- CREATE Printable (FREE!)
- Flat Thumbtacks $1 (enough to make 30!)
- Clothes Pins $1 (makes 3+)
- Washi Tape $1 (makes about 5)
Time-wise you can see how quickly and easily this project comes together! I love an easy craft, and no one will guess how easy this one was to put together! It can be done in under 30 minutes (plus drying time!)
If you love quick and easy crafts as much as me, make sure you follow us on Facebook and Pinterest to see more ideas every day!
Also, here are a few more of our featured quick and easy crafts!
Quick & Easy Monogrammed Table Runner
$5 + 30 Minute Thankful Photo Board




Jessi says
Super cute!