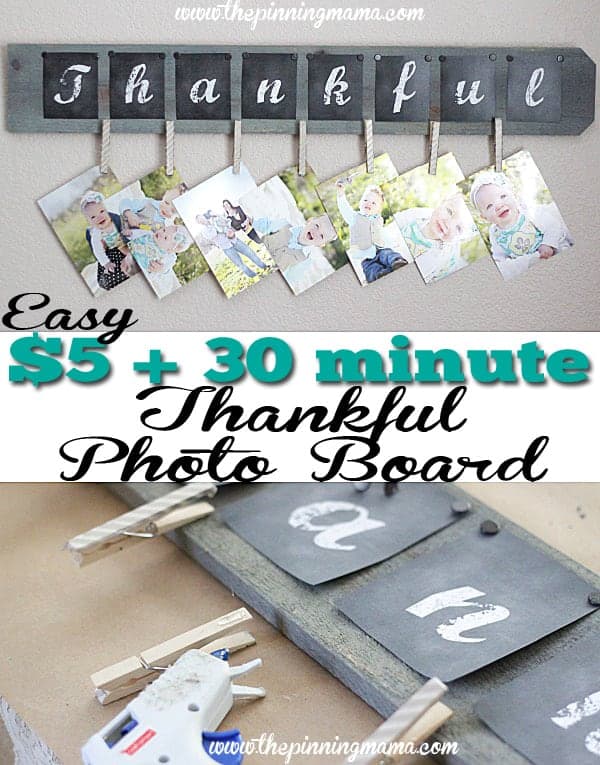
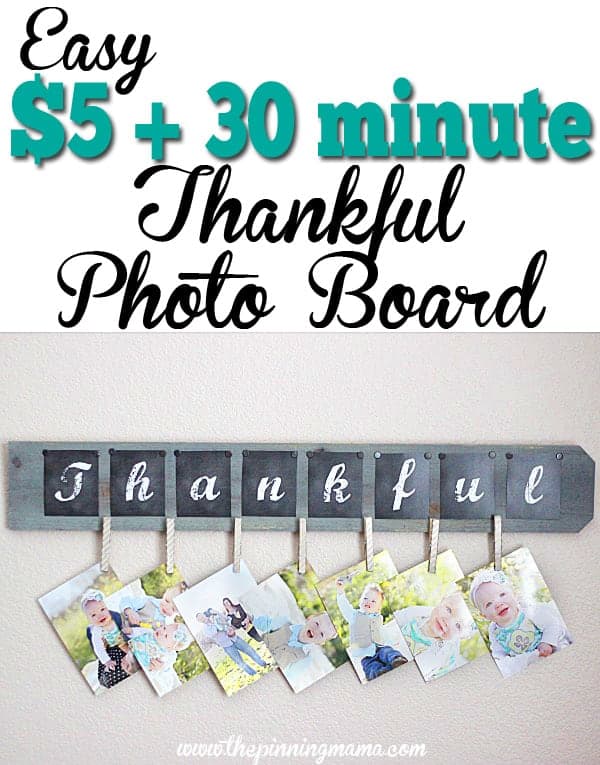
The Thankful Photo Board can be made in only 30 minutes for about $5! Such an easy craft and makes a great gift for grandparents, family, and friends!
Hi friends! I am so excited to share a project with you that I ended up loving even MORE than I thought I would! You see it all started when I was researching crafts that I could do with my MOPS group. I am in charge of putting together crafts that 80 ladies can do. This means they have to be easy enough so even someone who is “not crafty” can do it, and it also means it has to be VERY affordable.
I came across this DIY Thankful Photo Display Board by Shanty2Chic which I absolutely fell in love with. I knew it would be perfect for the group (and I really wanted one!) but I needed to rework it a bit to make it much more affordable to do with our large group. The end result was so perfect and it only cost us a few dollars a person to make believe it or not!
What you will need to make your $5 + 30 Minute Thankful Photo Board:
- 1 Fence post – cut in half
- Paint / Paint Brush
- Thankful Printable – Scroll to bottom for FREE printable chalkboard letter download
- Scissors
- Flat Thumbtacks
- Clothes Pins
- Washi Tape
- Glue gun/ glue sticks
How to Make a Thankful Photo Board
First you will need to get your wood. You can grab an inexpensive fence post at any hardware store very inexpensively. Mine was $1.66 and each post will make 2 boards. You can either ask an employee in the lumber section to cut the post in half for you or take it home and do it your self with a hand saw or circular saw.
Next give your board a coat of paint or two to cover in the color of your choice. You can really use any kind of paint or stain you want since this piece is purely decorative. I used leftover paint from another project since I only needed a small amount to cover the board. If you don’t have any paint though, the most affordable way to buy it is either in the mis-tint section at the hardware store or just grab a little bottle of acrylic paint at any craft or super store. They are usually under a dollar anywhere you go!
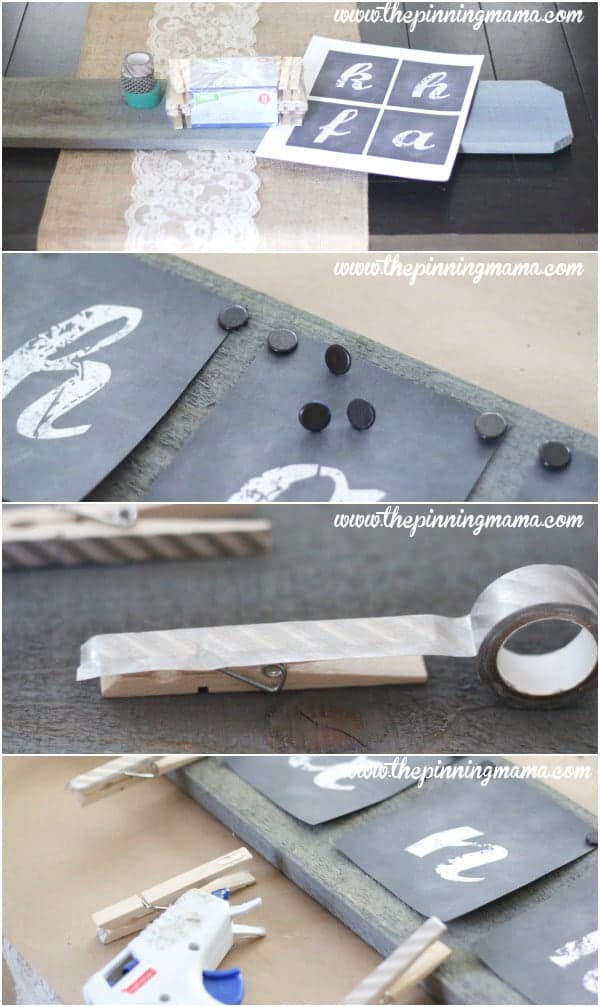
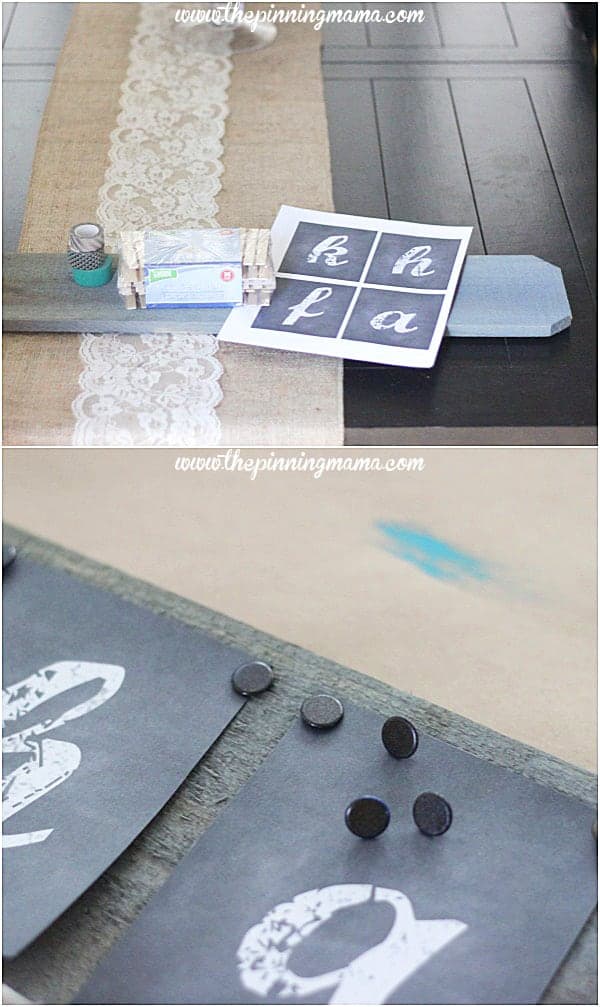
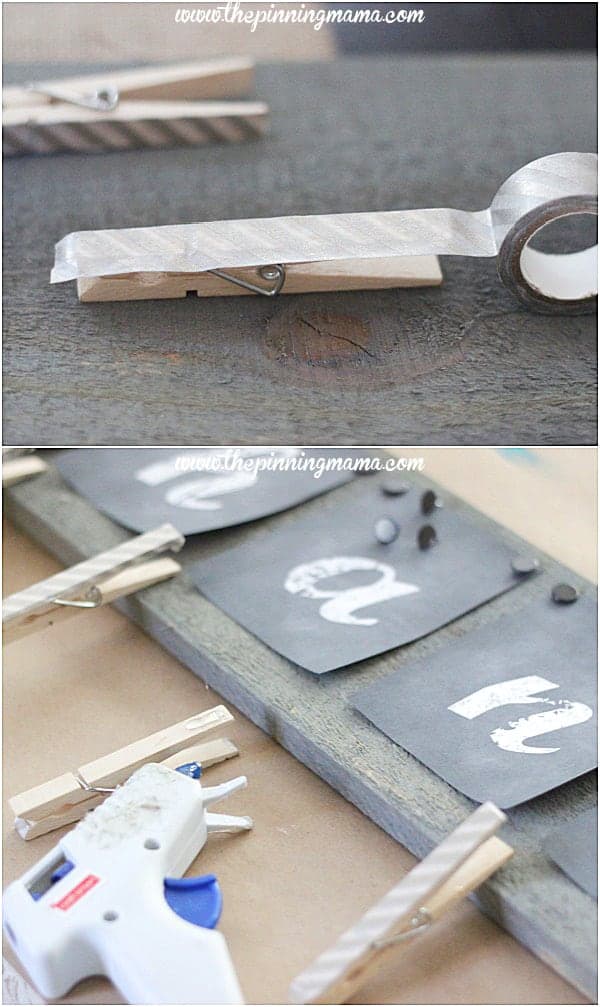
While the paint is drying print out your thankful letters and cut them out. {Scroll to bottom for free download} Then gather your clothes pins and decide how many you want on your board. I used 7 equally spaced between the letters. I was able to buy the clothes pins at the Dollar Tree and got 36 in my package for, well, a dollar! I also searched high and low and found a great deal on washi tape at Oriental Trading. They have many colors and patterns for just $1 a roll. The one pictured though was actually bought in the dollar spot at Target and is seasonal. You can also find washi tape at any craft store and most super stores.
Cover each of the clothes pins with washi tape, folding the extra over the sides of the pin. If you want to secure it better, you can use a dot of glue on the edges of the tape.
Once the paint on the board is dry, you can assemble all of the pieces. The best way I found to do this is to lay your letters on the board and space them out how you want them. Start with the center letters and then work your way to the outside to get the most even spacing.
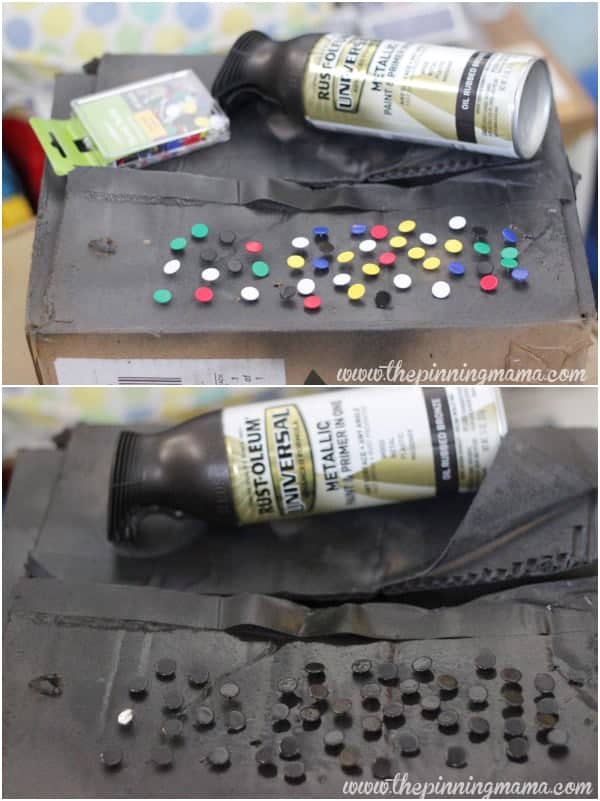
Once your letters are spaced evenly, use flat thumbtacks to push into the corners of the paper to give it the nail head look. I was able to find gold and silver thumb tacks at the Dollar Tree. I gave mine a coat of Oil Rubbed Bronze Rustoleum spray paint to make them match the finish on my decor.
Then use your glue gun to glue the top half of each clothes pin to the board between each letter, or where ever you would like it to go. Let everything dry and you have your super easy photo board ready to go!
I was thinking that this would be a gift for the grandparents, but once I saw how cute it turned out I ended up putting it up right above our TV. Since they are so easy to make though I am sure there will still be a few more in the works for gifts!!
Here is how the dollars break down-
- Wood – $2 (makes 2)
- Paint / Paint Brush $0.69
- Thankful Printable (FREE!)
- Flat Thumbtacks $1 (enough to make 30!)
- Clothes Pins $1 (makes 3+)
- Washi Tape $1 (makes about 5)
Time-wise you can see how quickly and easily this project comes together! I love an easy craft, and no one will guess how easy this one was to put together! It can be done in under 30 minutes (plus drying time!)
If you love quick and easy crafts as much as me, make sure you follow us on Facebook and Pinterest to see more ideas every day!
Also, here are a few more of our featured quick and easy crafts!
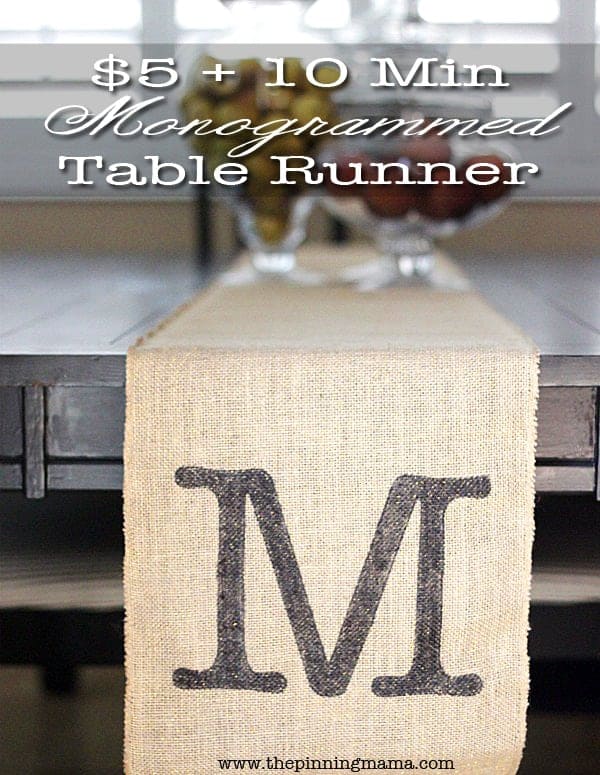
Quick & Easy Monogrammed Table Runner


Dawn says
SO cute! And I am so happy you shared that Oriental Trading carries cheap washi tape! My girls LOVE to use it when they color and make stuff and I die a little inside when they use my $4 rolls!! We will definitely be stocking up on some of the $1 rolls!
Kimber says
Thanks Dawn. I had so much fun with this project. Glad I could help with the Washington tape too! They do have some cute rolls in the dollar spot at Target from time to time too!
Mandy Hannah says
I’m so glad I found this! I want to make them for gifts. Thanks so much for sharing! Do you by chance have the whole alphabet as template chalkboard letters or how I can make them? My mind is thinking of all kinds of words to use on the wood panel. 🙂
Kimber says
Hi Mandy! Thanks so much for the note. I would love to hear what you have in mind for putting on the boards! I only have thankful in the download but you could easily make more printouts with picmonkey.com. its free and easy to use
Mandy Hannah says
Thanks! I will look that up tonight! I was thinking of a gift for my in-laws with their last name on there (or GRANDKIDS OR GRANDS for lengths sake). Or LOVE with more space for pics, or FAMILY. I also thought of some with my kids names for their rooms. They love to change out pictures, hang cards, etc…. But I also love Thankful! I’ll let you know what I end up with!
Thank you!
Mandy Hannah says
Ok, I went to picmonkey and I’m obviously not in tune with how to do something like this. 😉 Looks like a place for photo editing.?. Any tips if you have time?
Kimber says
Google free chalkboard picture or image. Download one then open it in pic monkey editor. Then you can use the text tool to add letters and resize it to the size you want it. Hope that helps!
Rachel says
This is a great idea and I can’t wait to make it for the grandparents! However I am having trouble accessing the printable letters…it says the page has been moved/deleted?
Kimber says
So sorry Rachel! I will get it fixed right now. I reorganized folders and didn’t realize it was going to break all of my links. Sorry about that!