Whether you own an old point and shoot, went in head first and bought a fancy DSLR camera, or just use your iPhone, there are some simple things you can do to make your pictures look better with the gear you have got and your knowledge level right now.
As I mentioned in my I am a MOMtographer post, I got really interested in photography once I had a baby. I started with a point and shoot (ie your everyday compact camera) and soon was convinced that I had to have a big, fancy DSLR (big camera with interchangeable lenses.) I was way out of my league and had no idea how to use it. And with a baby who was moving faster every day I really didn’t have the time, effort and energy to figure out how to use the beast of a camera I bought. Try telling a new walker to just hold still while I think through the settings I need to do on my camera to get this shot! Not happening.
After baby went to bed though, once I finally could have time to concentrate on something, I read and researched and found a lot of things that vastly helped me in my photography journey. I went backwards from most photographers. First learning all of the things I could do to improve my photography without learning how to use my camera, then much later learning how to actually use my camera to its fullest. I am no photography expert, BUT I have learned quite a bit along the way.
When we get done you will know these simple tricks to get much better photos no matter what you use to capture the memory! We will cover this topic in a four part series:
- Composition
- Light
- Editing
- Printing
So no more chit chat! Let’s get started! Our first topic is composition. This refers to how you decide what will be in your camera frame when you push the button and snap the picture. This is one of the absolute easiest things you can learn and implement immediately to make a huge difference in the quality of your photos. Although there are no black and white rules in photography there are definitely things that will help you get a more eye catching photo. Four steps to great composition are:
- The Rule of Thirds
- Fill the Frame
- Pay attention to crop lines
- Check the background
Rule of Thirds
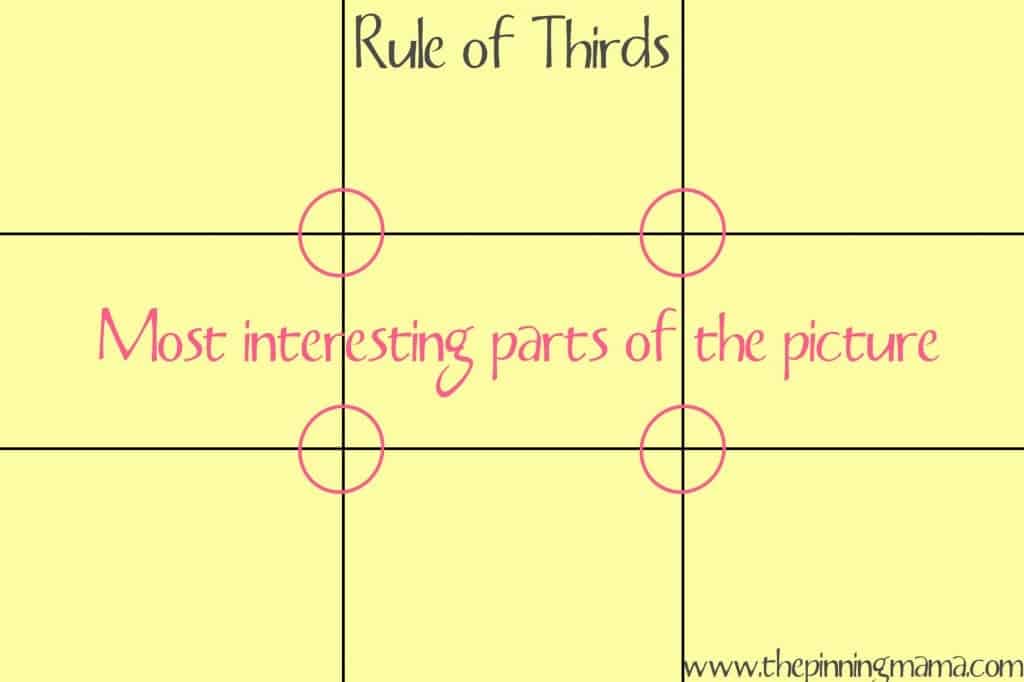
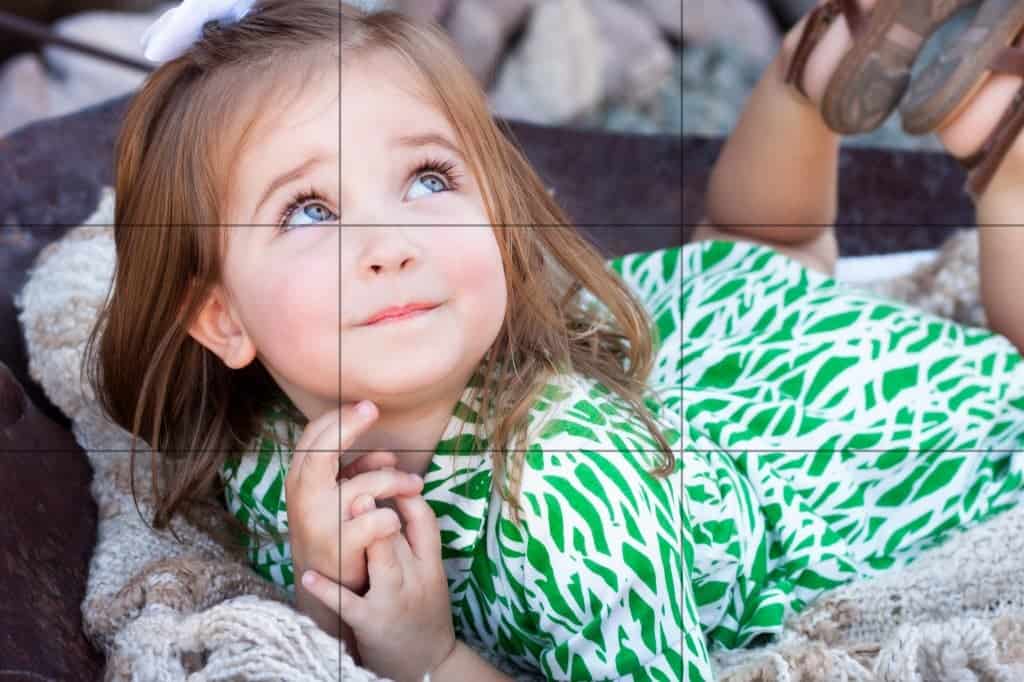
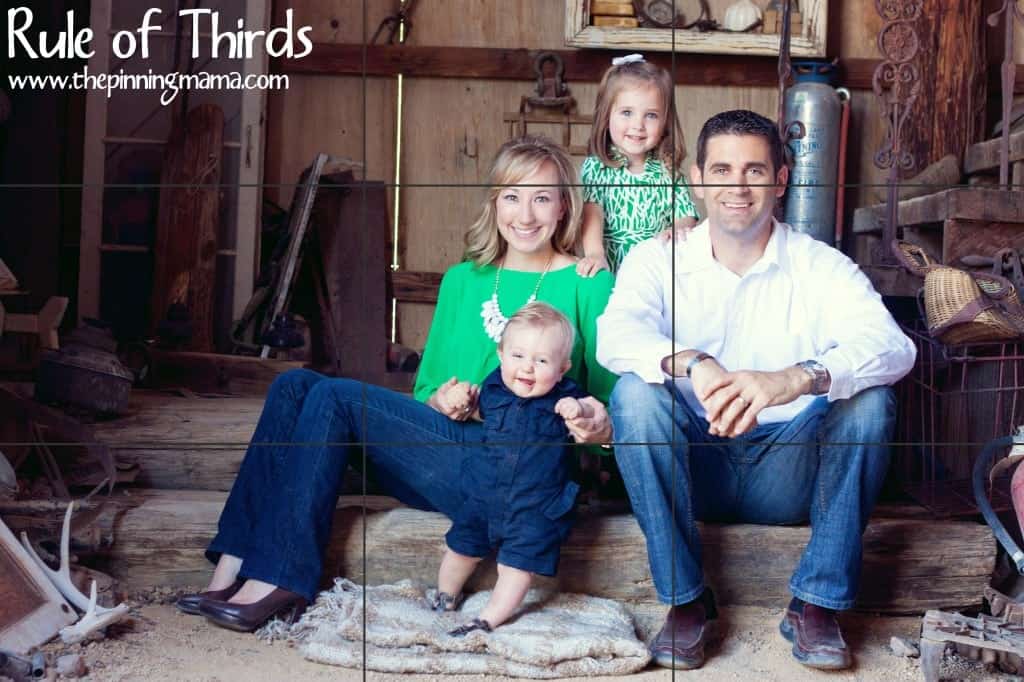
Have you ever noticed on your phone’s camera a 3×3 grid overlaying the image on the screen as you take a picture? This is the rule of thirds! Basically, this is a grid guides you to center your subject or the most interesting part of your photo at the line intersections rather than the center of the frame. There have been many studies done that show people think an image is more interesting and appealing when it is offset. This rule applies for everything whether it is a close up, a full person, a group or an inanimate object. What a simple way to start to improve your photography. Just move your subject toward the right or left third of the frame! Check out how the rule of thirds is applied in these photos.
Fill The Frame
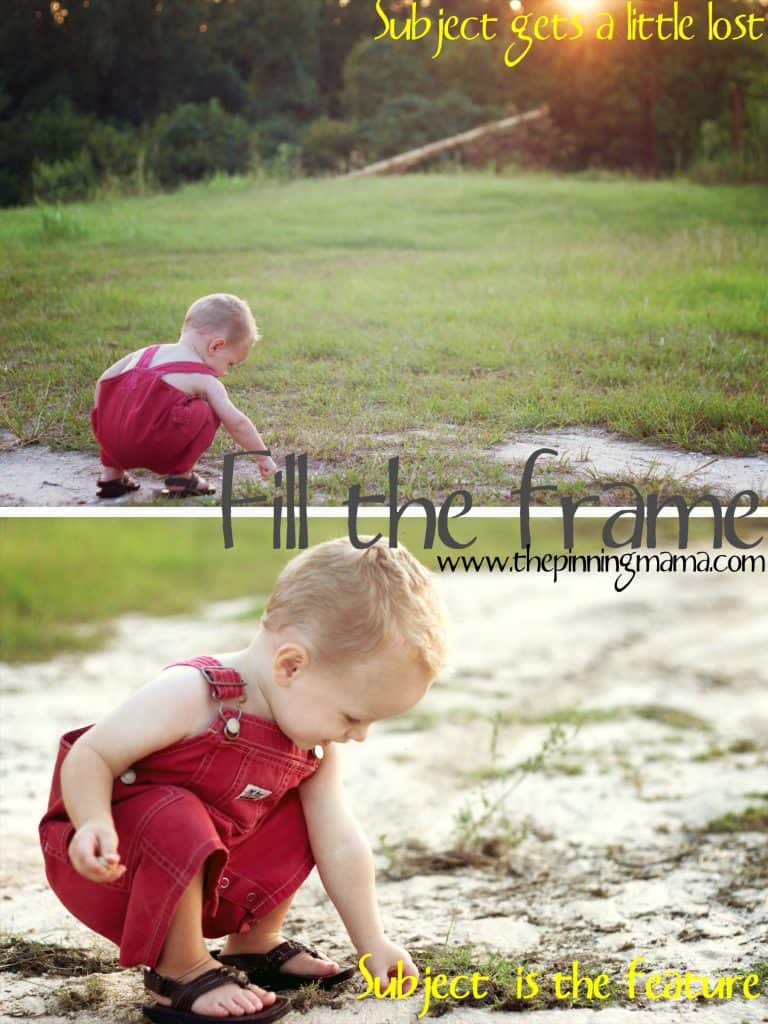
The next thing that is so simple yet will make a huge difference in your composition is to fill the frame. What I mean by this to fill the frame from top to bottom or left to right with the subject (or interesting part) of your picture rather than leaving a bunch of dead space around them. This is something that really did not come naturally to me at first and I fought it. I wanted to put my subject in the picture much smaller than they should have been. Then afterwards I would regret it and crop it down to make the subject fill the frame which achieves the same effect in the end but can degrade the quality of the photo depending on how much you have to crop away. Simply move a little closer or zoom in a bit and get it right in camera! Check out how filling the frame can make a stunning photo.
Crop Lines
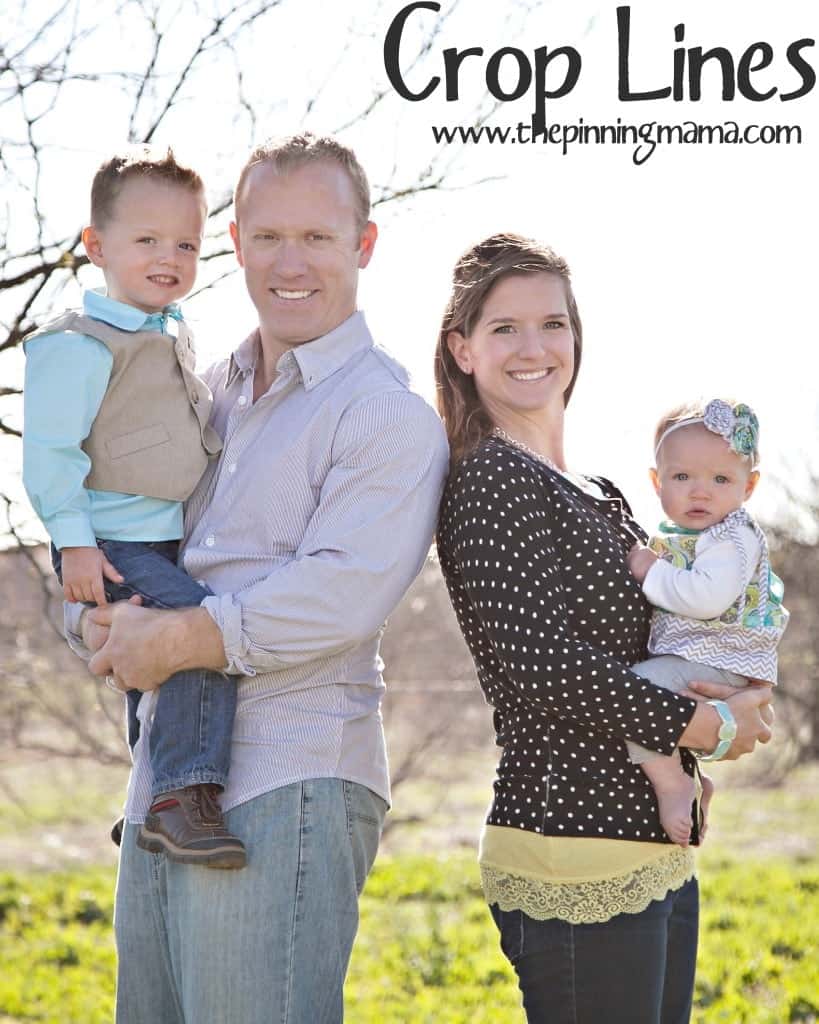
Once we have the rule of thirds in mind and know to fill our fame with the subject, we need to pay attention to is our crop lines, or how we are potentially cutting off any parts of a person. Many times you won’t want the whole person in the picture so you have to choose how much of them to include. A couple rules of thumb here are to never crop at the widest part (of the legs, arms, waist etc) or at a joint. Usually the most flattering place is right above or below the joint. Everyone wants a flattering picture right?
Check the Background
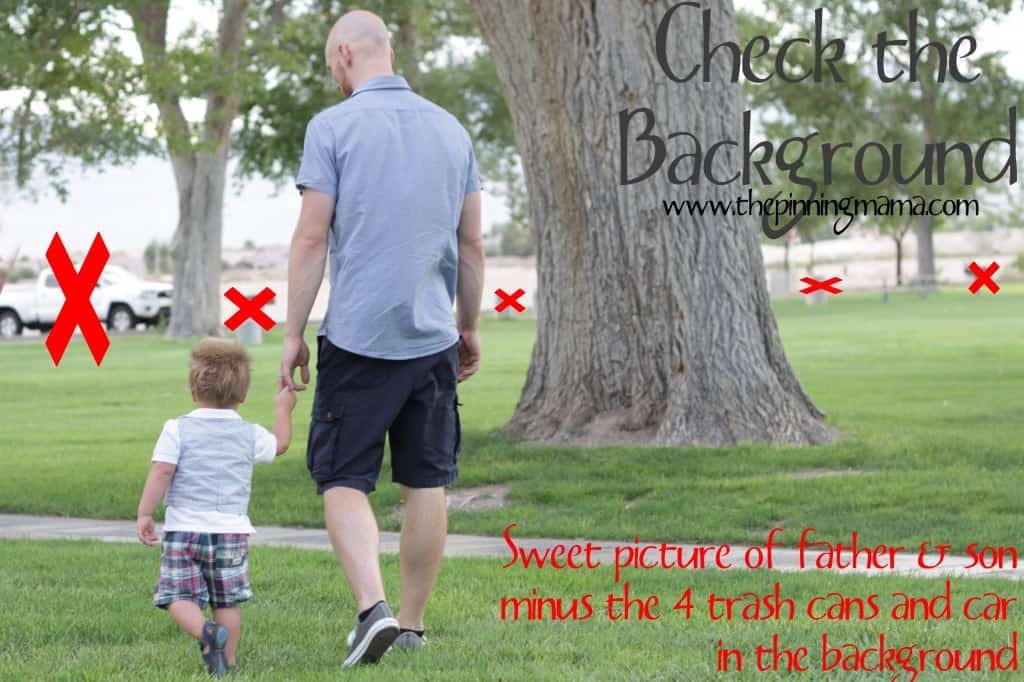
Up until now we have been talking strictly about the subject. Now you need to look at everything else. Before you click the button to take the picture make sure there isn’t a trash can right behind the subject or a tree that will appear to be growing out of the top of the subjects head once it is flat in an image. With a quick scan of the background you can eliminate many unsightly things and give a much more polished look to your photos.
A couple of days ago I was taking pictures for a friend and there were two identical benches in front of two big colorful windows. The scene was almost exactly the same except that one window had a rain gutter right next to it. In my pre-photography days I guarantee you my eyes wouldn’t have even registered this until I got the pictures back. Since I always check the background now, I just chose the other bench and avoided the gutter appearing in the pictures.
Sometimes unsightly things just aren’t avoidable and we can fix some of that with some fairly simple photo editing, but there is no question that it is less time consuming to just avoid it when possible!
These four simple steps are so easy to put into practice and will really make a difference in your photography. Once you start to do them I bet they will even become second nature to you like they did for me!
This post contains affiliate links. Please see our disclosure policy for more info.




Recreate and Decorate says
oh this is great since my photography skills are awful!!
Thanks!
Kimber says
This should give you the down and dirty on how to improve them! I hope it is helpful for both your blog and your family! Although I think the pics on your blog are beautiful!
Cori says
I am so excited for the rest of this series!! Good info!
Kimber says
Thanks Cori! I am so glad to know it is helpful. I had no idea how much I didn’t know before I started learning haha!
Leah Davidson says
So glad I found your blog! Excellent tips – can’t wait for the rest of the series:)
Kimber says
Thank you so much! I’m so happy it was helpful and glad you found us too 🙂 I plan on having one post each week in june so you won’t have to wait too long!
Little Cooking Tips says
Thanx so much for sharing this! We followed more less the 3 latest points in our photos, but not the 1st one, at least not intentionally!:)
The Rule of the Thirds is amazing!:)
Kimber says
Thanks for stopping by! I am so gad you liked the post and learned something. I hope you will keep up with the rest coming over the next few weeks!
Shauna says
This was a very helpful post. I am trying to work on taking better photos.
Kimber says
Thank you so much Shauna! I started from scratch and managed to learn enough to fee pretty confident so you can too! Let us know if there are other topics in photography that you would like to learn about!