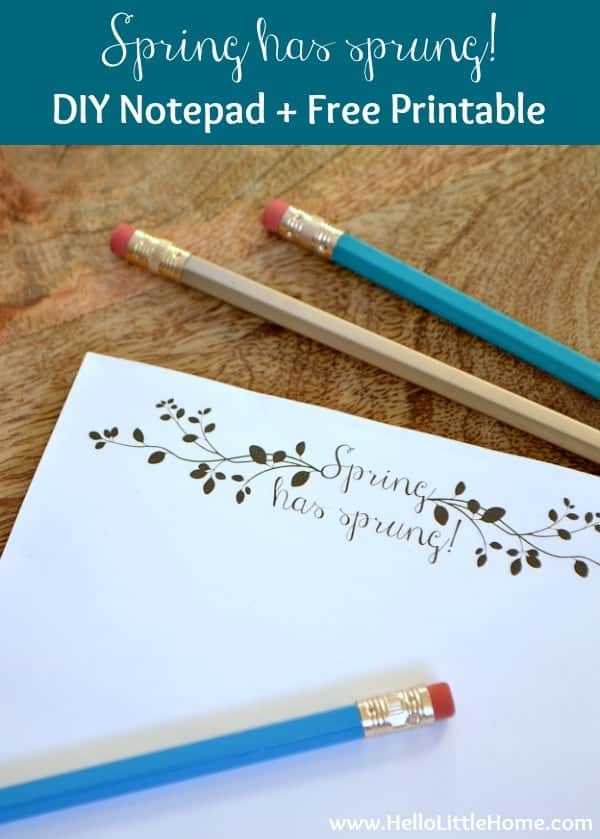
Is there anything better than the start of spring after a long winter? Celebrate the changing seasons with easy to make Spring has sprung! customized notepads with a bonus free printable!
Hi, Ginnie from Hello Little Home here! Is it just me, or has winter dragged on (and on) too long this year?
I’ve spent a lot of time hibernating in my cozy apartment these last few months, and I’m ready to shake off the dredges of winter. I’ve been wearing bright colors and cooking my favorite seasonal vegetables.
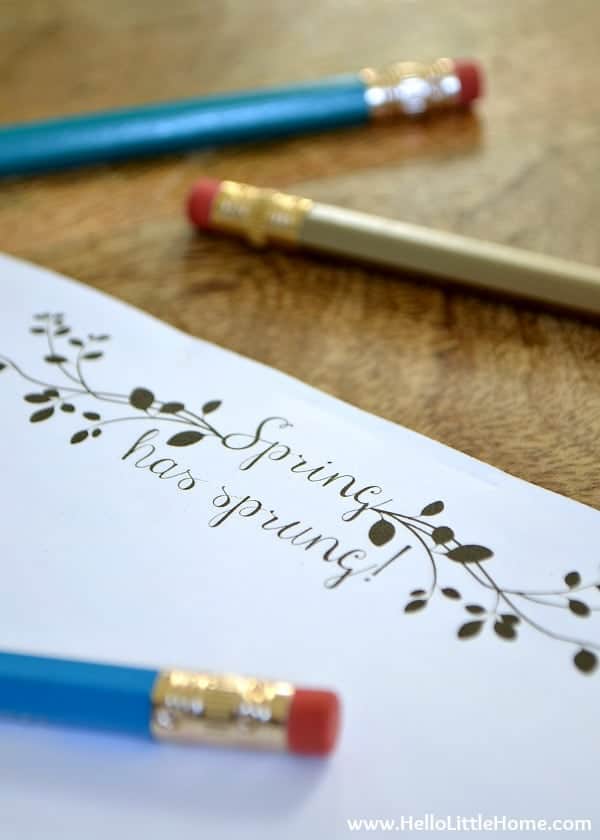
A little spring crafting has happened, too, and today I’m sharing a cute DIY customized notepad with a favorite phrase: Spring has sprung! You can use this with the free printable available below OR make your own design customized with a monogram, name, logo, favorite team or anything you love!
Notepads are such a quick and easy project. All it takes is little paper, plus some glue to hold the pages together. For the holidays, I even made personalized notepads for my friends and family. They turned out so sweet and were a big hit.
Want to make your own DIY notepad? You will not believe how easy it is!
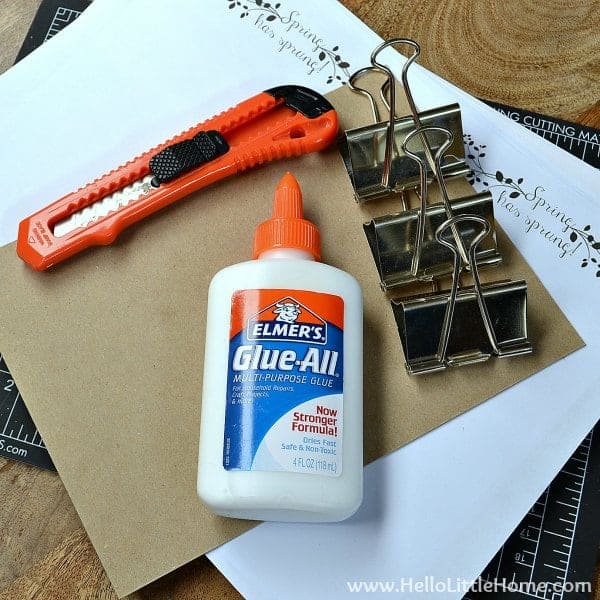
Here’s what you’ll need:
- Spring has sprung! PDF printable
- copy paper
- self-healing mat
- x-acto knife
- ruler
- thin cardboard, optional
- 3 large binder clips
- multi-purpose glue
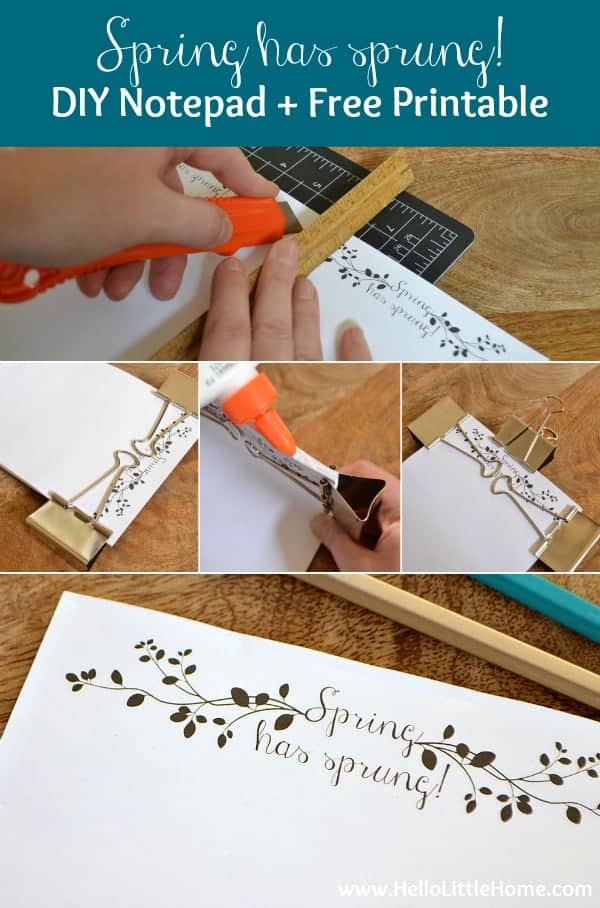
Download the free Spring has sprung! printable using the link above. To make a 50 page notepad, print 25 copies of the PDF on the copy paper. If you’d like to make a larger notepad, simply print more copies.
Tip: to avoid shrinking the image, print the PDF at full-size. In your printer dialog box, choose print at “Actual Size,” not “shrink oversized pages” or “fit to page”.
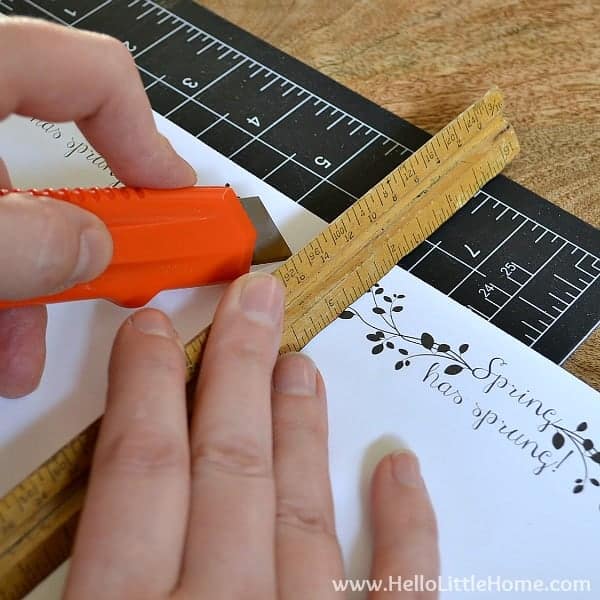
Protect your surface with the self-healing mat, then cut the pages in half using the x-acto knife and ruler (each page should measure 5.5 x 8.5-inches). Working with only a few pages at time will keeps your cuts more accurate. If you’d like to make the notepad sturdier, cut a piece of thin cardboard the same size as your pages.
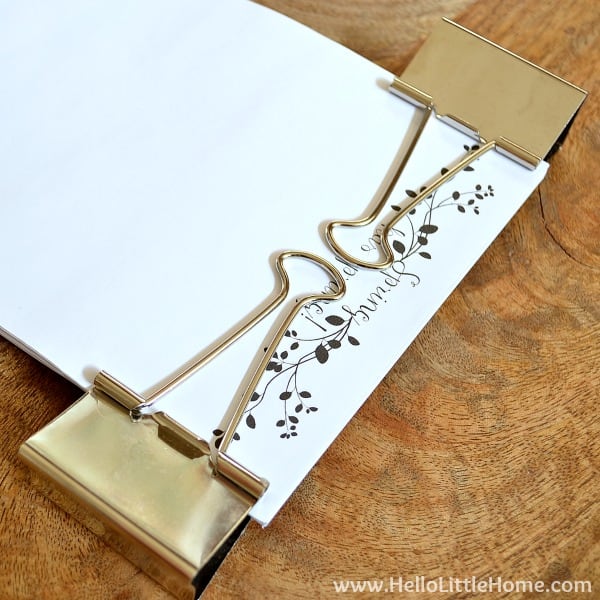
Stack the pages together as evenly as possible with the cardboard at the back, if you are using it. Then clip each side with a binder clip.
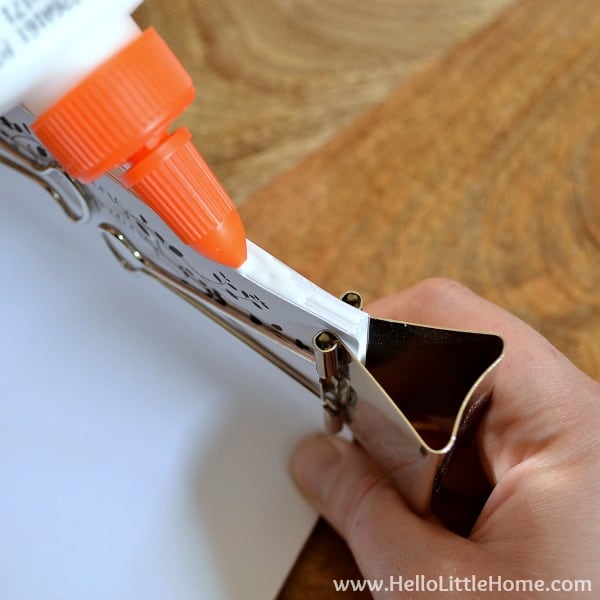
Run a thin layer of glue along the top of the notepad. Smooth it out with your finger.
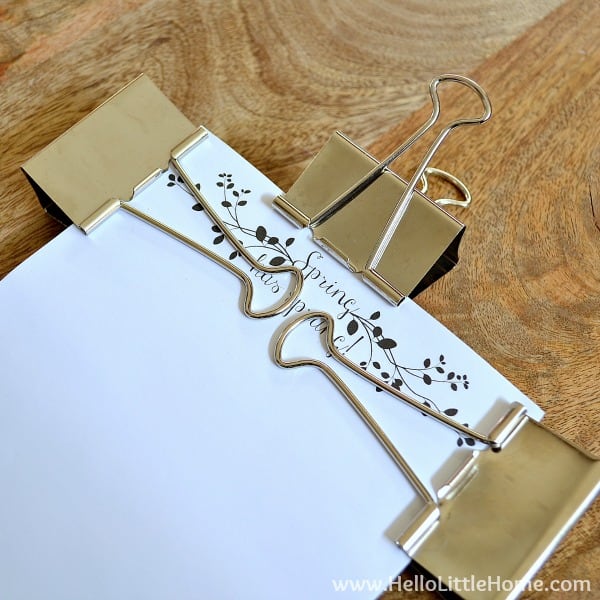
Add the third binder clip to the top of the notepad. This will prevent the pages from warping.
Let the glue dry and then apply another coat.
Remove the binder clips after the second coat dries, and your DIY notepad is complete! Wasn’t that easy?
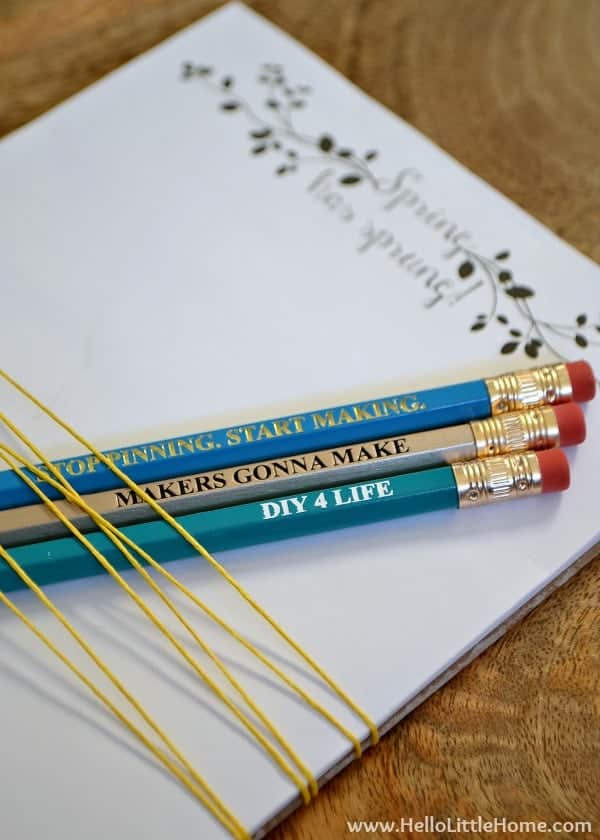
These Spring has sprung! notepads make a cute and easy gift when packaged with a few pens or pencils. Just tie everything together with a little string or ribbon. And if you find yourself leaving lots of notes, you can whip up a new one in no time!
If you like this DIY Notepad, you’ll enjoy these posts, too!
DIY Personalized Notepads | Cough, Cold & Flu Care Package | How to Make Your Own Stamps

Facebook | Twitter | Pinterest | Google+ | Instagram | YouTube


Leave a Comment