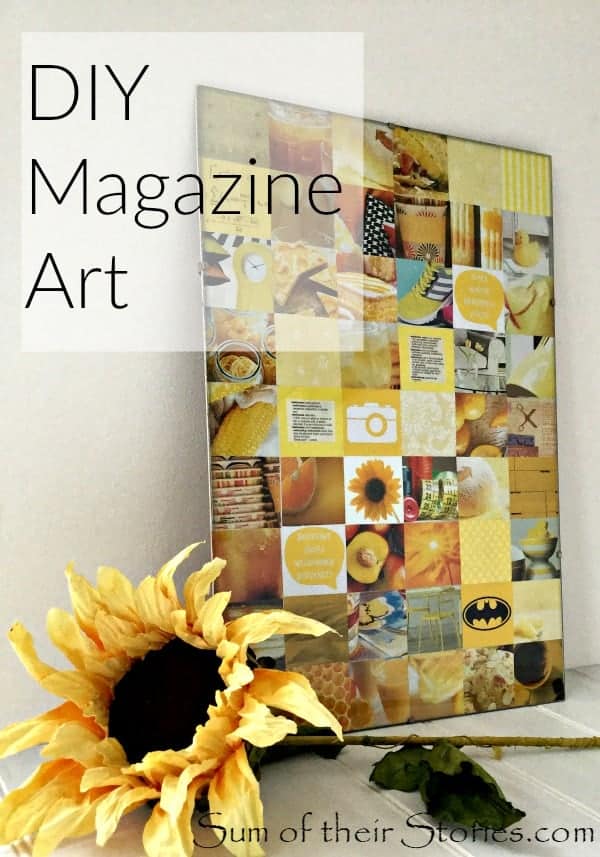
Got a blank wall and need some DIY art on a budget? Try using just old magazines and junk mail, it really couldn’t be easier and best of all, it’s free!
Hi, It’s Julie from Sum of their Stories, thrilled to be back again today to share a uber budget idea with you.
When we moved just over 6 months ago we suddenly had a lot more blank wall space than we’d been used to. I needed quick easy DIY art ideas to make our house feel like a home.
When I spray painted this little table and mirror frame yellow recently for the hall I knew I needed to create some yellow based art too. 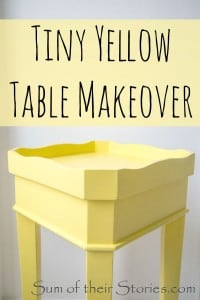
I took an old snap frame (Is that what you call them where you are? That’s what we call them in the UK) You know the ones… a piece of hardboard, a piece of glass and some little metal clips to hold it all together. This would work with any frame, or even a canvas. I suggest using what you have to fit with the rest of the projects recycling credentials!
To make one similar you will need:
- An old frame
- Paper the size of your frame – I used the paper that comes in it
- Old magazines and Junk Mail, scraps of scrapbook paper etc
- Glue for paper and a pencil & ruler
- Scissors or paper guillotine (if you have one a guillotine will make it easier)
You are going to make lots of squares so first thing is to decide what size will work in your frame.
Measure your frame and choose a number than divides evenly into the measurements in both directions. Let me try to make that sound less complicated! My frame measures 18″ x 12″ so I chose to make squares that are 2″ x 2″.
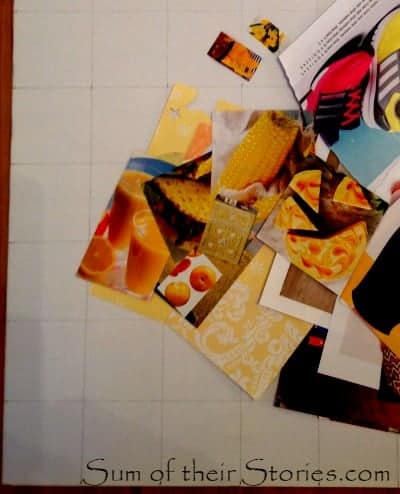
Mark this out lightly in pencil as a grid on your paper. (I’ve had to whack the colour contrast right up on the photo so you can see the grid)
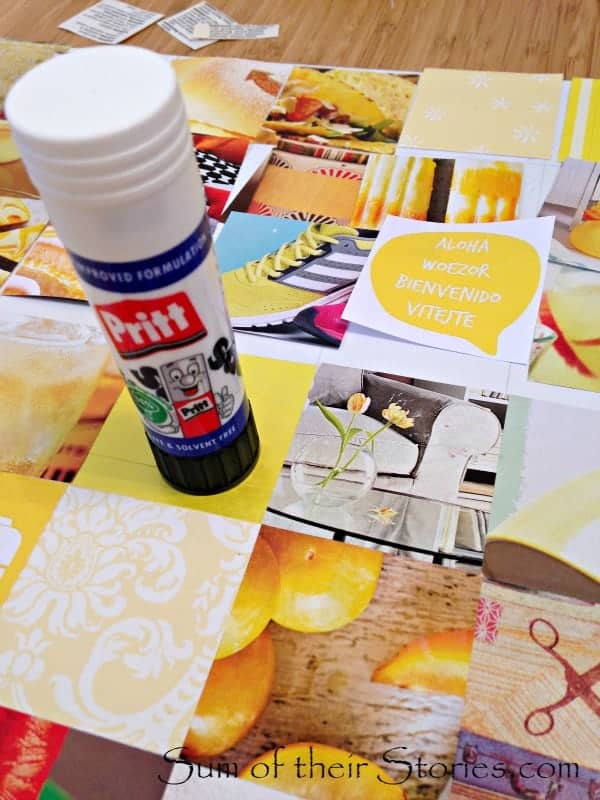
Cut squares your chosen size from the magazines and junk mail. You can be random or centre objects or words nicely. You can choose a colour scheme like I did, or not.
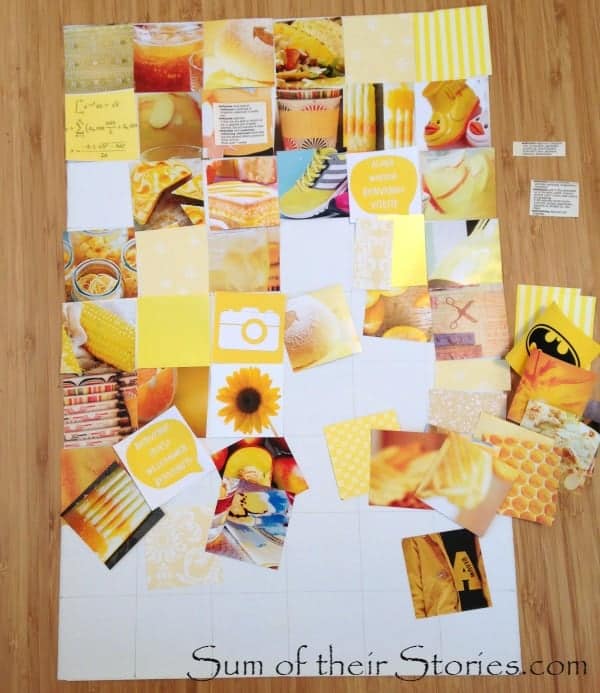
Now the fun bit, arrange your coloured squares on the paper and play around with them until you are happy with the arrangement.
Then starting at the bottom, just glue them into position. I started at the bottom so I didn’t disturb unglued squares when I reached over.
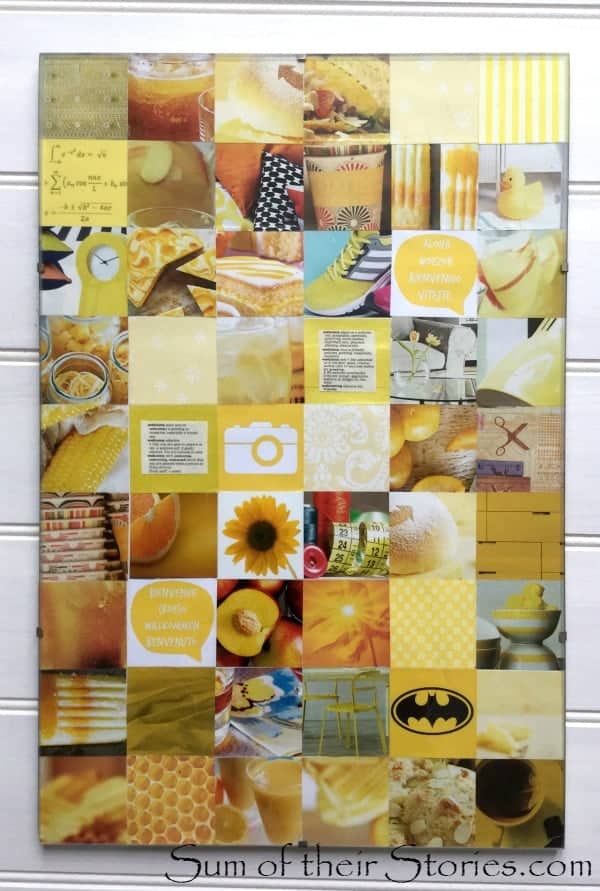
Pop the glass on and your done!
I did cheat a bit and printed a couple of speech bubbles on my computer with “Welcome” in different languages. As this is going in the hall I thought a welcome theme was in order.
I also added some “welcomes” that I’d cut from an old dictionary and thesaurus.
For ours I decided to add a few special squares to represent each family member. That idea came when I found a picture of a pair of yellow trainers (there goes my English-ness again – running shoes!) as my husband is really into going to the gym. I then enjoyed finding something for each of us. I’ll let you search for them but the clues are: our youngest is a huge Superhero fan, our daughter is studying photography, our older son is studying maths and I like all things craft related.
Easy, free, cute AND a “Where’s Wally/Waldo” style puzzle too! All in one piece of art! Any IKEA fans might spot a few things cut from their Summer 2015 catalogue too.
Thank you for letting me stop by and share today, it’s been a pleasure as always.
I’ve tried a few more DIY art ideas for all our blank walls that you might like to check out:


Leave a Comment