There are many valentine’s heart garland tutorials floating around on Pinterest. Quite a few of them use a sewing machine. While I know how to sew, I prefer projects like this to be no sew. Mainly because I like an easy project and because I don’t want to lug out my sewing machine. Click here to see my favorite tutorial I found.
Supplies:
Felt – as many colors as you would like – I had 1/4 yard cut per color and I still have plenty left.
Freezer Paper
Embroidery Thread
Needle
Scissors
Instructions:
Step 1:
Open up word, powerpoint, photoshop, or whatever program you prefer and choose your shape – I chose a heart for obvious reasons. You
Cut your freezer paper down to 8.5 x 11. You can find freezer paper at your local grocery store in the foil and sandwich bag section.
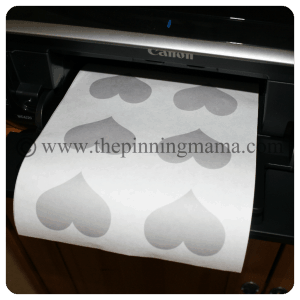
Once you cut your paper down, you can either draw or trace your shape onto the paper or print it. If you’re drawing on your paper then you obviously don’t have to cut your paper to 8.5 x 11. When you write or print on the paper make sure that the design is on the MATTE side.
Step 2:
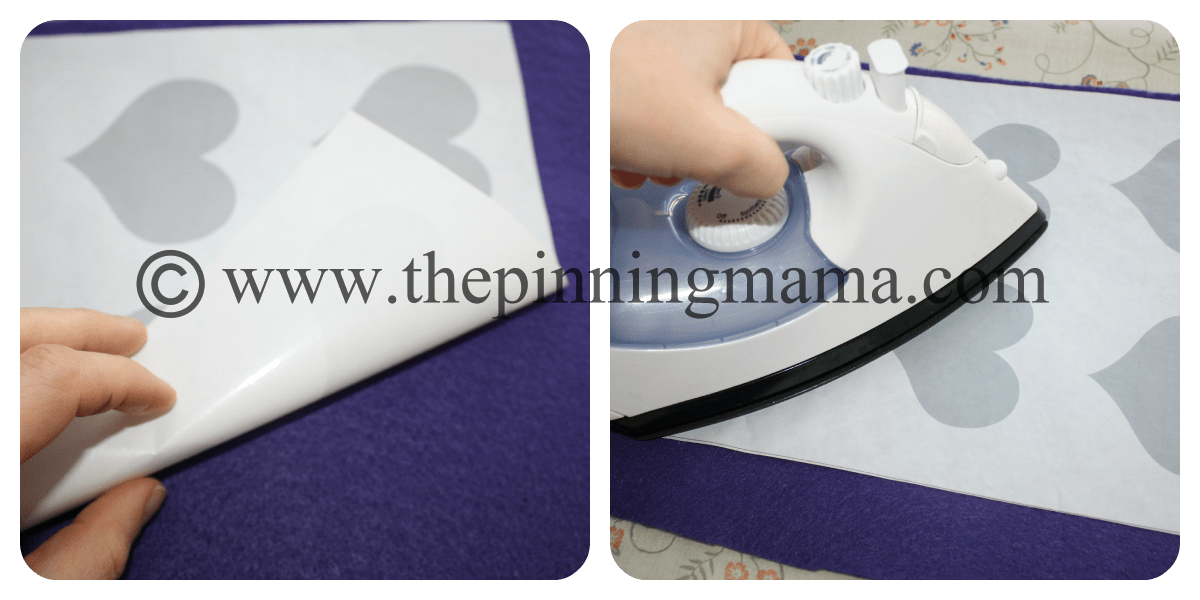
Once you have your design transferred onto your paper, place it on top of your felt, shiny side down. You want to be able to see your design. With the iron set to medium heat, get your iron on!
Step 3:
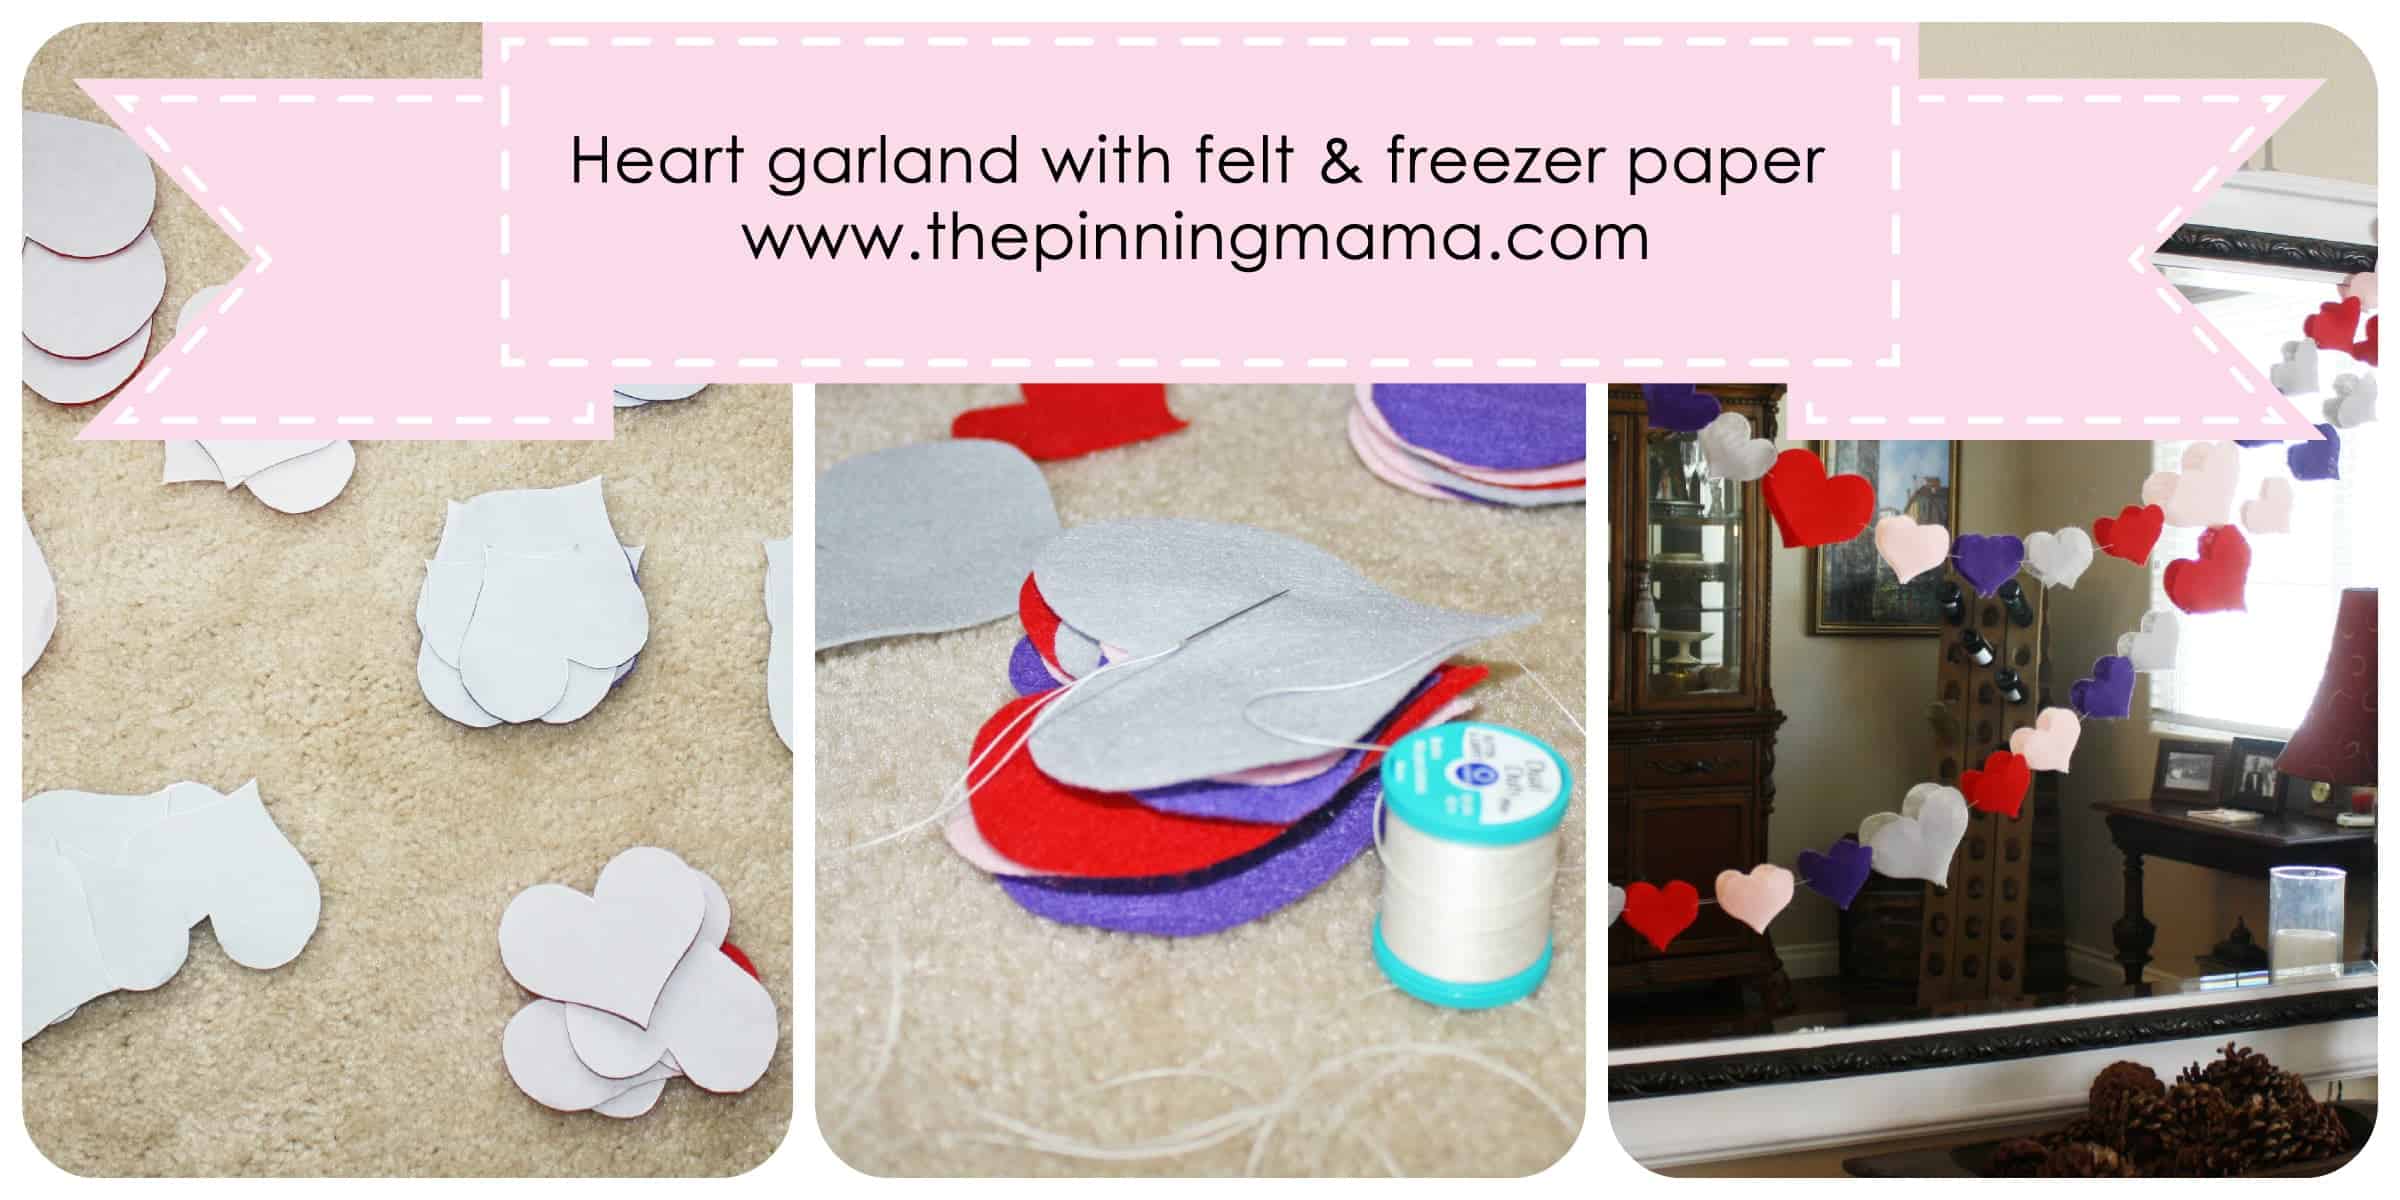
Now that your freezer paper is stuck to your felt, cut out your design. As you are cutting, say thank you to Reynolds for creating freezer paper. Doesn’t it make cutting that felt soooo much easier?! I see many more projects down the road for my little one… Here they are all cut out…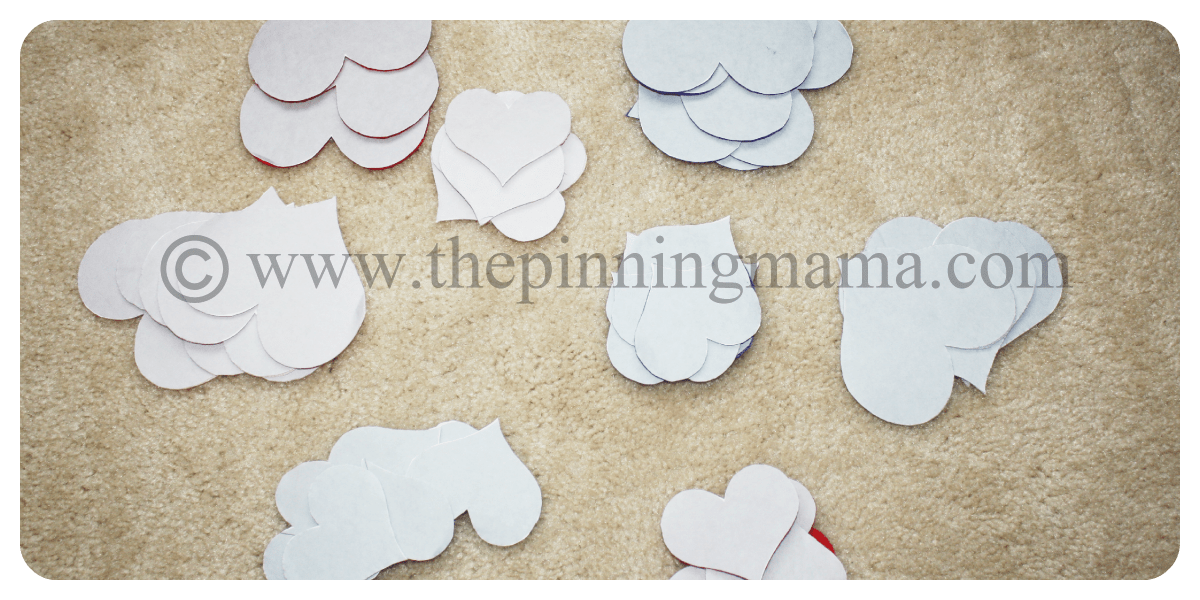
Next, you should enlist your 2 year old to come and peel the paper off. Then line up your felt in whatever pattern you prefer. I ended up making 2 garlands which took 32 hearts. I had 15 hearts leftover.
Once you have your pattern, make your thread as long as your hearts are. Make sure to leave a tail on each end so that you can tie or tape it to whatever you’re hanging it on.
Step 6:
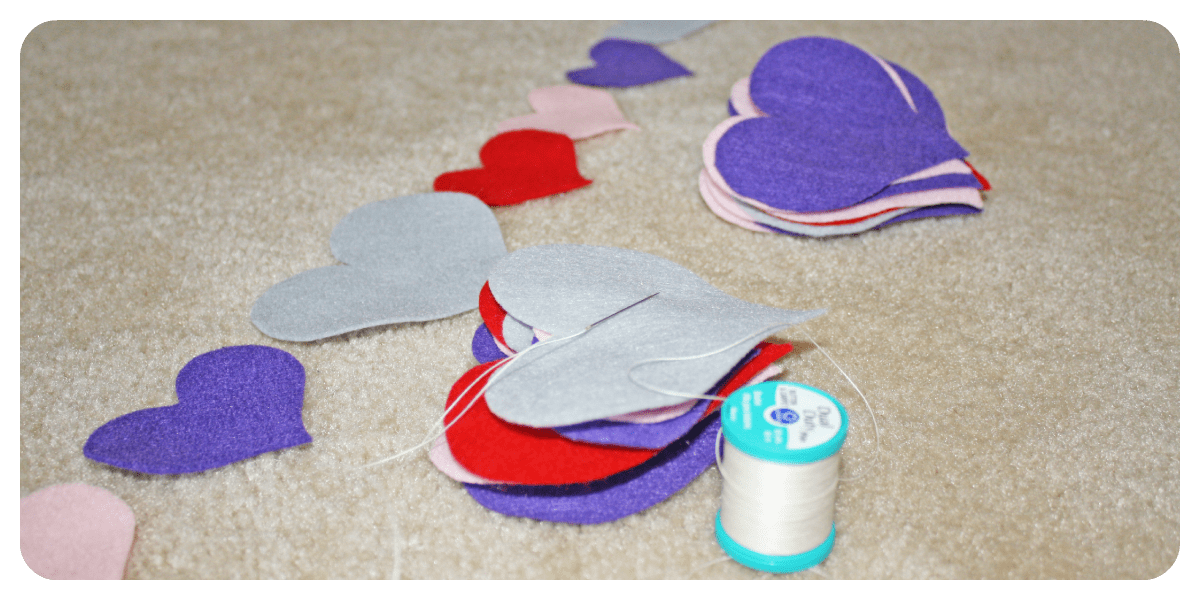
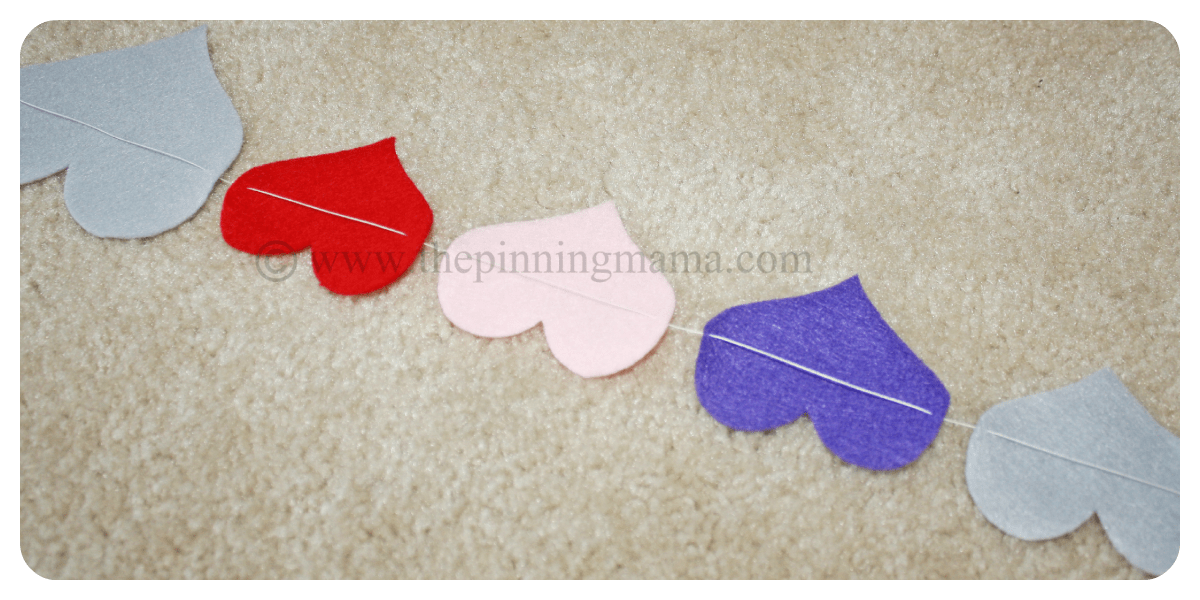
Thread your needle with your embroidery thread. Start by putting the needle down into the fabric and then up through the other side. This is so that the thread is behind the heart and not in front of it.

Step 6:
Here is the final product!
How much did I like this project? This was a simple project that I was able to do with my daughter. I definitely recommend it. You could even do spring colors so that you can leave it out longer than just February!
Unexpected Happenings? None
Overall Rating 1-5: 5
Love it, like it, pin it!



Johanna Stevens says
I’m happy to read that you liked my heart garland, Ashley. And thank you for mentioning it here! Yours turned out pretty good as well 🙂
Ashley says
Thank you for commenting! You are our first as we have yet to launch our blog. You have no idea how exciting it was to see that we had a comment waiting for us. 🙂 You have a wonderful blog and your tutorial was fabulous! If you have any feedback for us, our ears are open. Thank you!