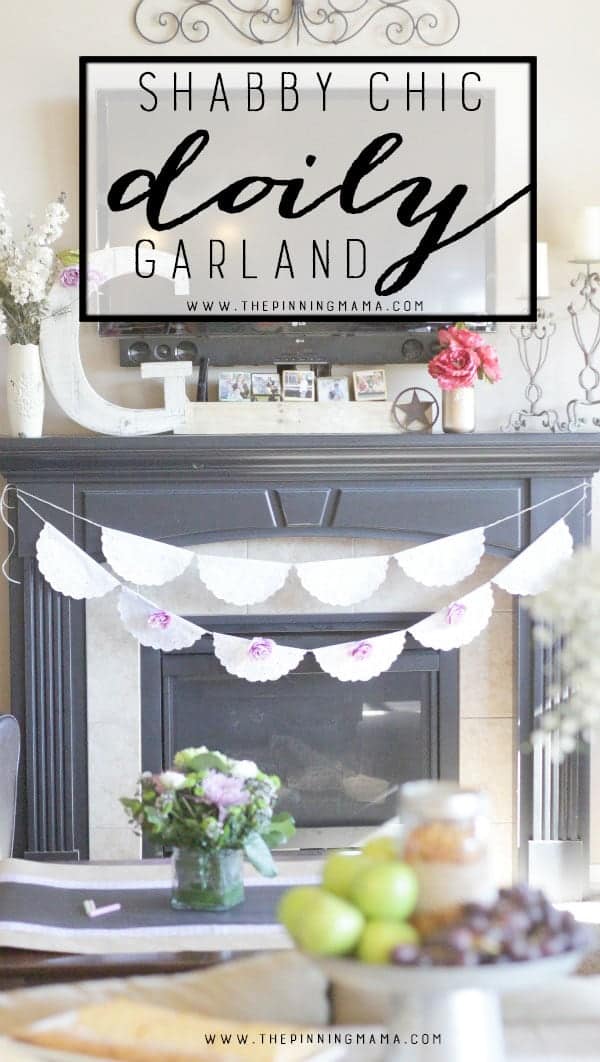
This shabby chic doily garland is simple, beautiful and is so easy to make you only need 3 things and 10 minutes to have one finished and done! They are the perfect decoration for a vintage or shabby chic baby shower, bridal shower, or wedding!
When I started planning the Southern Soiree baby shower for my sweet friend Andrea, I knew I wanted it to exude southern charm. You know what I mean, that perfect balance between rustic, vintage, shabby chic and classic. Just a small order of perfect southern class.
My friend Megan who is extremely talented at putting together pretty stunning parties, helped me brainstorm ideas around the theme. One thing she showed me that I knew was perfect was this DIY Doily banner. She had made some for a bridal shower she helped to throw and as soon as I saw the picture I fell in love!
The thing about these doily garlands that makes them so great is that they are so dainty, sweet, and have that perfect amount of shabby chic charm, all while really only taking minutes to make. You can whip them up large or small to cover whatever area you need in just 10-20 minutes.
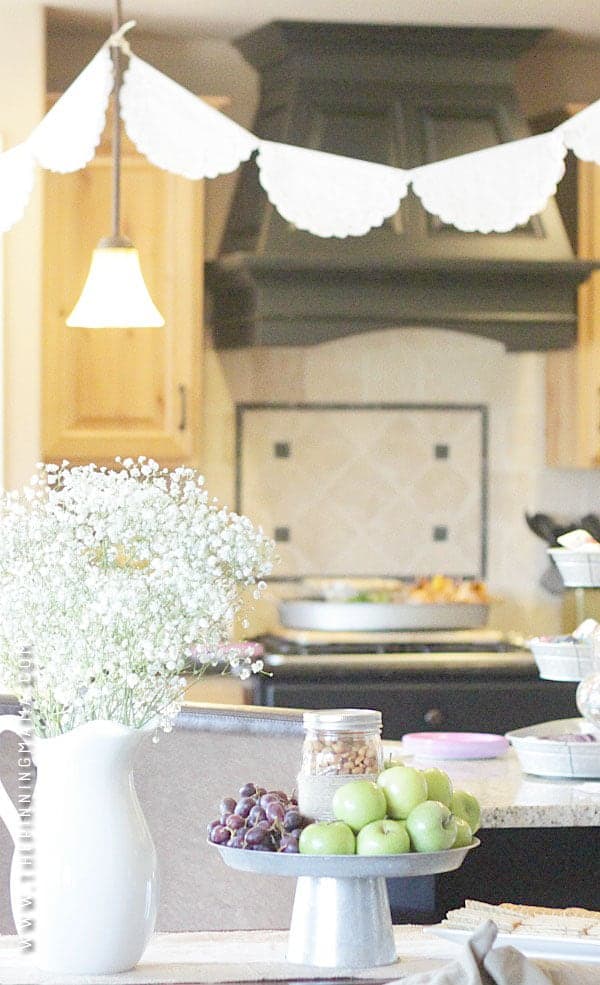
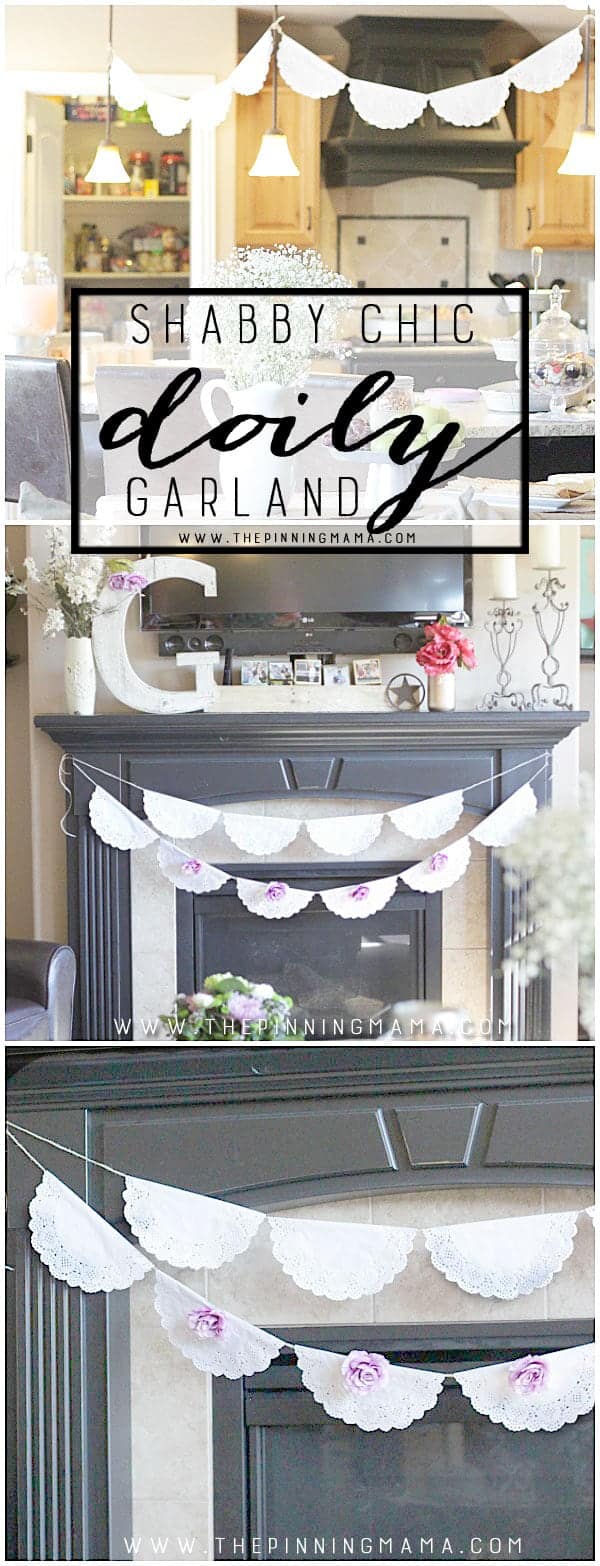
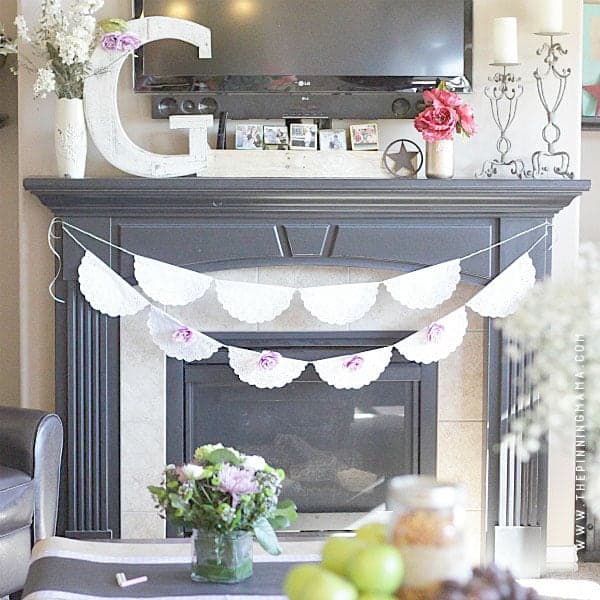
I used the doily banners in a couple of places. You can see them below on my mantle where I used two tiers of the garland to dress up the focal point in the room and added a few flowers to bring in the other colors for the shower. I also used two strings of the garland between my pendant lights in the kitchen. Since the area between the living, dining, and kitchen is so open, and all of the walls are filled with windows, doorways and cabinets, it game me a way to tie the theme in a little more and dress up the space.
The other great thing about these garlands are that you can really scale them to your needs since the doilies can be bought in many different sizes. You will find doily sizes from 4 inches to 12 inches pretty widely available. I used 10.5″ doily came in an 180 pack so I had plenty of doilies to make as many garlands as I needed plus I could use them elsewhere in the decor. They are cute and pretty cheap which makes it great for crafting since you don’t have to worry about messing up.
How to Make – DIY Shabby Chic Doily Garland
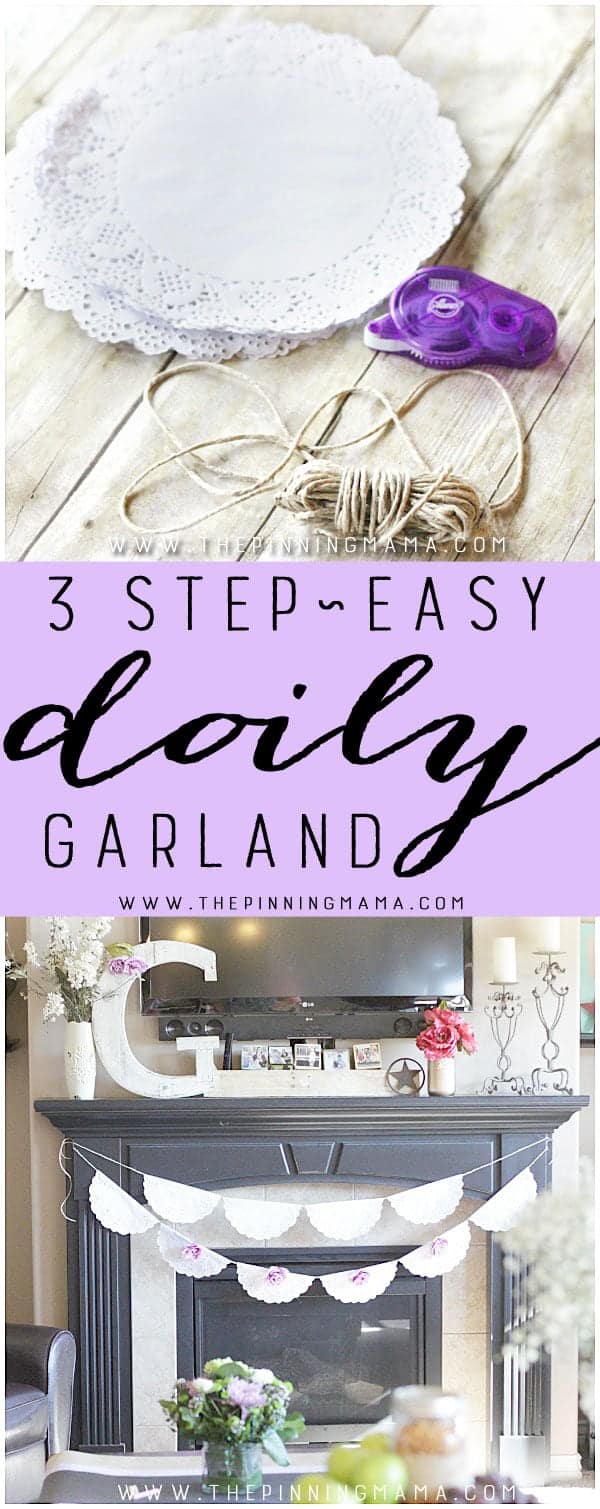
You only need 3 things for these. Really! I waited until the last minute and was even able to order everything quickly and inexpensively on Amazon Prime!
Doily Garland Supplies:
- Doilies – I used 10.5 inch Paper Doilies
- Twine
- Aleene’s Tacky Line Runner
Doily Garland Instructions:
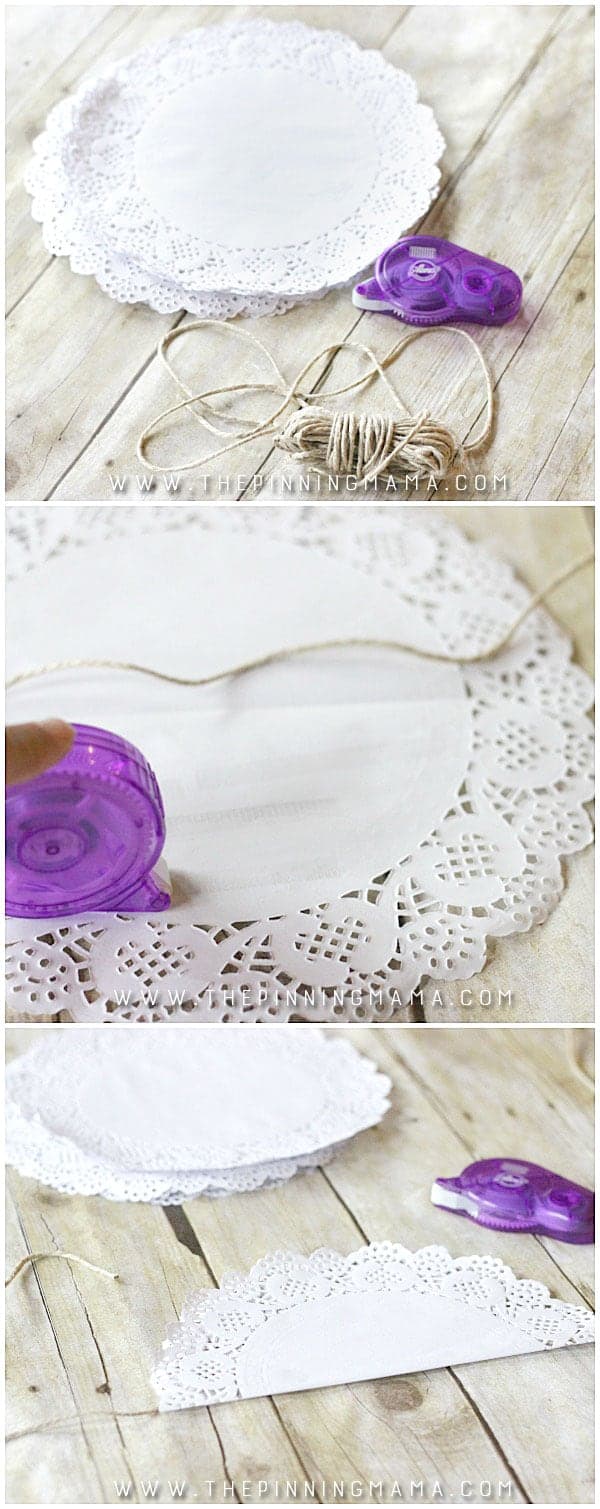
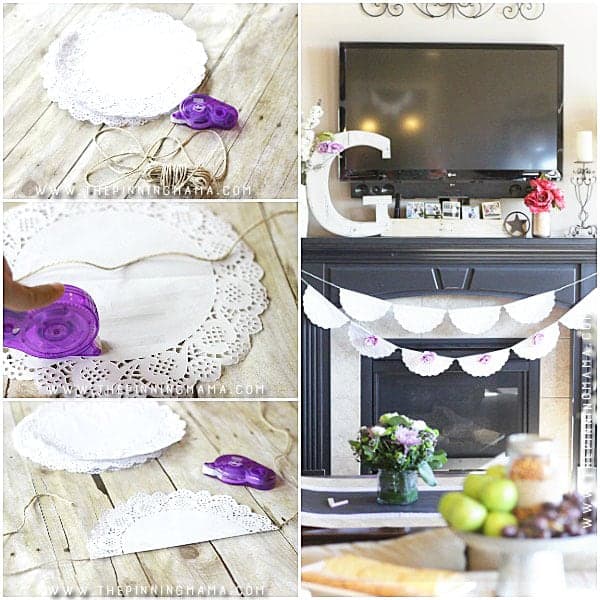
- Measure the space you want to hang the garland and cut the twine long enough to hang as you want with about 4 extra inches (2 for each side) to tie it.
- Fold the doilies in half and crease them.
- Use several pieces of double sided tape on one half of the doily. Place the inside crease of the doily on the twine and close and smooth the doily to make sure the tape is stuck to both sides securely. Repeat until you have the length you want!
NOTE: I love this Aleene’s Tacky Line Runner (double-sided tape dispenser) because it makes it super quick and easy to apply. You don’t want to use glue because the paper of the doily is so thin that it creates ripples where the glue sits and dries. Tape works much better for this project.
Quick, simple and stunning as promised! If you want to jazz up your banner you can add silk flowers like I did on the fire place banner by pulling them off the stem and then poking the point on the back through the doily and securing with hot glue. You could also spell out something with letters or tie fabric scraps or bows in between each doily to tie in with the theme.
There are so many ways to dress it up and make it perfect for your event. Since doilies are white they make the perfect backdrop for just about any color scheme or theme you have. They add a delicate vintage touch just where you need it!
If you make this project I would love to see it! Make sure to tag me on a pic on Instagram @thepinningmama! Happy crafting!


Leave a Comment