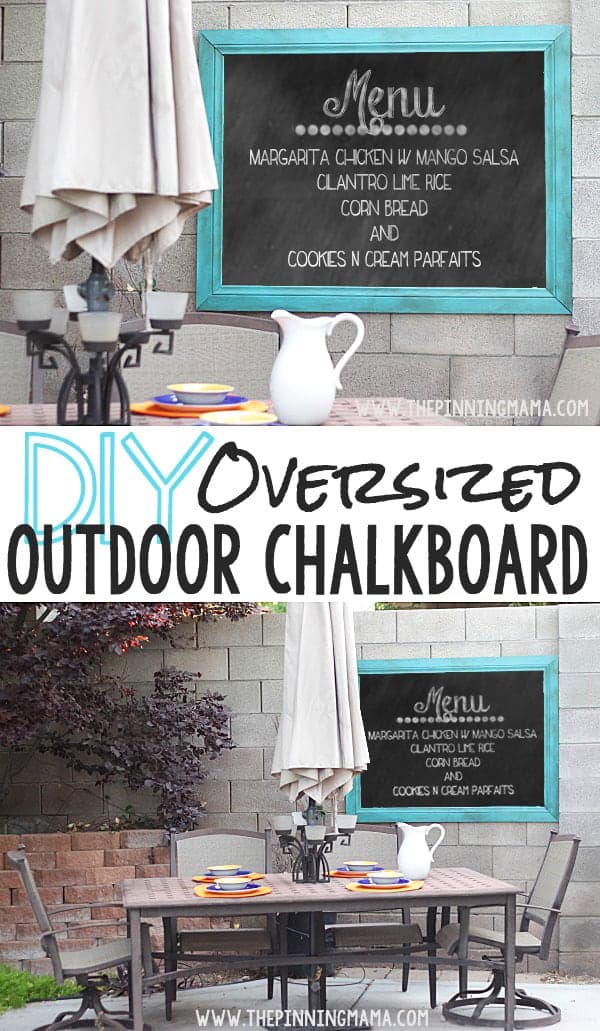
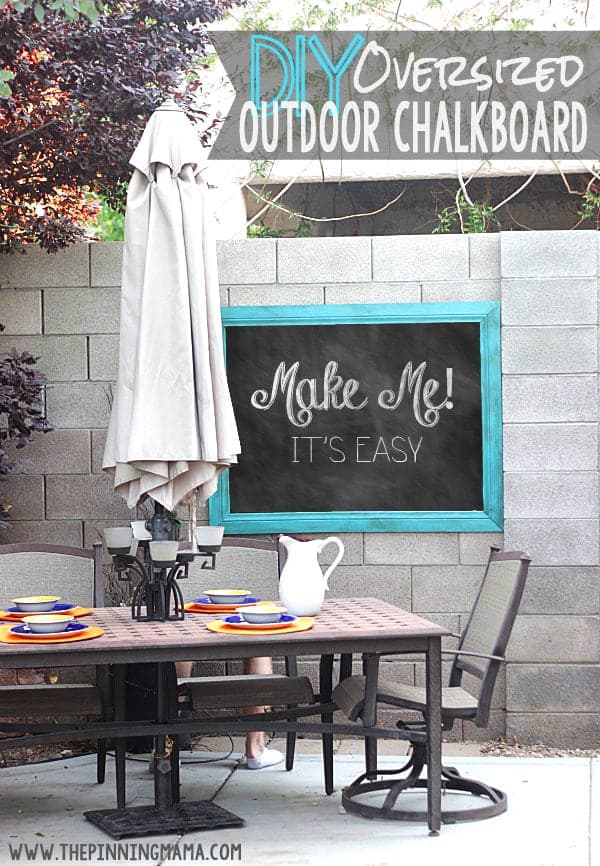
This easy DIY chalkboard is perfect for entertaining! It is the perfect compliment to an outdoor seating area!
I have been working on this DIY little by little for awhile and have just been so anxious to get it finished so I can finally share it with you! Well, this weekend we finally buckled down and got it hung so I could get everything together to share it. I have dreamed for a long time of adding something to our yard to cover up our… errr… beautiful cinderblock walls and add a little more personality. A couple of months ago it hit me! I needed a giant chalkboard to put out there so I could cover the walls and dress it up when we entertain.
I started thinking about the design and my needs for the project. I knew I wanted it BIG! I ended up deciding it needed to be 4’x3′. I also knew I would need to make it fairly weather proof since it would live outside. I went to Home Depot and started to look around. There were quite a few options, but my size requirements limited me a bit on what I could get without having to have a seam in the middle of the board.
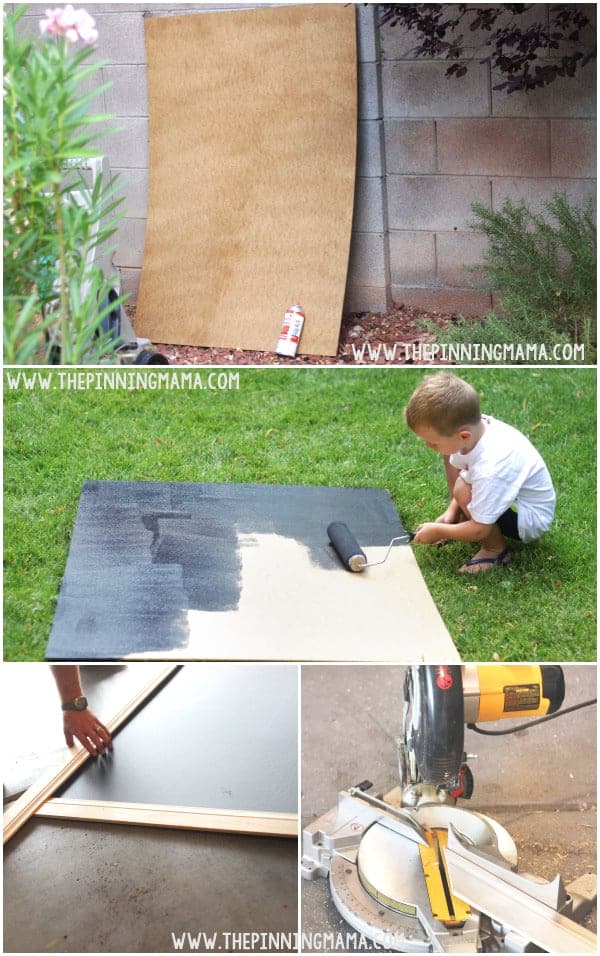
I ended up going with a 3/16″ 4×8 tempered hardboard. The nice folks at the Home Depot cut it down for me right there in the store to make it super easy. The other plus, it was under $15 for the whole huge piece and I only used a little over a third of it so I can do more projects with it down the road. I picked up a few pieces of molding in the trim section to use to frame out the chalkboard, a can of Thompson’s Water Seal, and some indoor/outdoor use liquid nails.
I used the Thompson’s Water Seal to coat all of the wood pieces to help them resist the weather. It isn’t super rainy here in Las Vegas so I am not too worried about the water. I put 3 coats of the water seal on and feel pretty confident it will hold up for awhile!
Next I had my favorite project helper give me a hand painting the chalkboard paint onto the hardboard. I got a quart of chalkboard paint and used about half of it rolling two coats on the board. I used a roller to try to get as smooth of finish as possible.
Next I tackled the frame. Each piece of trim was measured against the frame where I wanted it and then we used a circular saw to cut it at a 45˚ angle for the corners. Make sure that each piece lines up on the board evenly so that the rivets in the molding will line up perfectly when you put it together. If you don’t have a circular saw, you can use the saws at Home Depot to cut before you leave!
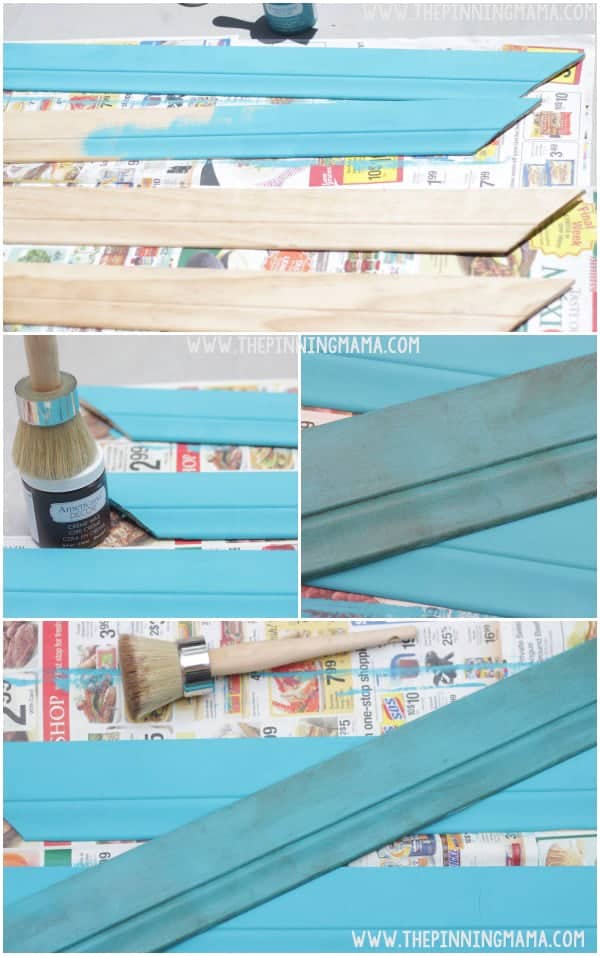
Next paint the trim. I had big plans for this! I knew I wanted a bold pop of color to dress up those cinderblock walls and I love the vintage look so I used Americana Decor Chalky Finish Paint in Treasure. After two coats of paint I finished it by using Americana Decor dark soft wax and the Americana Decor wax brush to apply the dark wax in a circular motion then buffed off with a cotton rag.
I experimented a bit the night before at my kitchen counter and loved the effect of the finish. The next day I painted the trim in the hot, dry, Vegas sun and it dried almost instantly. The dark wax dried so quickly that it had a much more dramatic effect than it had on the sample pieces I had done the night before, but luckily– I loved it!!! I finished the trim up with a coat of clear wax which decreased the intensity of the dark wax just a tad and really brought everything together.
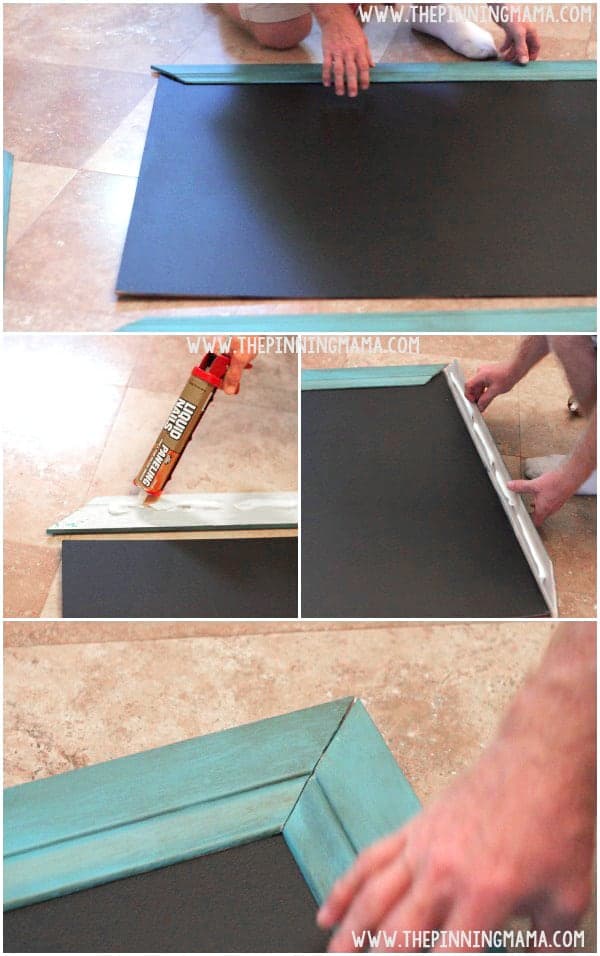
The last step was just attaching the trim which after some debate, I decided to do with liquid nails. It was quick easy and effective! Just pop it in the caulking gun and add each piece by applying a generous amount of the liquid nails to the back of each piece one by one and place them on the hardboard. This can get a little messy so make sure you have a rag handy to clean up any glue that squeezes out. I liked this method because you have some time to shift the pieces around to get them perfectly lined up and in place before everything is dry.
Once it is all dry, you can prime your surface by rubbing chalk evenly over the surface and then erasing it. Then you are dry you are ready to hang! I used cinderblock anchors to hang my chalkboard, but depending on what you are hanging your chalkboard on you can check with your hardware store to see what is the made to use on your surface.
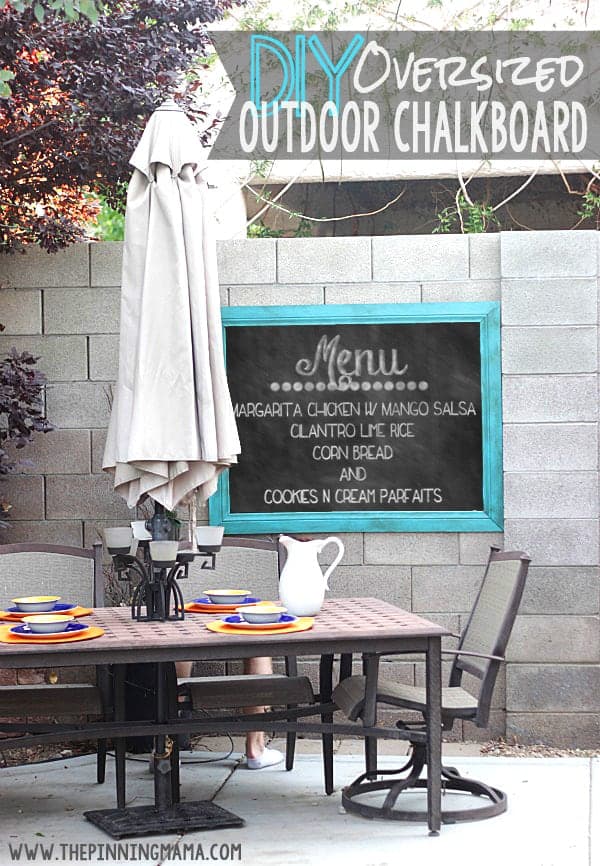
One of the reasons that I was so excited about this project was there are so many options for what you can use the chalkboard for! I think it will be so fun to use it to display the menu when we are entertaining guests!
Or announce a birthday when we have a backyard party.
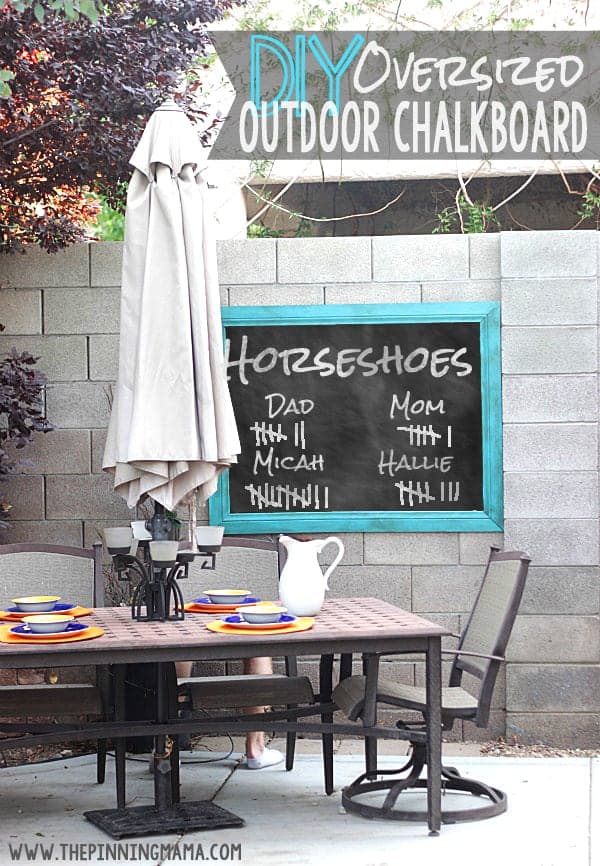
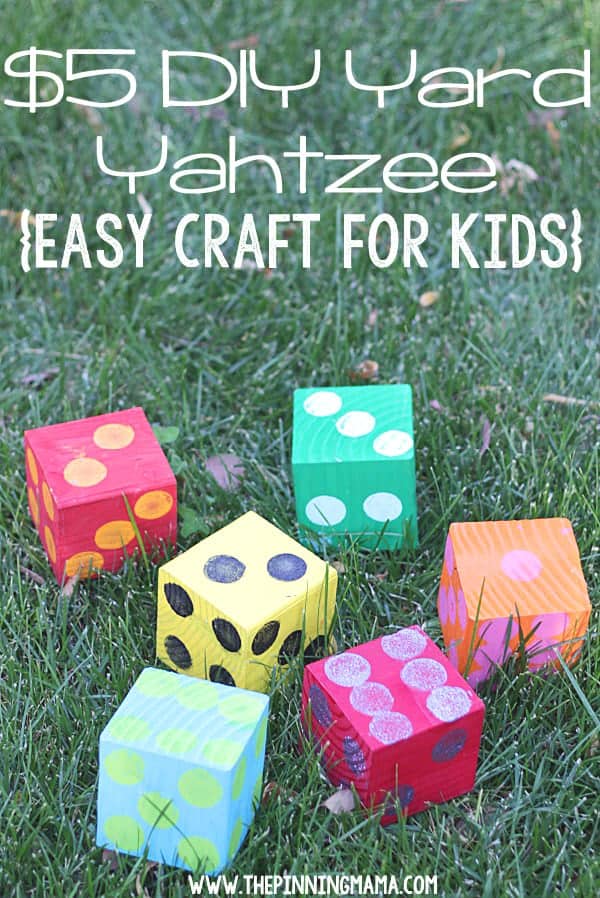
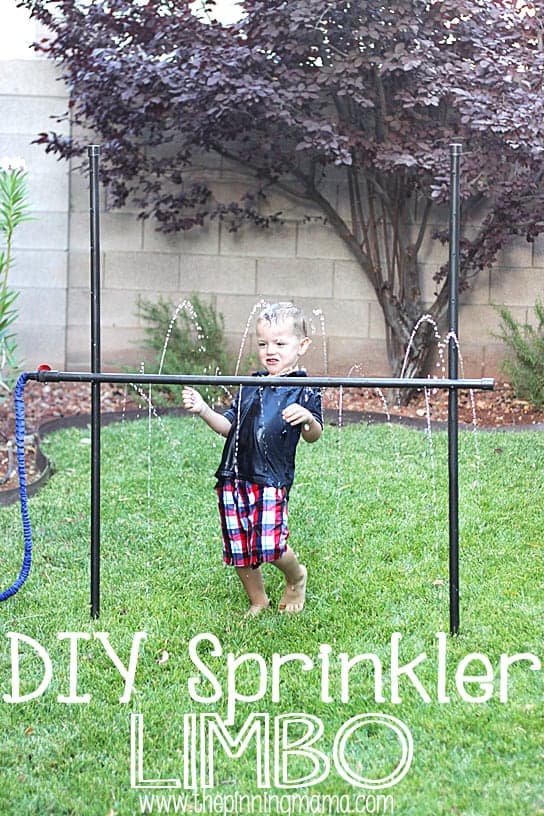
It can even be used everyday as a score board for whatever fun family game we might be playing that evening. We love to play all sorts of outdoor games like this yard Yahtzee we made, or this wet and wild DIY Limbo game. We have even been known to get pretty competitive with tic-tac-toe!!
Anyway you use it, it is super cute and you will love the new masterpiece of your backyard!
For more easy family DIYs follow The Pinning Mama on Pinterest and Facebook to see our latest posts!
Here is some more summer fun you may like!
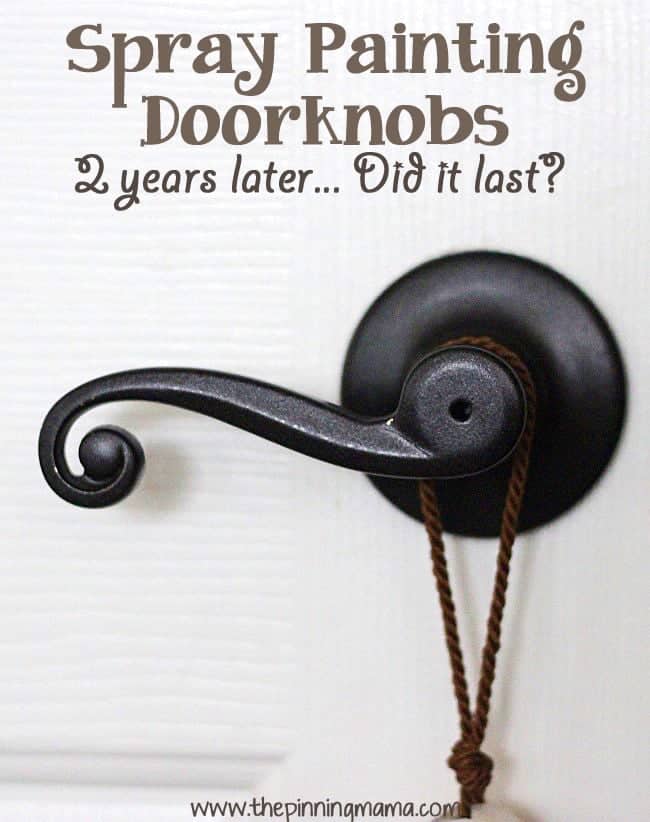
Spray Painting Door Knobs – Did it last??



Heather says
This is so great! I love the finish on your frame. I just decided this week we need one of these by our fire pit. You have great timing!
Callie says
Great post. Will try your method this weekend. But did you notice those random legs in your picture of the chalkboard by the table. Lol weird!
Elizabeth says
Can you please explain how you were able to hang it onto the cinder block? I have looked through so many blogs for an explanation and I cannot find one. Thanks!