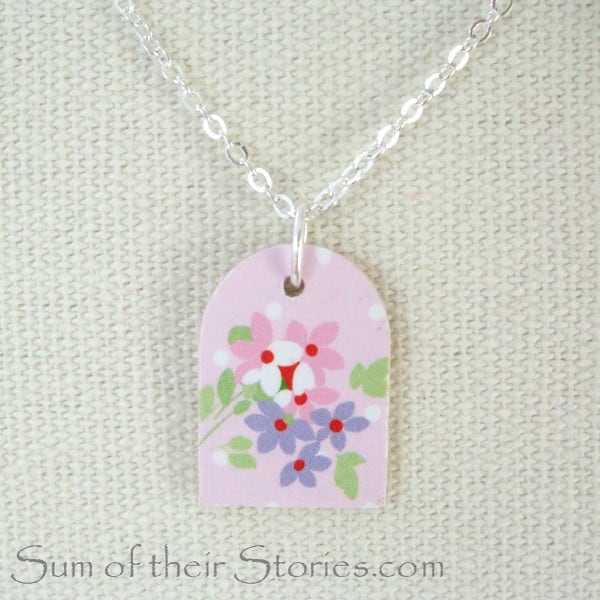
It’s easy to make a pretty pendant from something as simple as a popsicle stick and a scrap of patterned paper.
Hi, I’m Julie from Sum of their Stories and I’m happy to be back here on The Pinning Mama again today to share another jewellery project. Last month I used some beautiful Cath Kidston notepaper to transform an old wooden bangle into a new “ready for Spring/Summer” bangle. Today I have an idea for a pendant made from a popsicle stick.
I am finding it hard to write popsicle stick as I’m English and we call them lolly sticks! I almost put craft sticks in an attempt to be neutral but craft sticks could mean all manner of things. I’m a guest here at The Pinning Mama and “when in Rome do as the Romans” so popsicle stick it is.
To make a pendant you need:
- A popsicle / lolly stick (sorry couldn’t resist) mine were 2cm wide
- A scrap of pretty paper
- Mod Podge or PVA
- A drill with tiny drill bit
- A jump ring (mine were 5mm oval)
- Chain of your choice
- Clear Sealant Spray (optional)
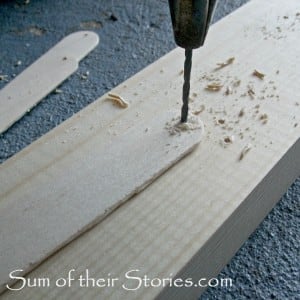
First thing to do is make holes in the ends of the stick. On my first attempt I shaped and covered the pendants first, then I made a hole drilling error and had to start again (more on that later). As the hole drilling is the part most likely to go wrong I suggest doing it first. Do a whole load so you have spares!
You won’t see me with a power tool very often but this I could manage! I just had a scrap of wood underneath and marked a point at the centre of the stick about 3 mm away from the edge. I made holes in both ends, you can make 2 pendants from each stick.
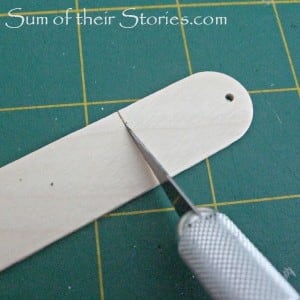
Next cut the end off the stick, you can make this any length you want depending on what paper you will be using to decorate. here I did one about 3cm.
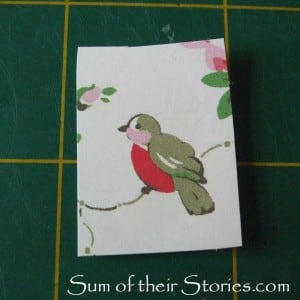
Take your scrap of decorative paper…
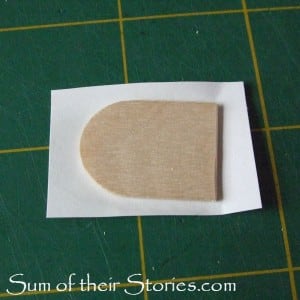
…and using the Mod Podge or PVA glue it to the popsicle stick end and leave to dry.
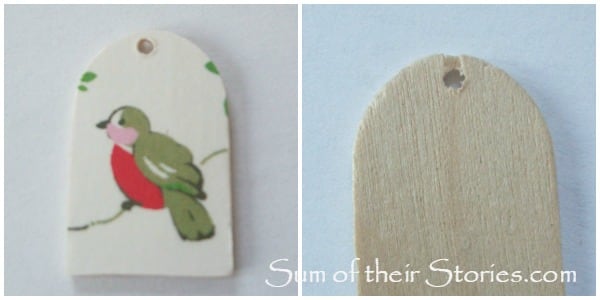
Then just cut it out carefully using a craft knife, you could use small scissors if you don’t have a craft knife.
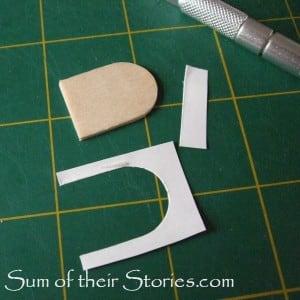
It’s just too close to the edge and the wood has split. I’m always happy to make these mistakes so you don’t have to! Assuming you did learn from my mistake then your pretty paper will be covering the hole now, just poke a cocktail stick through from the right side. Give the paper a coat of Mod Podge to seal and protect it and leave it to dry.
Spray with clear sealant if using (I used the same one as for the DIY Floral Bangle) and leave to dry again.
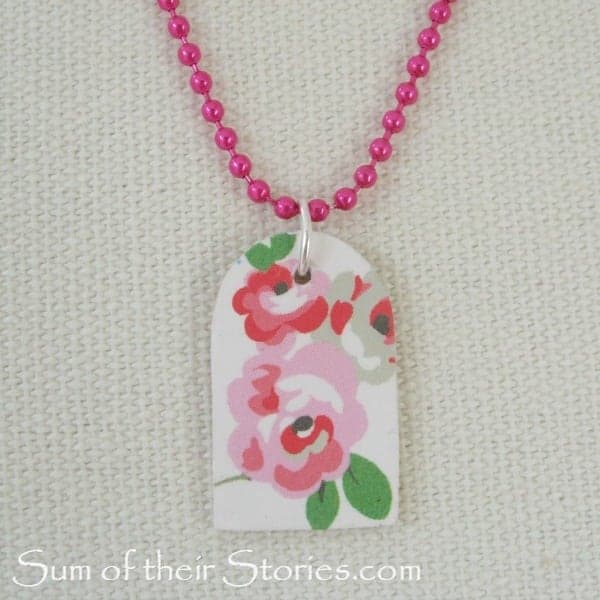
Add a jump ring and chain of your choice.
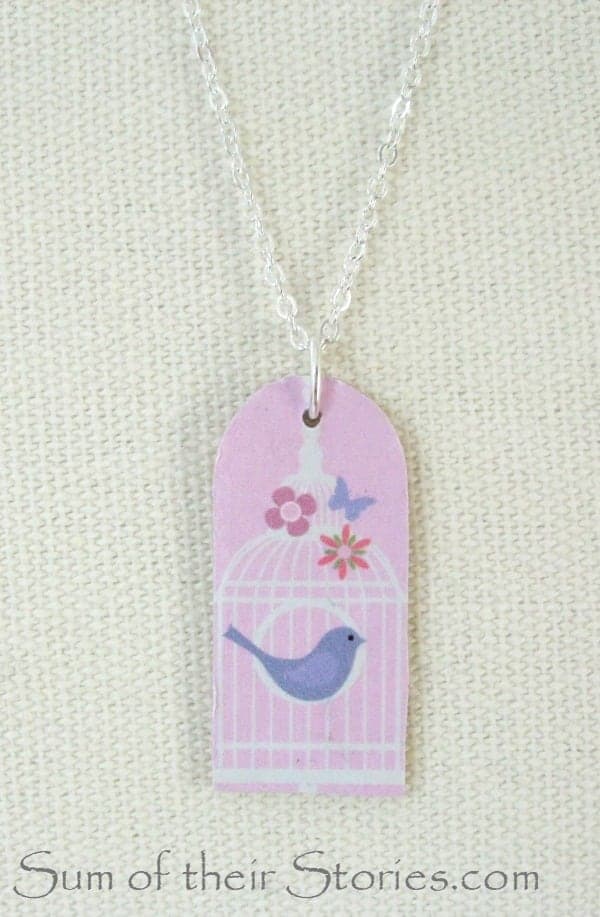
These are so light weight they would make great earrings too. Older children/teens could probably manage to make these, for younger ones you could prepare the bases ready – they could make lots as charms for a bracelet, or matching ones for their BFF’s!
It’s been fun stopping by and sharing another project with you here. There are all sorts of projects over on my blog Sum of their Stories using a whole variety of different crafts and techniques. If you ever fancy dropping by for a nosey round you are all very welcome!



Scott Mudie says
For this kind of sensitive work (drilling) you need special drills. I suggest you to visit our store: http://www.northernpowertools.co.uk for more reliable drills. Thanks