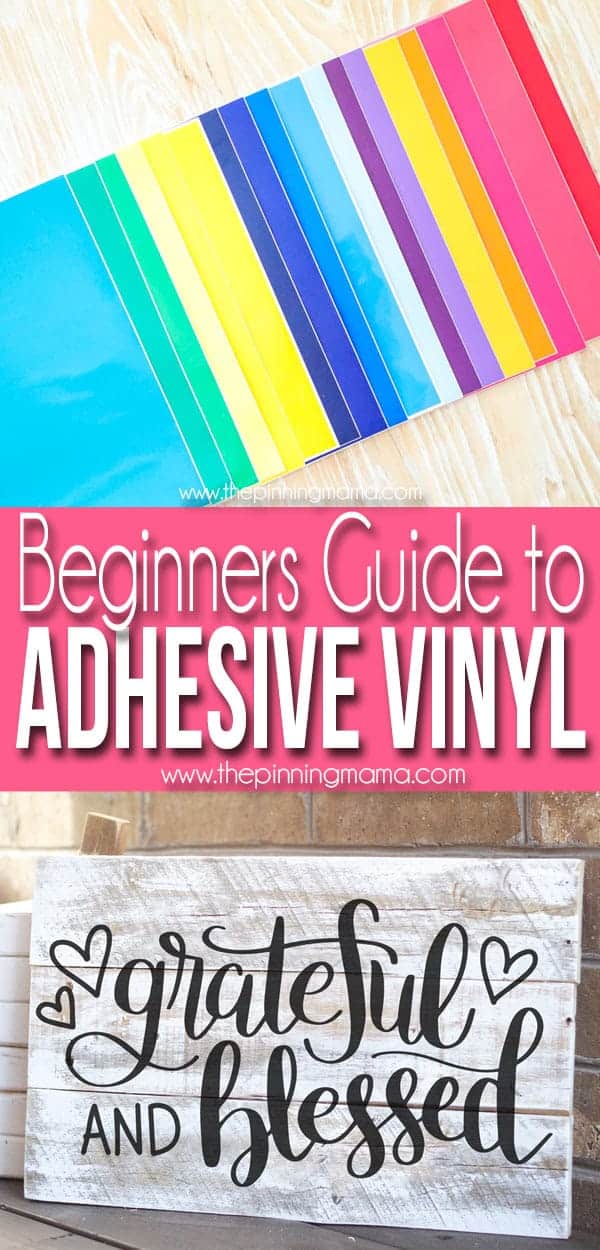
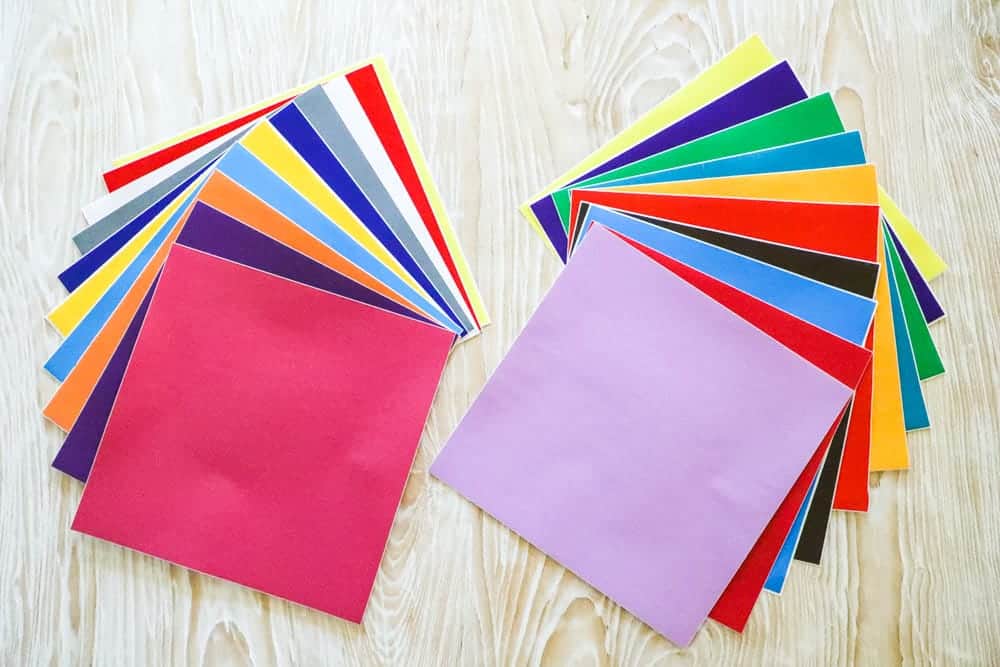
Welcome Back! I hope you all had a fabulous break over the holidays. Now that we have our vinyl all prepared with transfer material, now it is time to apply our vinyl! Last week we learned all about How to Prepare Vinyl to Apply. This is a beginner level series but may have some tidbits of knowledge that are helpful for all levels of crafters!
Welcome to our NEWEST series for crafting with your Silhouette CAMEO. This series is all about Adhesive Vinyl. We will cover everything from what it is, to where to get it and how to cut it over the next few weeks.
This post will be your index and keep links to all of the posts for this series as they go live. So first, make sure to do a couple of things to keep up with the series and all of the great information!
- Sign up for our e-mail list! By signing up to get e-mails from us, you will get a notification in your inbox any time that a new Silhouette post is up and ready for you to read. We don’t send spam or anything else, just info on new Silhouette and crafting stuff! To sign up, click here!
- Pin this post! If you have Pinterest, I am going to ask you to pin this for 2 reasons. First, it will help you find this post to come back and reference it for new posts or to help on projects. Second, it helps support my site by spreading the word about the series so that we can bring you even more of these Silhouette series!
- Know the Basics! If you are new to Silhouette or need more information on using your Silhouette machine in general, make sure and check out our Silhouette Boot Camp where we walk through all the basics of the machine!
How to Apply Vinyl
You’ve successfully prepared your vinyl project on transfer material and now it is finally time to apply the vinyl. This is the fun part when your project comes together and you can finally see the finished product. Your vinyl should have the appropriate transfer material applied. So let’s get started on applying the vinyl.
Transferring the Vinyl Design
- Clean the surface of your project from any dust or oils. These can cause bubbles or inability to stick when applying the vinyl.
- Carefully and slowly peel back the transfer material making sure the vinyl edges are sticking to the transfer material. All of the vinyl should be lifted off of the backing and sticking to the transfer paper. Make sure you pay special attention to small parts of your design… dots on i’s and j’s especially can be a little tricky.
- Line the transfer material up with the project surface you want. Gently apply the vinyl starting at one of the project and working down.
- Use the scraper tool or a credit card to burnish the vinyl onto the project.
- Pull the transfer material off in a gentle motion. Making sure not vinyl is left behind. If you notice pieces coming up, push down the edges a few more times before pulling the transfer material off.
- You can throw the transfer material away or place it on a paper to use later or for another project.
YOU DID IT! The vinyl has adhered to your project. Now you can enjoy your project if you are finished, if you are using the vinyl you applied as a stencil to paint, you can now paint, and remove your vinyl after your project is dry.
If you are having trouble getting your vinyl to stick to your project surface, you may have to change your surface. Some materials such as rough wood, canvas, or textured surfaces are not the best for vinyl. If I want to use rough wood, I usually use my vinyl as a stencil and paint my design on the wood. You could also use cardstock instead of vinyl for your stencil in this situation.
Vinyl has so many great uses, but some surfaces are just not great for vinyl. Just remember the best surfaces are the smooth and clean ones. Other surfaces can be used, but are a bit more challenging.
That’s all I have for you this week. I hope you feel comfortable with vinyl and are ready to take on any project that comes your way. Tune in next week to learn all about How to Cut Larger Pieces of Vinyl.


kim says
i have found using a tennis ball to burnish vinyl on rough surfaces a great tool.
Kimber says
Great tip Kim. Thank you!!