This post contains affiliate links. For more information please see our disclosure policy.
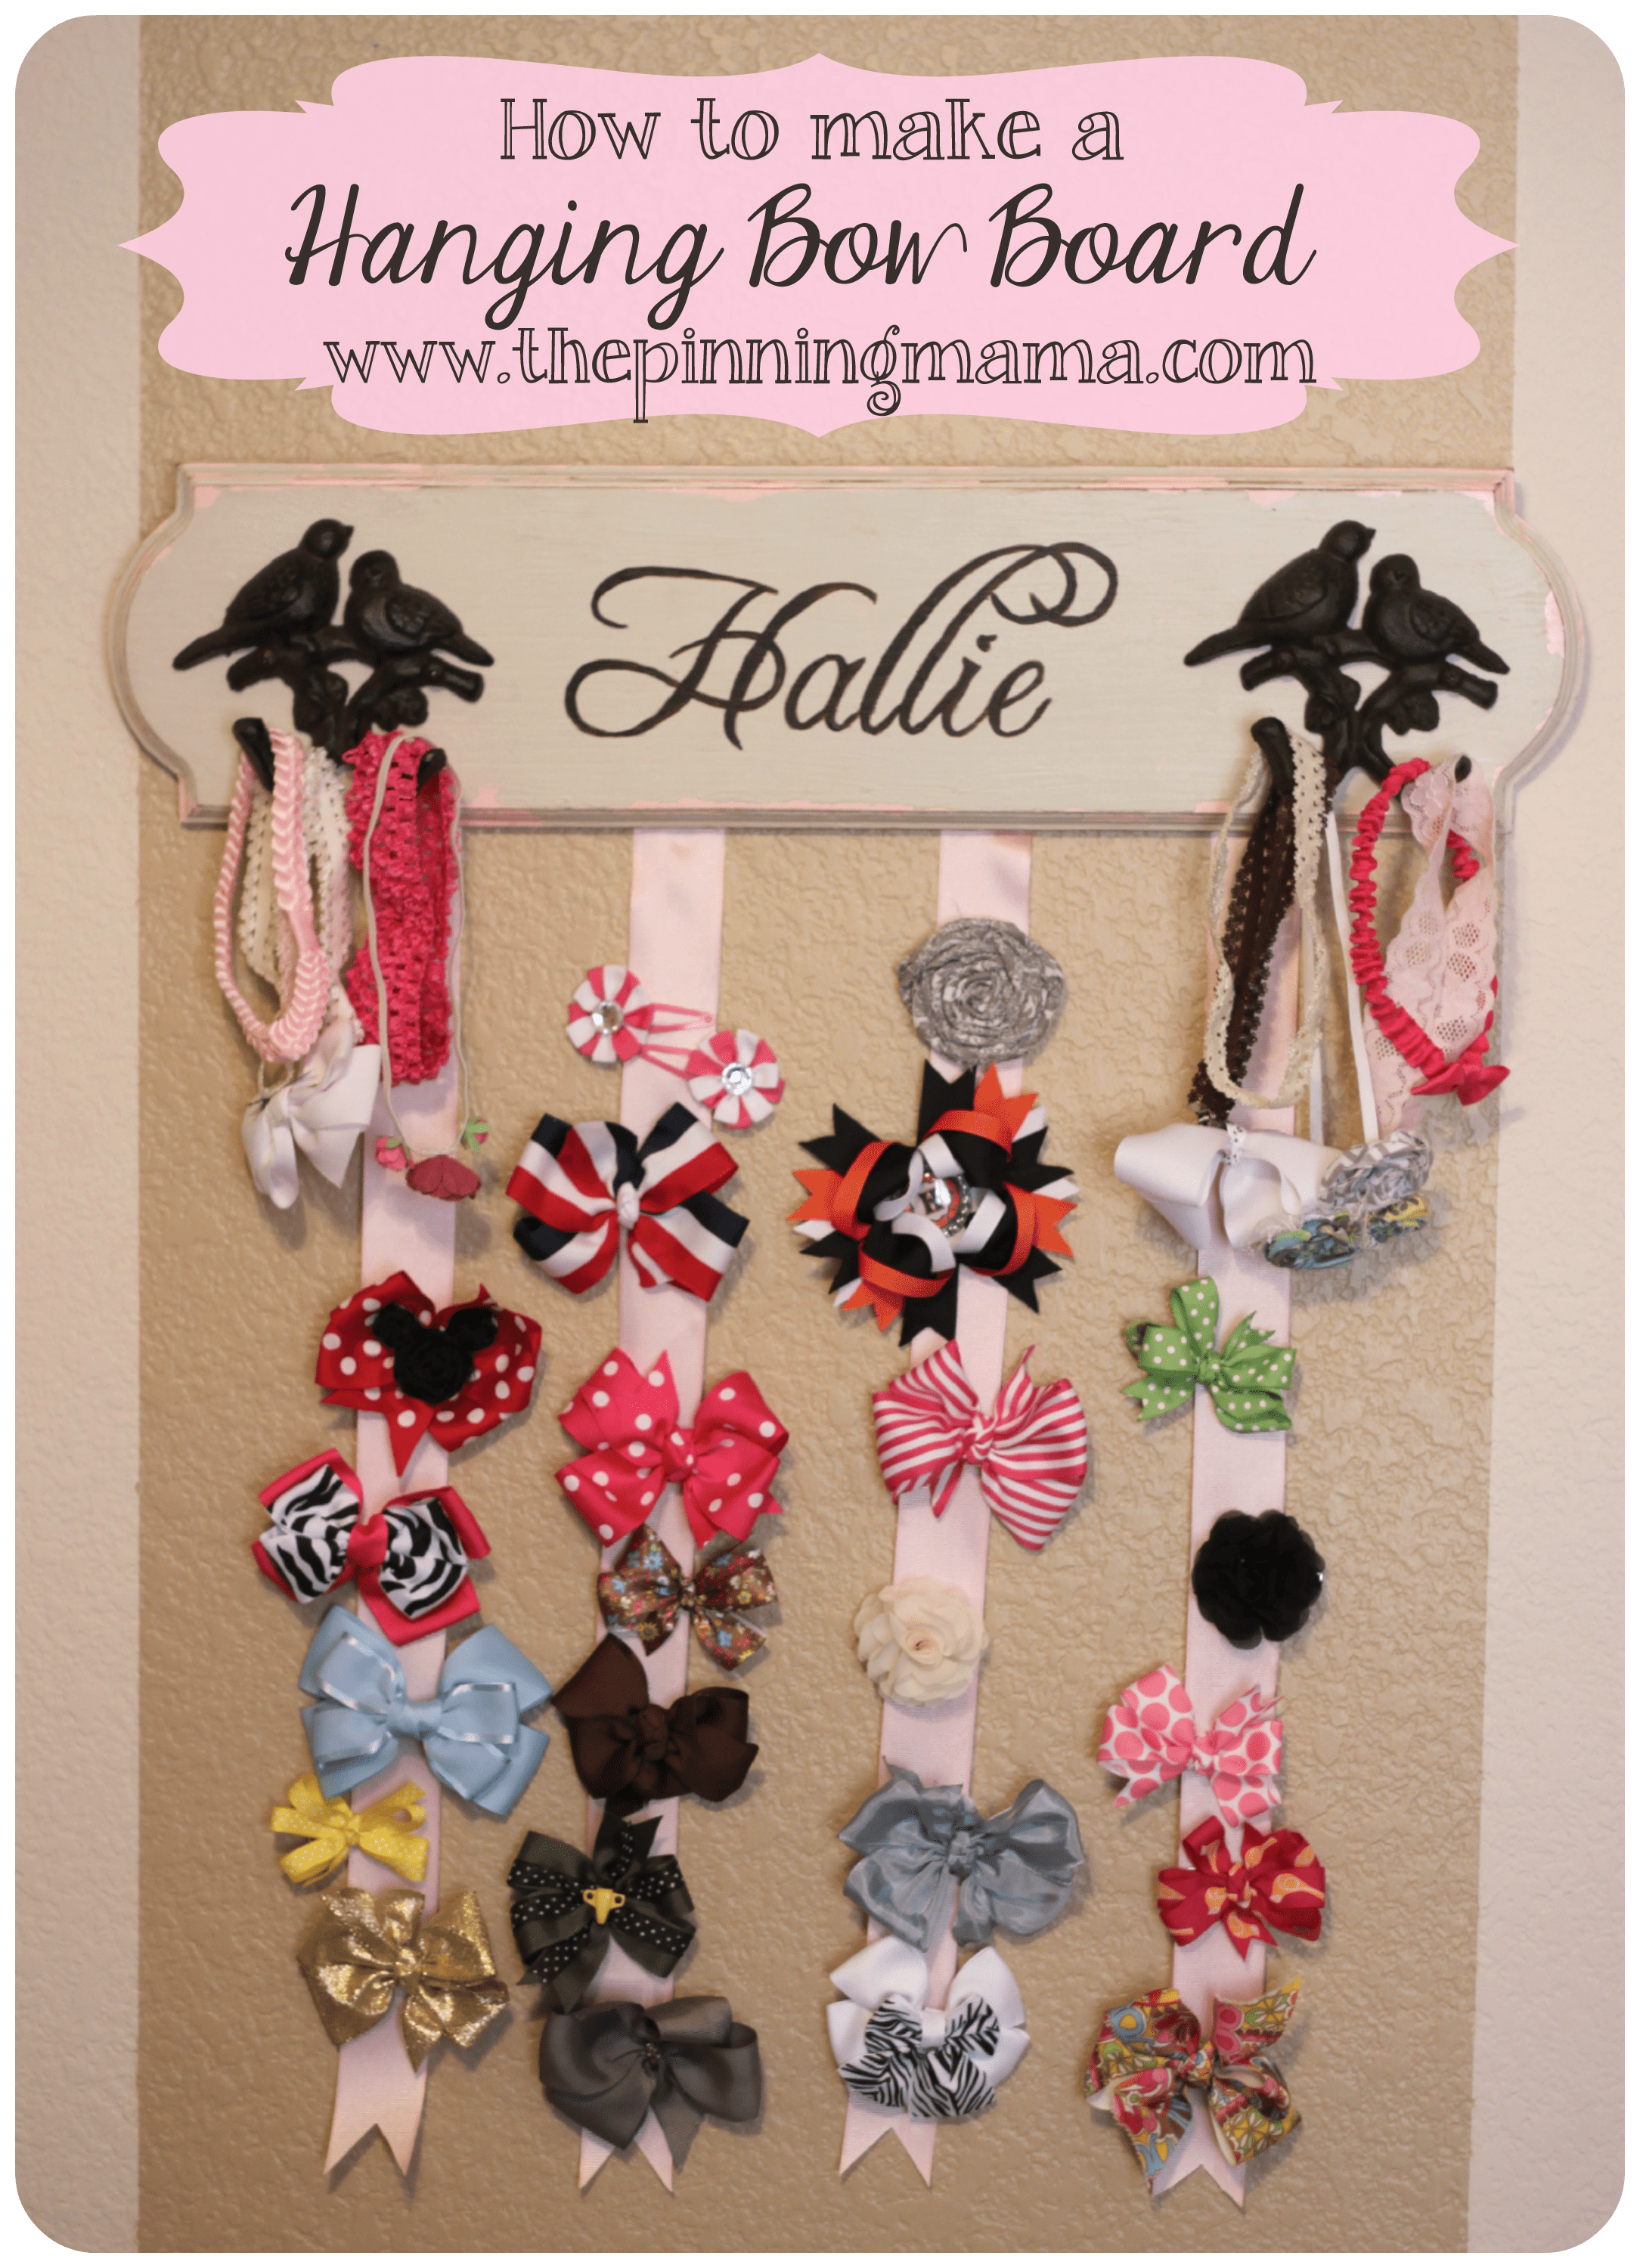
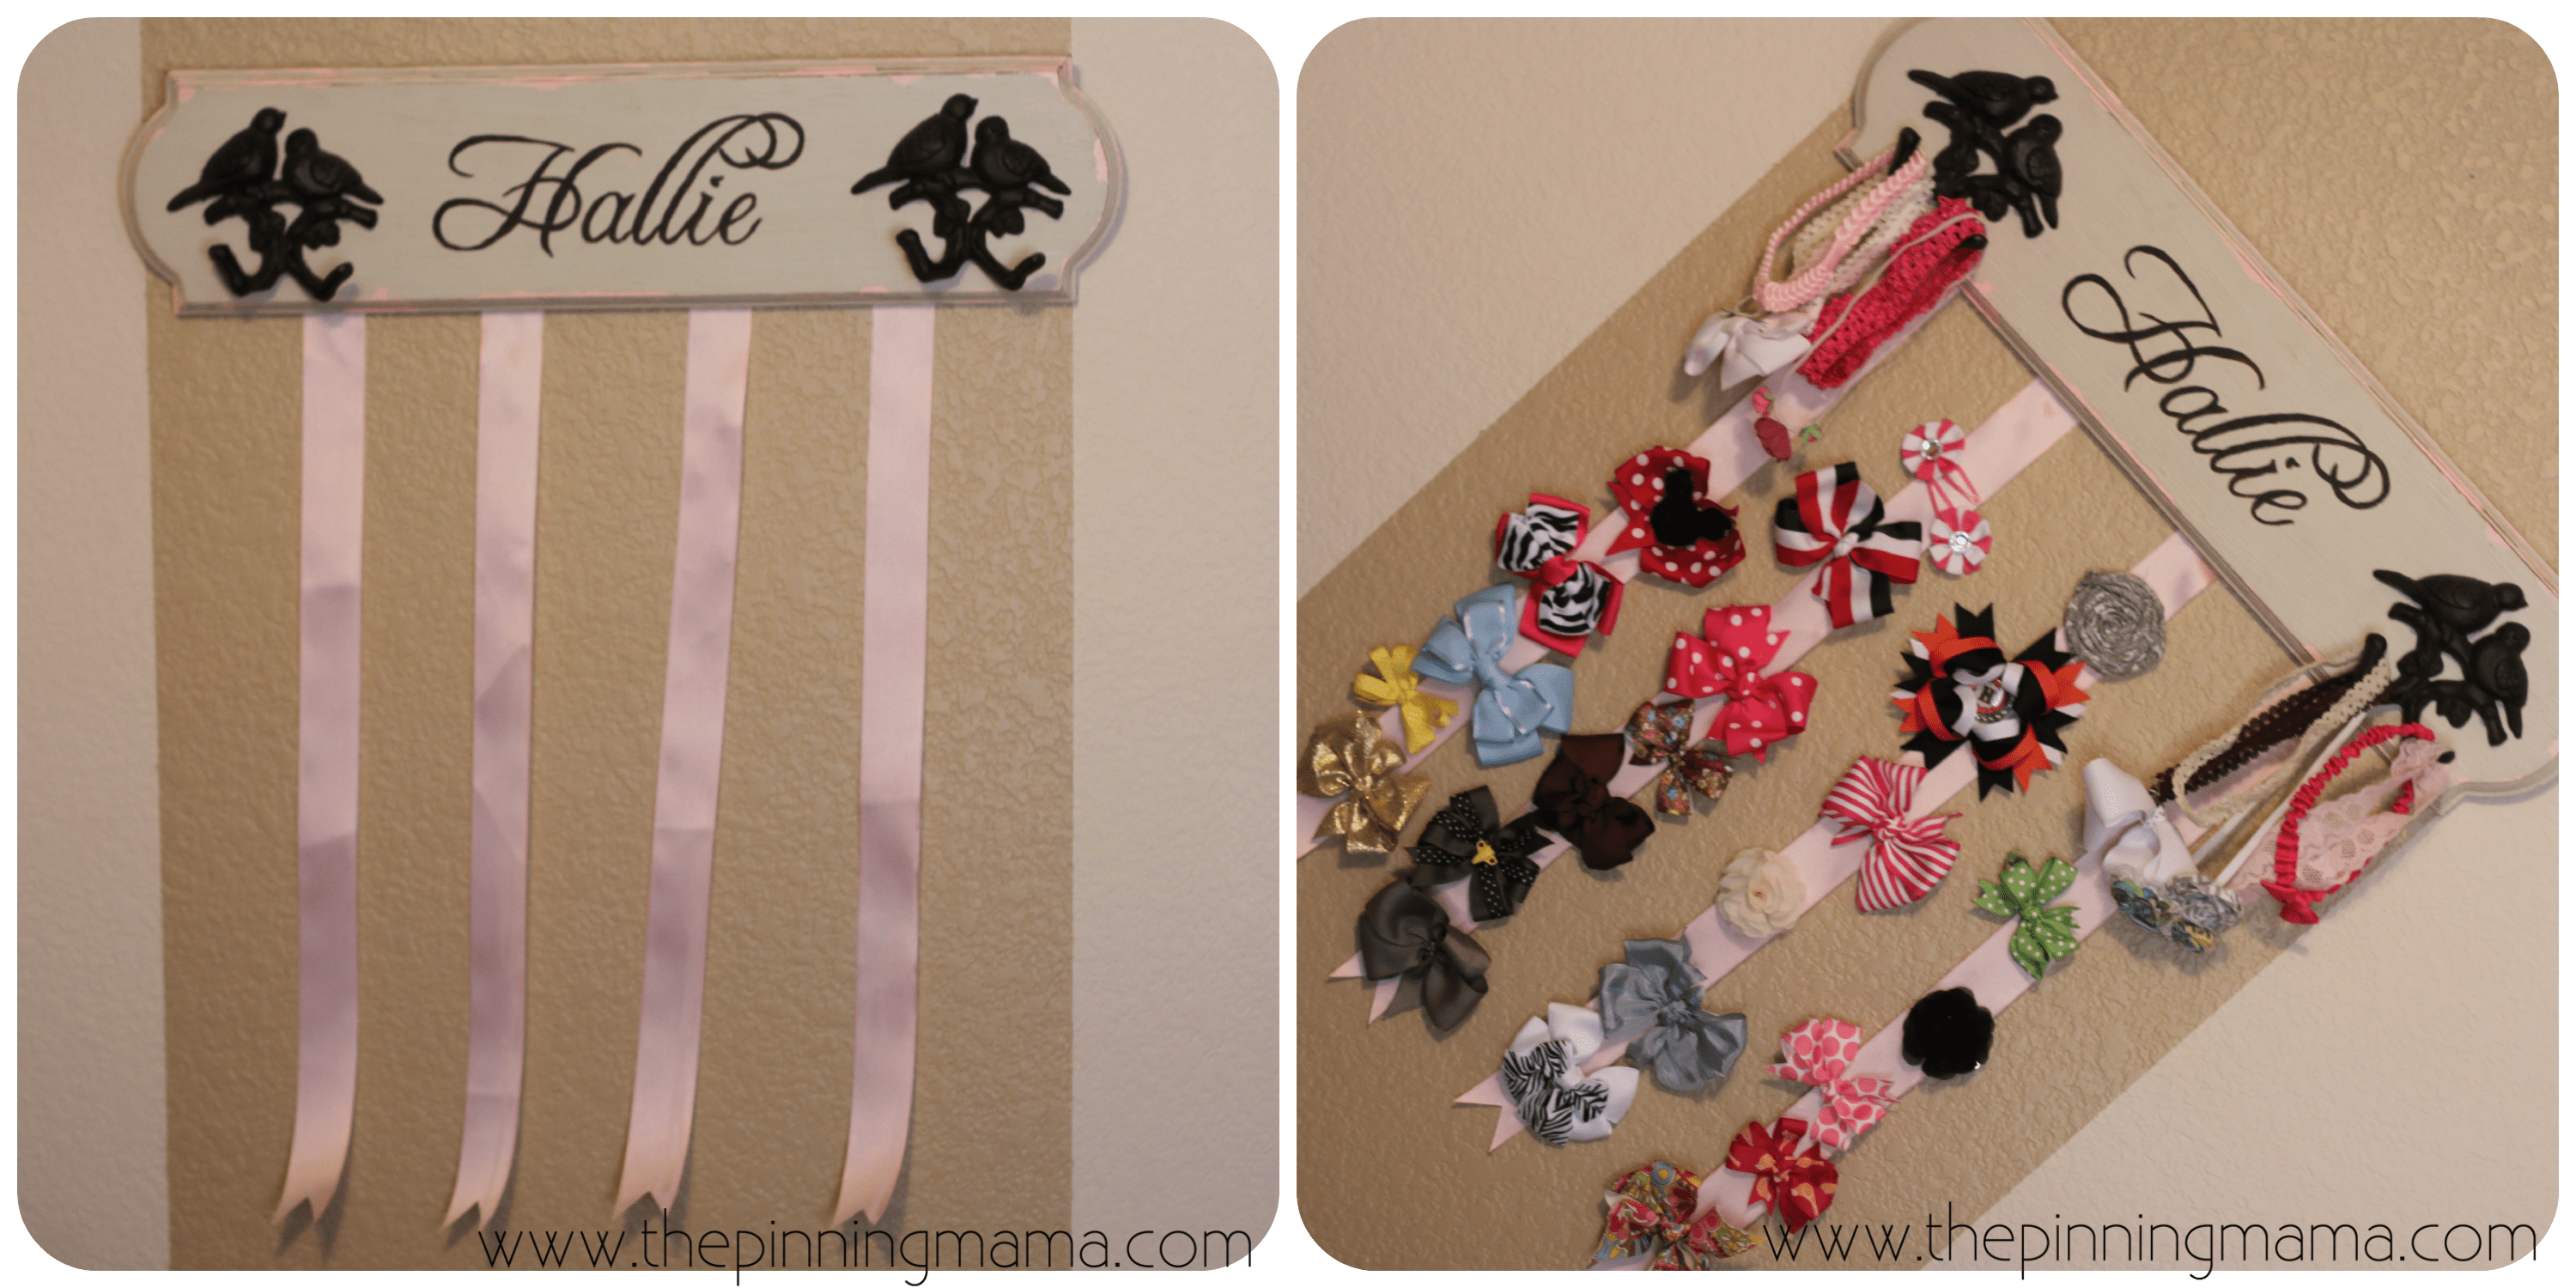
Based on an overwhelming need, making a new hair bow board organizer has been on my to do list for a while. How many hair bows can a 10 month old baby girl accumulate you ask? Well… maybe you shouldn’t ask! Today I finally finished my hanging hair bow organizer for baby girls room. I already feel so much less cluttered!
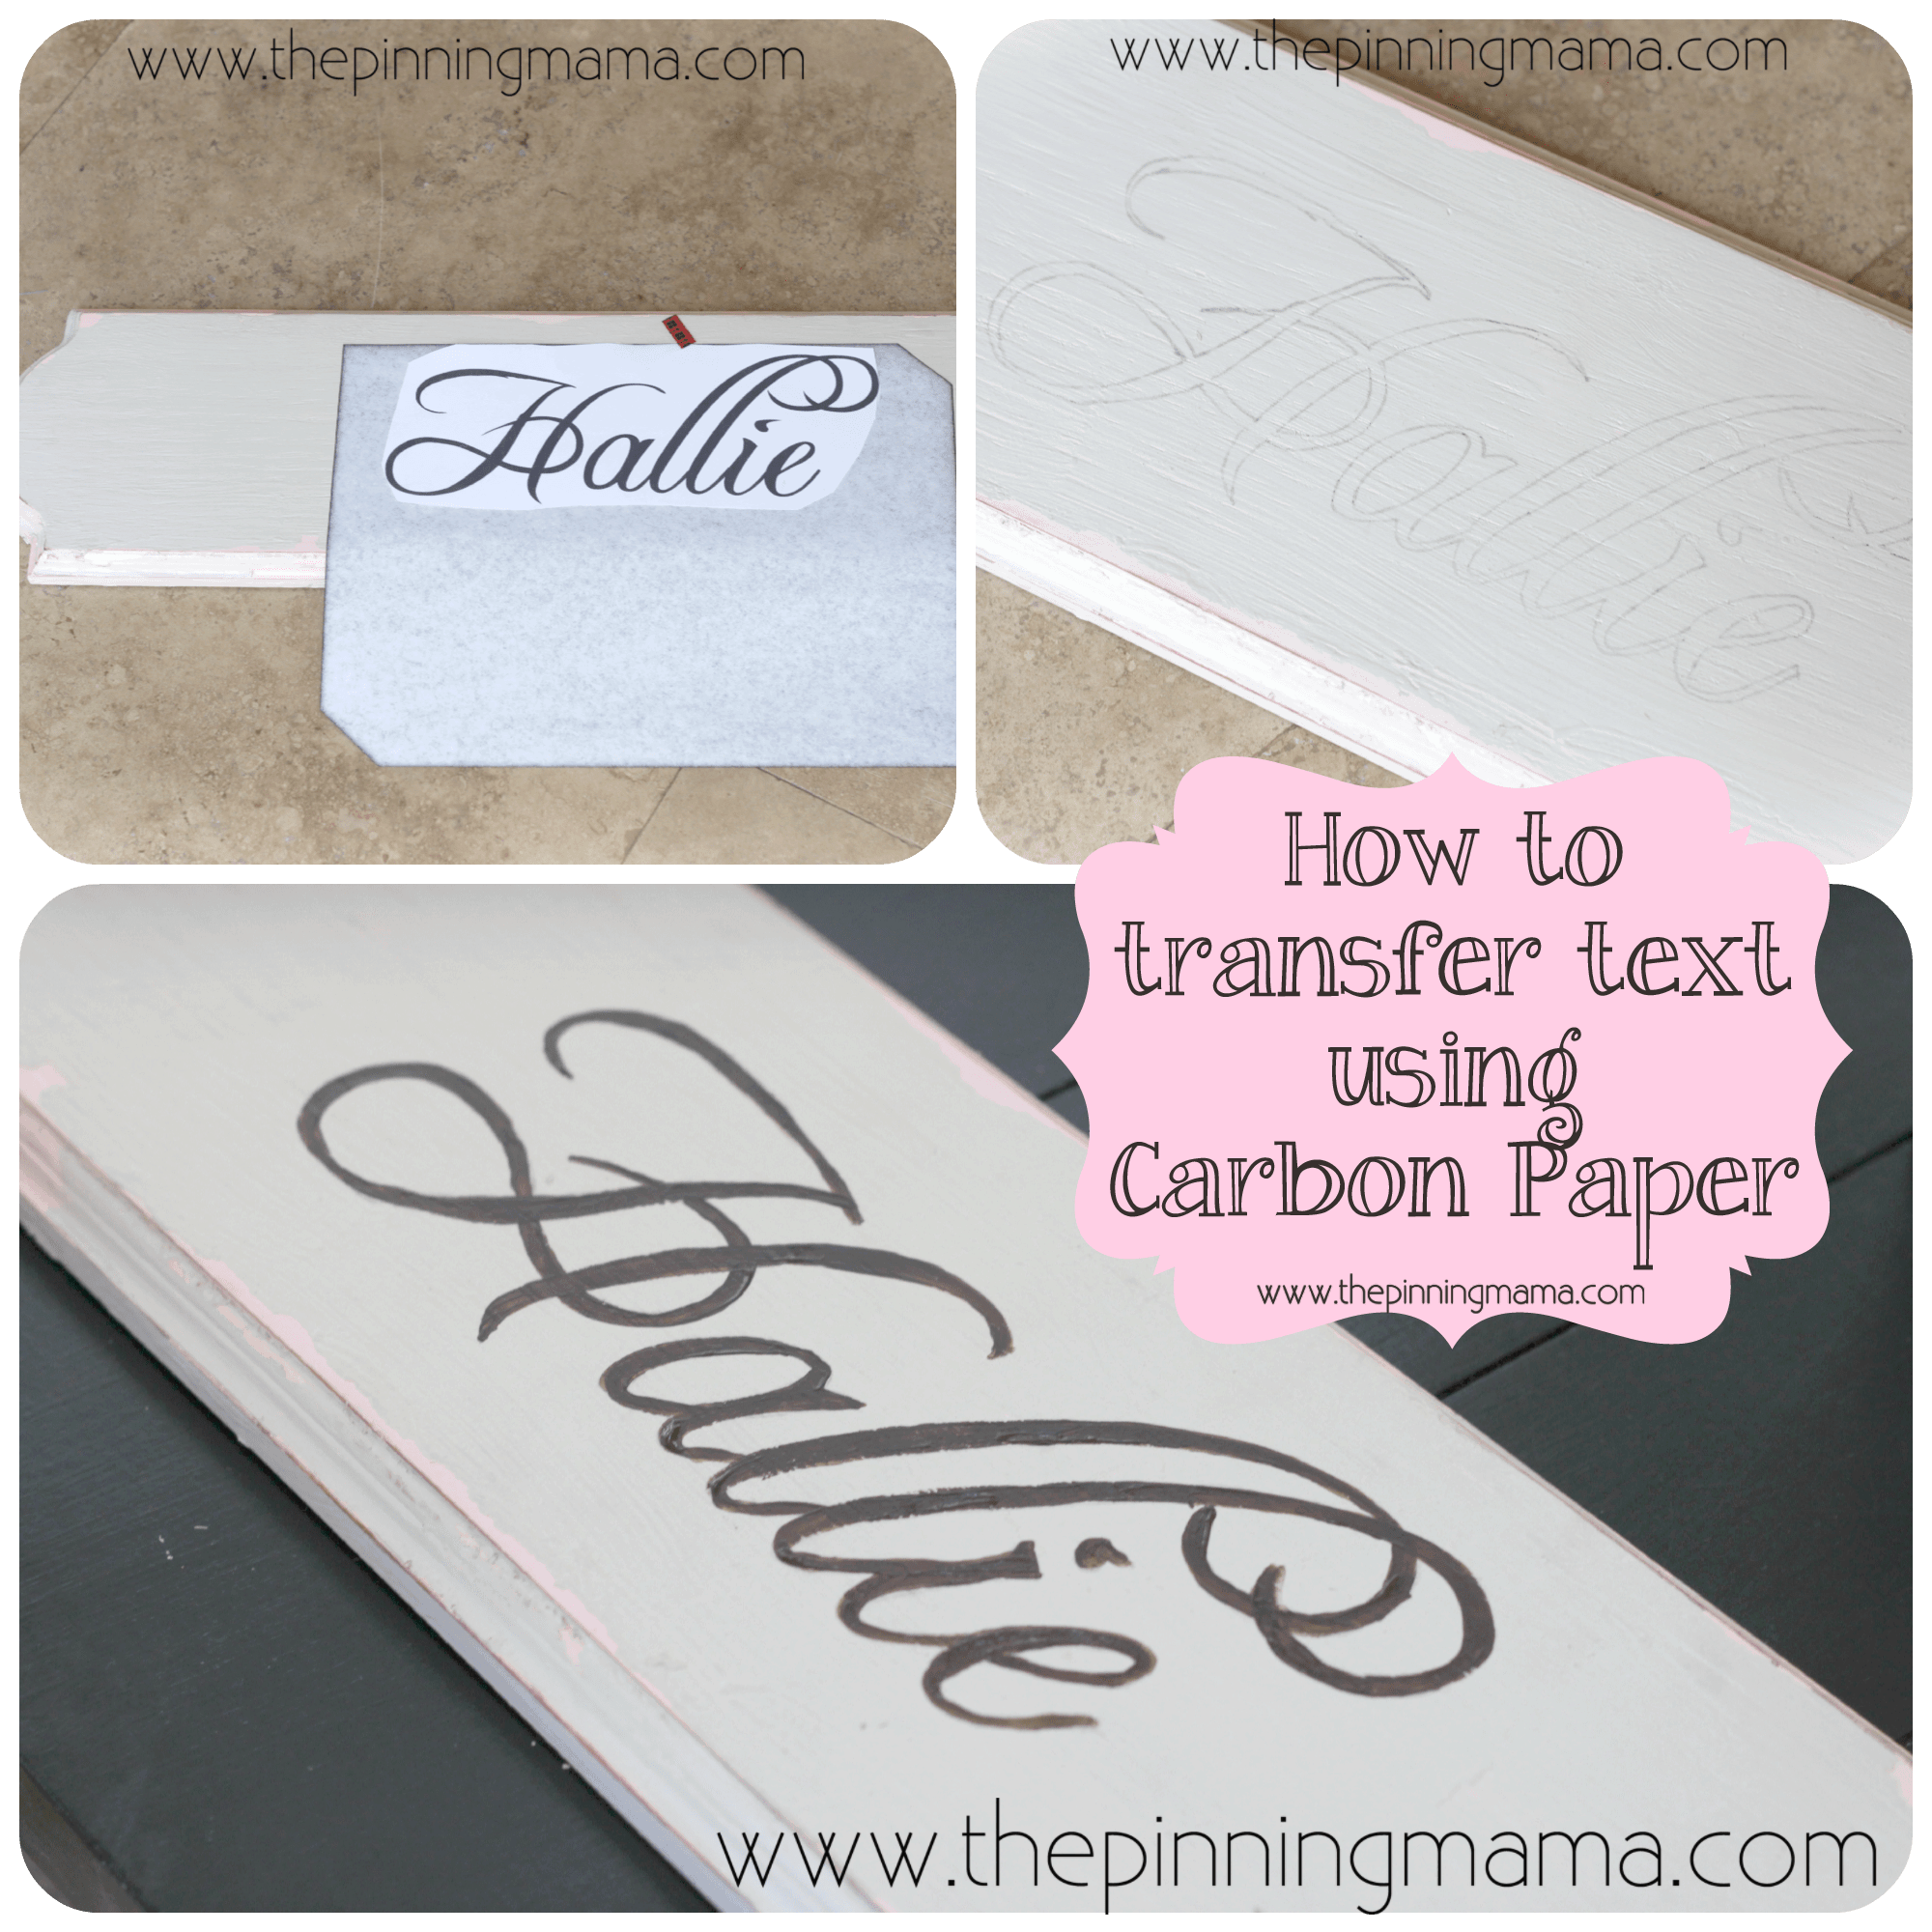
If you remember we started the bow board by taking an inexpensive raw wooden board from Hobby Lobby and painting it to get a vintage, distressed chippy paint look. You can see the tutorial on how to create the chippy paint look here. After the board was distressed, the next step was to add the text. In order to transfer the name to the bow board I used Microsoft Word to print it out in exactly the size and font that I wanted. I cut around the name then taped it exactly where I wanted it onto the bow board. Next take the carbon paper and with the dark side down, slide it between the name and the bow board. Then all you have to do is use a pen to trace on top of the word, making sure to get every nook and cranny, and the carbon will transfer onto the bow board as you see below!
After your words are traced onto the bow board you will want to use craft paint to fill in the outlines in the color you want. TIP: I have found that the smaller the brush is, the easier it is to control when you are doing the fine lines of text. These Martha Stewart paint brushes would be perfect.
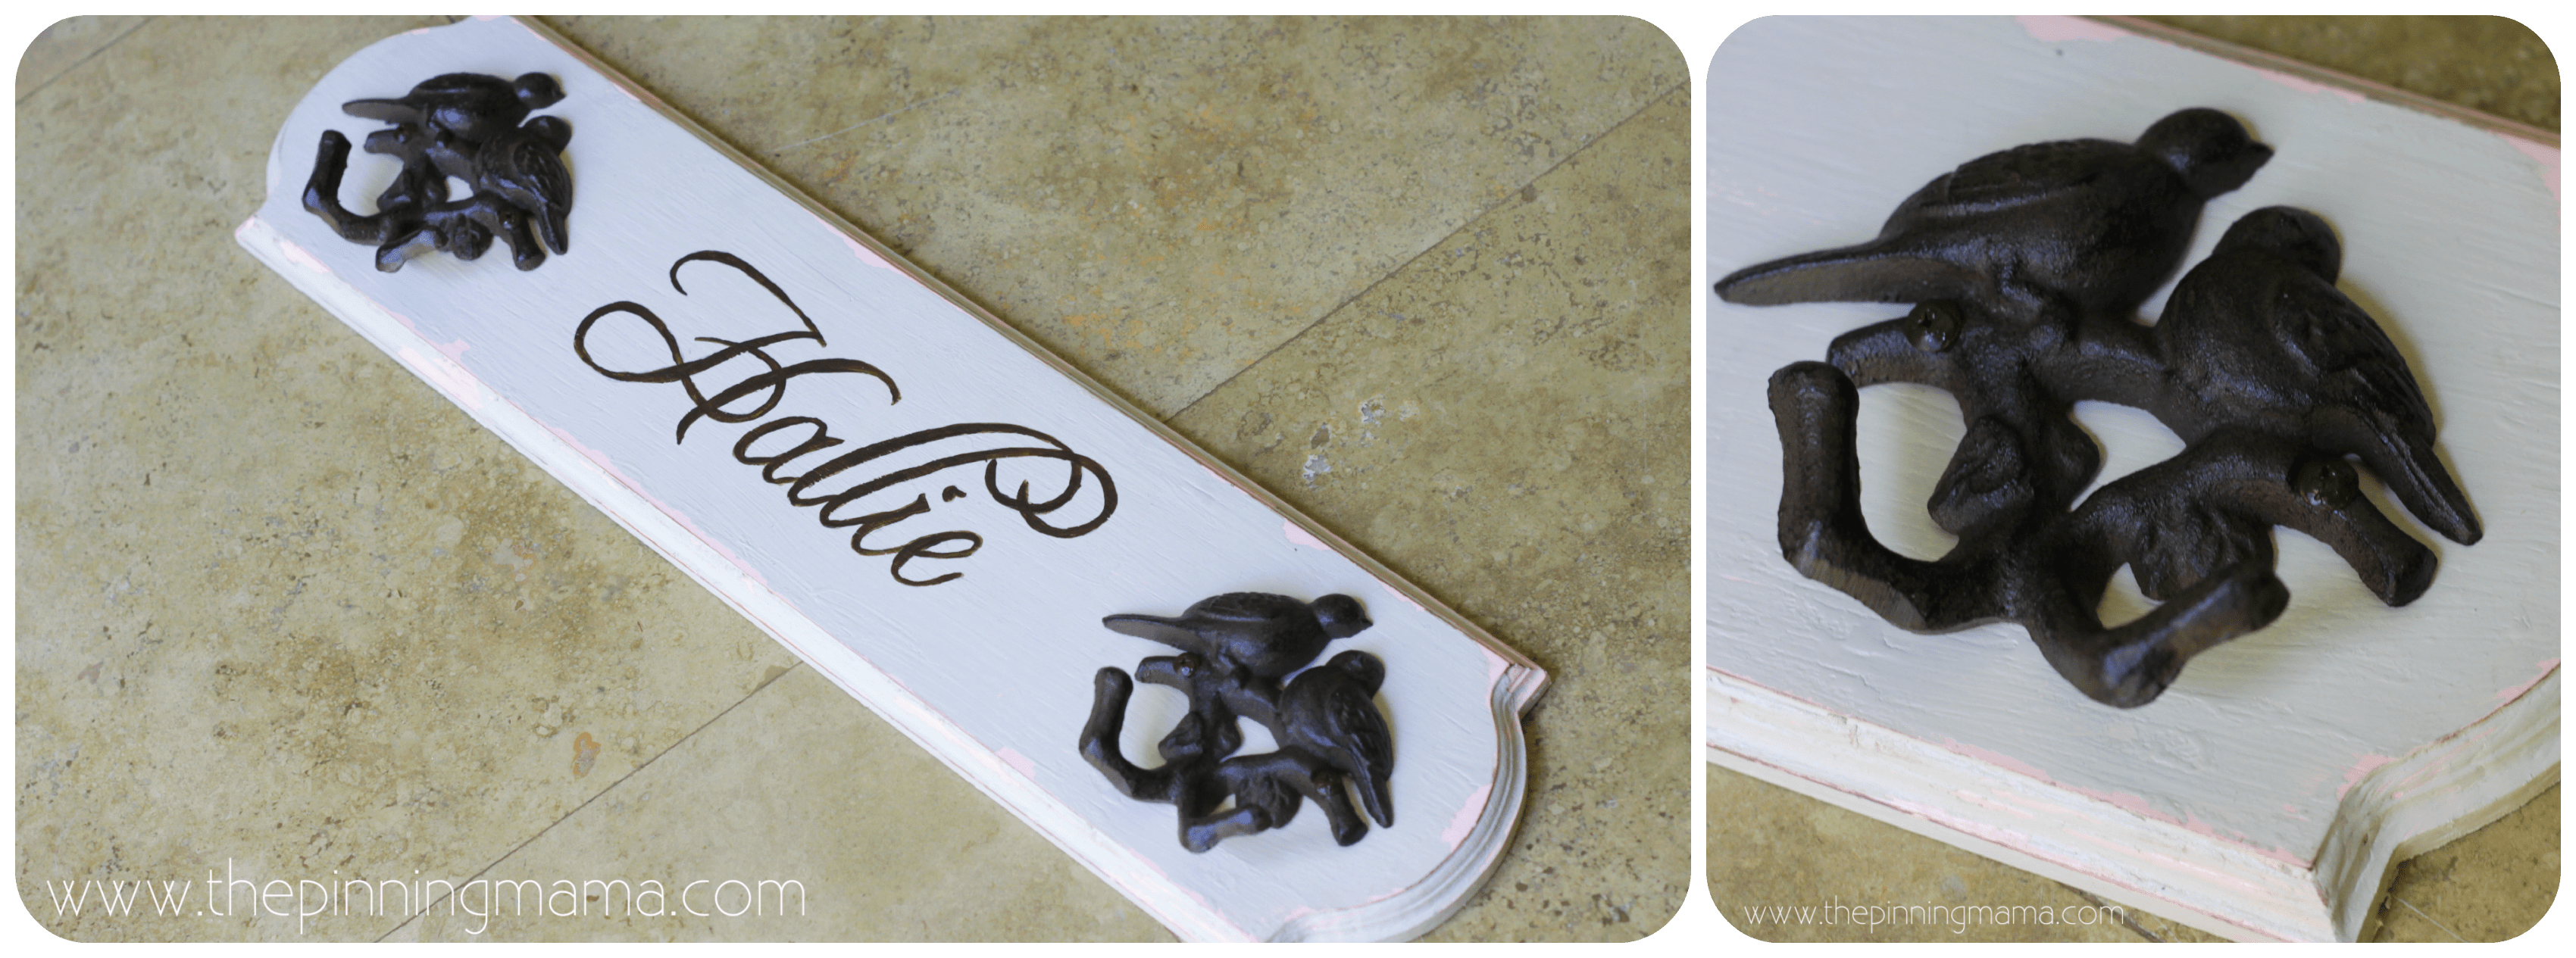
Next you will want to find some hooks to add on the sides of the bow board to hang headbands. I found these cute little birdie hooks at Hobby Lobby, but you can find lots of absolutely ones online to be delivered straight to your door like these shabby chic hooks, another birdie hook, or these cast iron Victorian hooks I am totally in love with! The hooks I bought I was able to just screw in to the bow board and then add a little paint over top to hide the shiny silver.
After the hooks were on I measured the ribbon and added it to the bow board. I chose to use 4 pieces of 1 1/2 in grosgrain ribbon so that I could space them far enough apart to hold good sized bows. I want this to be able to grow with her and not have to replace it until she grows out of bows! I measured and placed the ribbon evenly on the bow board. Using a fair amount of hot glue, and singing two fingers, I attached them to the back of the bow board.
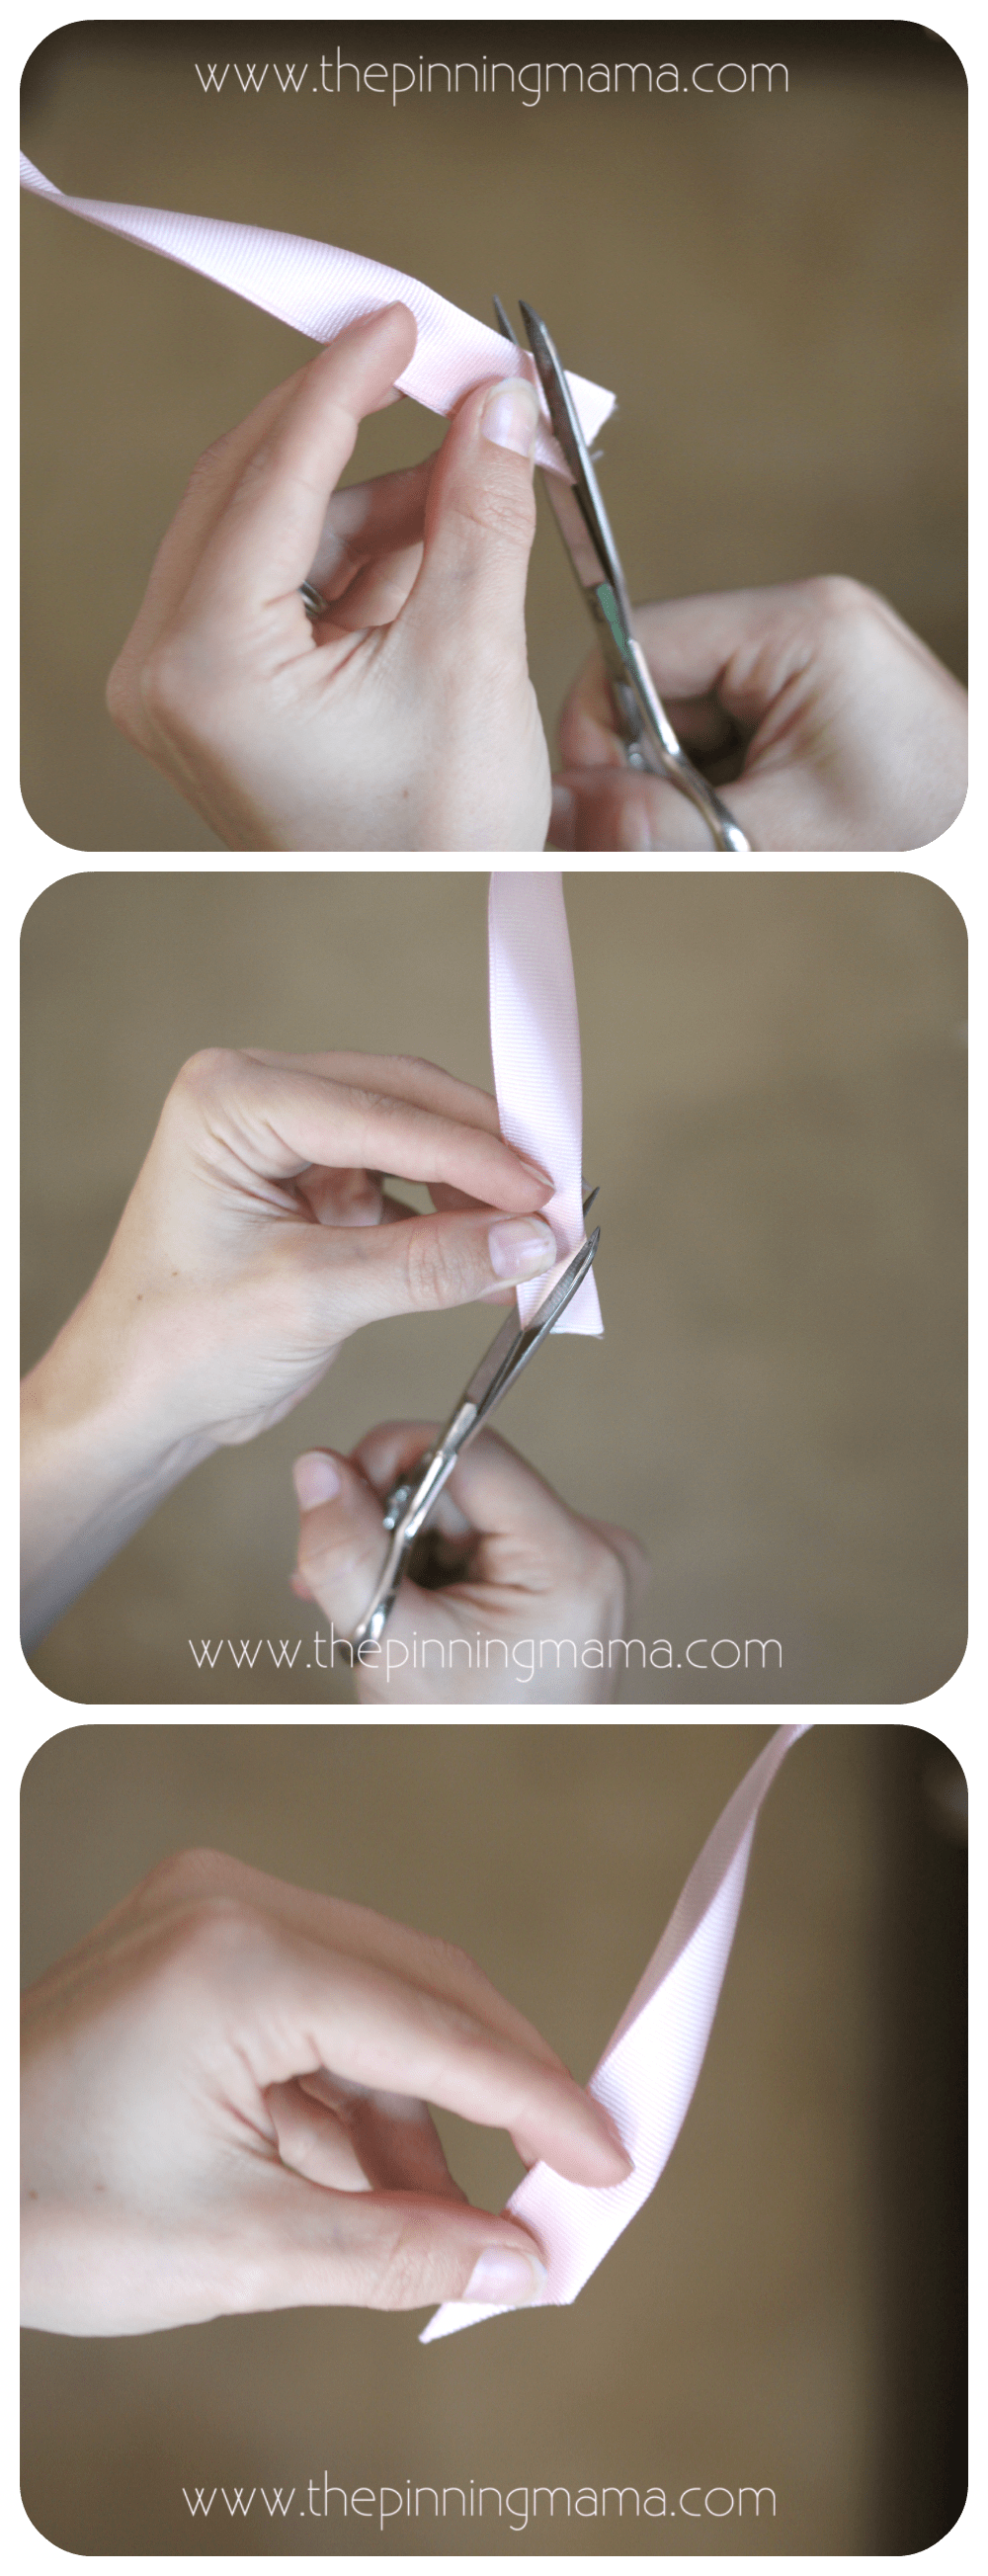
Now all that’s left is to trim the ends to give a finished look and add your bows! TIP: A friend once taught me the easiest trick to get perfect v shaped cuts at the end of your ribbon. All you do it fold the ribbon in half and cut diagonally from the outside edge toward the center. When you open it back up you will have a perfect V shaped end. Make sure you either seal the ends with a lighter or use Fray Check like I do. You don’t want any edges fraying as this grows through the years with your little girl!
Now just hang your finished hair bow board up and organize your hair bows! You will be so relieved when all of these accessories finally have a home!



grosgrain ribbon says
From suppliers Bows for making tasks at deep discount costs. Variety with latest as well as coolest types;Your very best choice to acquire Ribbon coming from The far east.
jenny says
Your bow holder is so cute. What font did you use?
Kimber says
I wish I could remember! I made it so long ago!