Welcome Back to Lesson 21! I hope you are learning lots about designing with your Silhouette in our Bootcamp series. Last week we learned all about using Page Set Up in Silhouette Studio. This week we are learning about using Registration Marks for Print and Cut. Silhouette Boot Camp is filled with mini lessons that help us learn the terminology used in the Silhouette Studio software so that we can cut any design we can dream up with ease!
Before we get started, there are a couple of things to help you get the most of the experience:
- If you are new here, take a look the Silhouette Boot Camp Welcome with all courses listed and catch up on any you missed.
- Sign up for my Silhouette Newsletter which will email you when the lessons are released each week. {click HERE to sign up!}
- Pin this post! Each of these lessons takes me on average, 8-12 hours to create for you. I can do these lessons for FREE thanks to your support in coming to my site, reading the tutorials and sharing it with your friends. By pinning this post or sharing it on Facebook with your Silhouette friends, it helps you know where to find it if you need to reference it again, and it helps me spread the word so that I can keep the resources and freebies FREE to you!
What does Registration Marks mean in Silhouette Studio?
These are the marks made by your printer, making it so when you send your paper through your Silhouette, your Silhouette will know where to cut. Making it so your designs you printed out on your printer will be cut perfectly by your Silhouette.
How do I use Registration Marks?
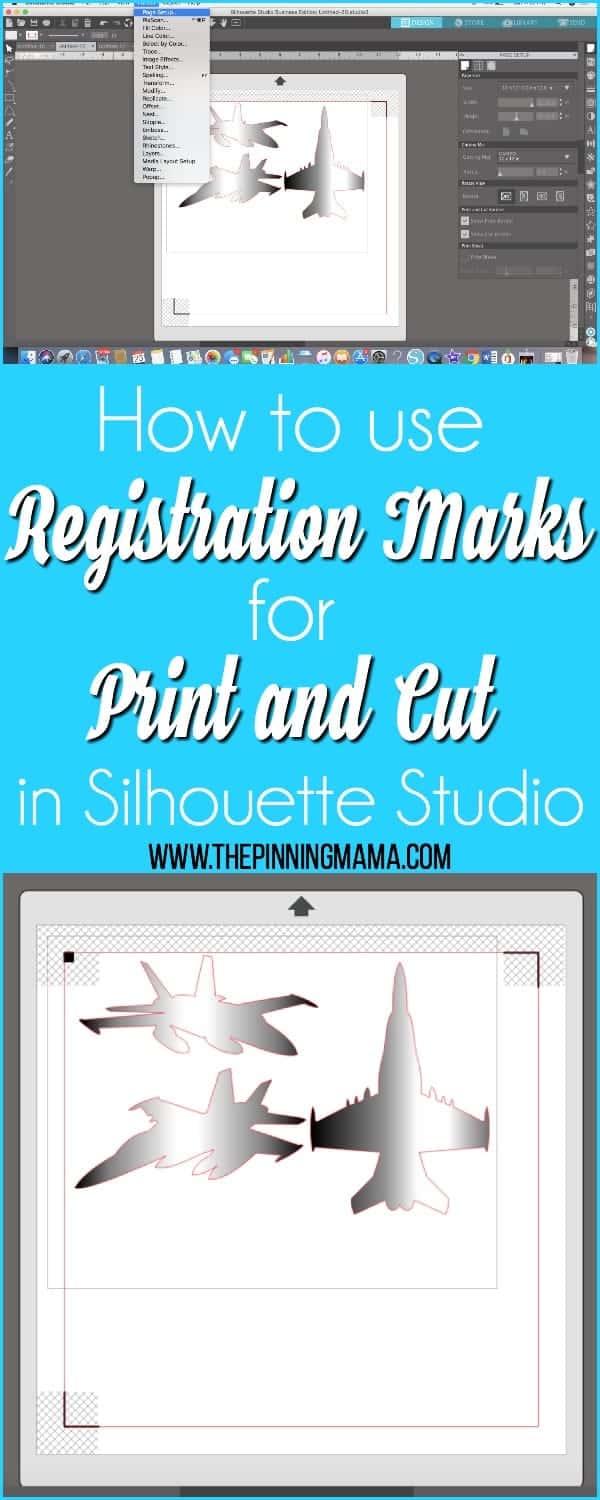
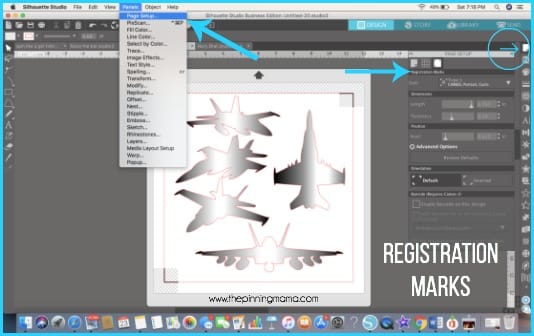
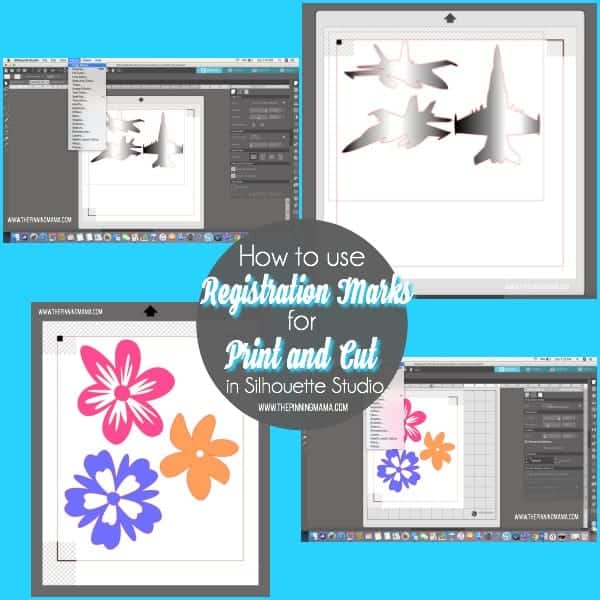
Open up Page Set Up (It is the black sheet of paper on the right hand side). Make sure you first select the correct page size. If your printer only prints letter size, change the option to current printer. Make sure you have show print border and cut border selected as well. Now click on the 3rd tab in Page Set Up. You can change around your setting here but most often I use the default settings with no problems. If the design is in any of the cross hatched areas of your Print and Cut screen you may get a Registration error when trying to print. Registrations marks are only used if you are doing a true Print and Cut on your printer then sending it to your CAMEO.
Where do I find Registration Marks in Silhouette Studio?
You can access Registration Marks for Print and Cut in a few different locations.
- Right hand side of the screen, Page Set up icon (blank piece of paper), click on it and you will see 3 tabs, the 3rd tab is where you access the Registration Marks.
- In the top menu, click Panels, select Page Set Up.
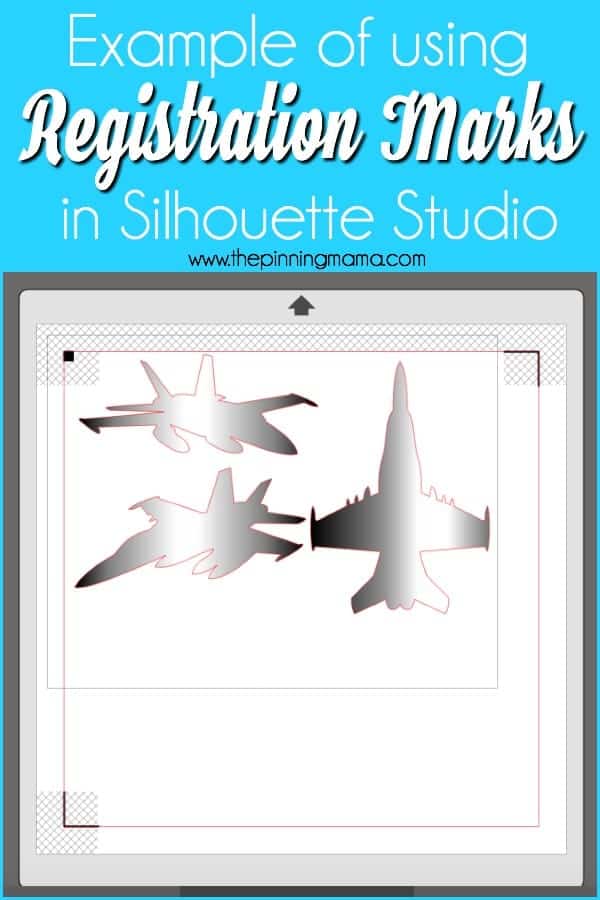
Example of using Registration Marks:
I am going to make some sticker decals of jets for my little boy to put on his dresser in his bedroom. I bought the design form the Silhouette Design Store. Im going to print them on sticker paper, then send them to my Silhouette to be cut, using the registration marks as it’s guide.
When to use Registration Marks:
Anytime you are doing a true Print and Cut project. The registration marks is what your Silhouette CAMEO uses to know where to cut.
Special Notes on using Print and Cut:
Make sure you always have the correct size of paper selected when using print and cut. You want your cut lines to line up perfectly when you are sending it through your Silhouette. Make sure you always select “Show Print Border” so you know what your printer is actually going to print.
That’s all I have for you this week. Join me in 2 weeks to learn all about using the Transform Panel in Silhouette Studio. We are moving so life is a bit busy so if you could be patient and join me back in a few weeks, I will be ready to continue our bootcamp journey.


Leave a Comment