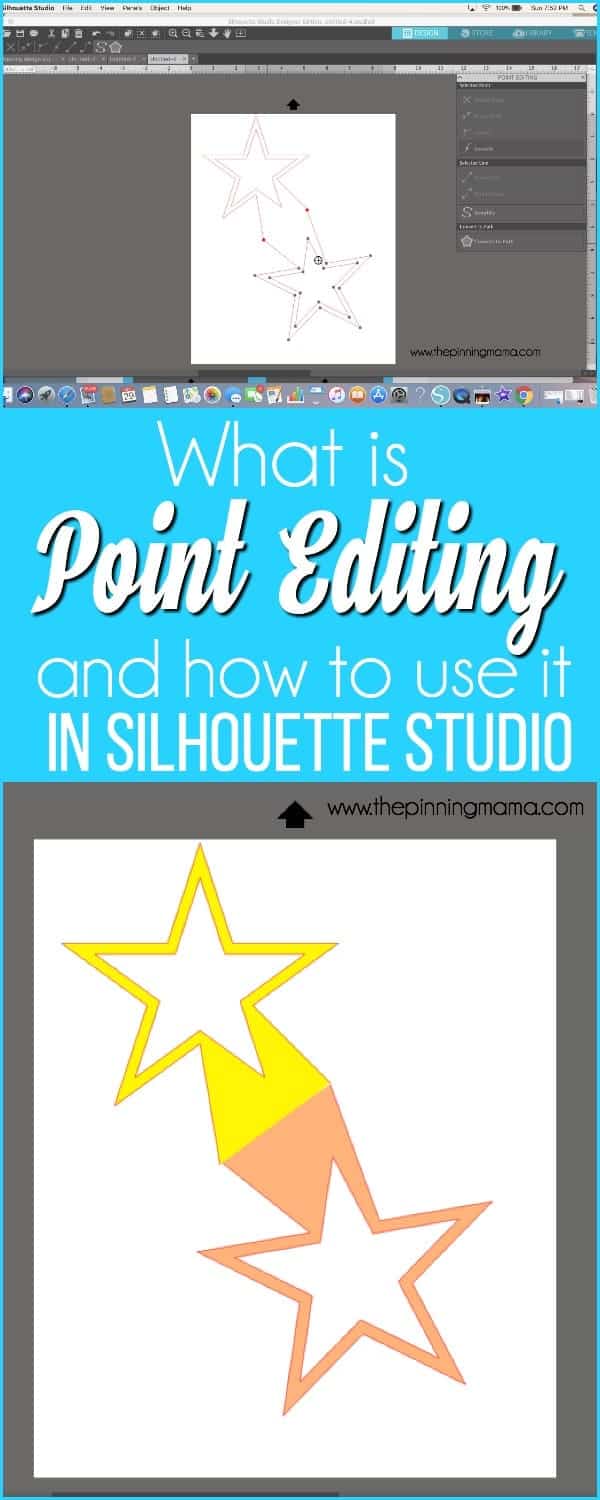
We made it to Lesson 14!! We are learning all about Silhouette Studio in our bootcamp series. Today we are learning about Point Editing and how to use it. Last week we learned all about the Nesting feature in Silhouette Studio. Silhouette Boot Camp is filled with mini lessons that help us learn the terminology used in the Silhouette Studio software so that we can cut any design we can dream up with ease!
Before we get started, there are a couple of things to help you get the most of the experience:
- If you are new here, take a look the Silhouette Boot Camp Welcome with all courses listed and catch up on any you missed.
- Sign up for my Silhouette Newsletter which will email you when the lessons are released each week. {click HERE to sign up!}
- Pin this post! Each of these lessons takes me on average, 8-12 hours to create for you. I can do these lessons for FREE thanks to your support in coming to my site, reading the tutorials and sharing it with your friends. By pinning this post or sharing it on Facebook with your Silhouette friends, it helps you know where to find it if you need to reference it again, and it helps me spread the word so that I can keep the resources and freebies FREE to you!
What does Point Editing mean in Silhouette Studio?
I think I should first explain what Edit points are…?? Edit points are white/grey/or red circles you get on your design if you double click or accidentally double click. By using these points you can adjust your design in any way you’d like. When using these edit point you can manipulate the design to create your own… this is called Point Editing.
How do I use the Point Editing feature?
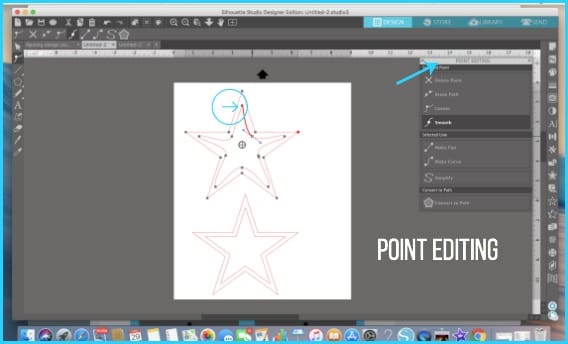
To use Point Editing you first double click on the word/object or letter you are trying the change or you can click the point editing tab on the left side of your screen (It has a point with two swirl lines on the side). You will notice that it has small dots of white/grey or red around the outside. Select the dot you want to change. It will be highlighted red. Then choose the way you want to change the line at the top or you can just pull the line in the direction you wish.
Where do I find Point Editing feature in Silhouette Studio?
Point Editing can be accessed in a few different ways.
- Left hand side of the screen. The icon is a point with two curved lines coming out of it on each side.
- By double clicking the design or word. The point editing dots appear on the design.
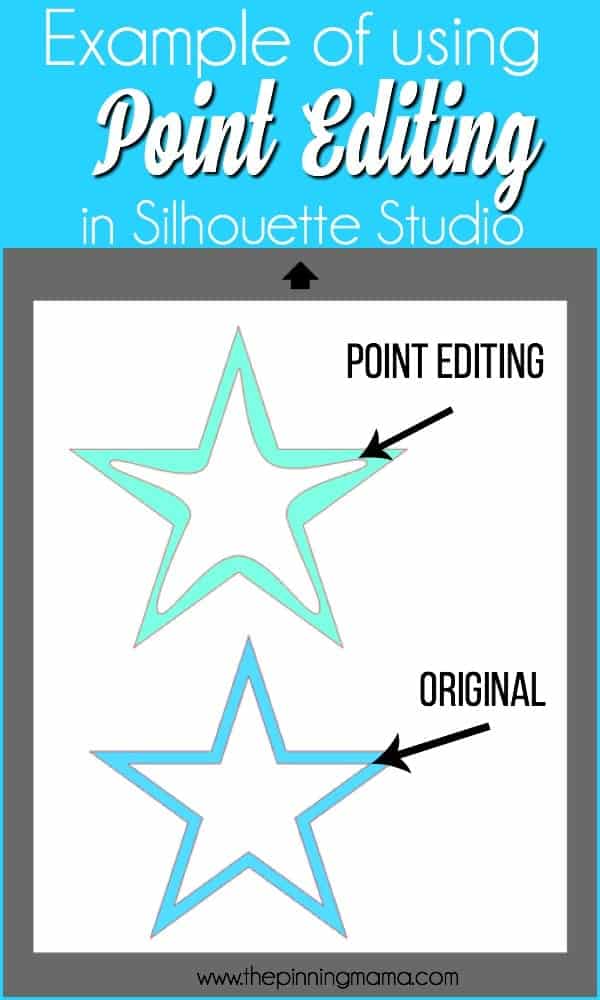
Example of using Point Editing:
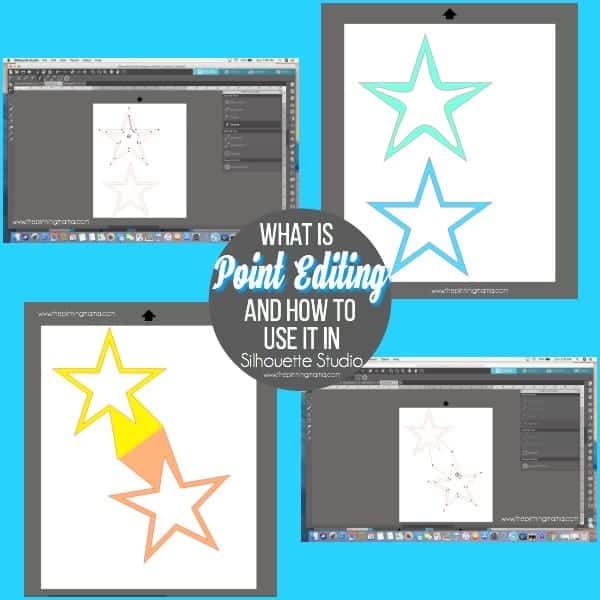
I have a star that I bought off of The Silhouette Design Store. I wanted to change the inside of it to be curved lines and kept the outside the same. This was a quick way to show you the basics of point editing.
When to use the Point Editing feature:
The Point Editing feature is good to use when you want to alter your design, change an area in your design or erase an outside line. You could also break apart a point in your design if you wanted to attach another shape to it. When you break apart your design the dot turns red at the area where you broke it apart.
That’s all I have for you about Point Editing, this was a super short lesson but a great tool to use in Silhouette Studio. Join us next week and I will tell you all about the Align feature and how to use it in Silhouette Studio.


Karen says
What do you mean ” break apart” the design?
Emily says
I mean to open up the design. For example if you wanted to connect two shapes together you could open up or break apart the lines in the design.
Nancy says
there is so much more to point editing and reasons for using it. Many shapes imported or traced have bunches of points that are ‘wonky’ so the machine does not cut smoothly. “simplify” is an important part of this, as well as ‘smooth’. I have found 5 or 6 points may rest on each other, one being a corner even when the line should be flat or curved,, and others which alter the line. The machine ‘stalls’ at this group of points, because it processes each oneeven though they are on top of each other. You also didn’t explain ‘break” enough to clarify solutions it holds.
This is my most used tool, whether I am creating, tracing or using a pattern already created. I always check the points even on patterns I have purchased.
Other lessons have been very helpful. I would suggest an enhanced version of your lesson.
RON ANTINORA says
THANK YOU !!