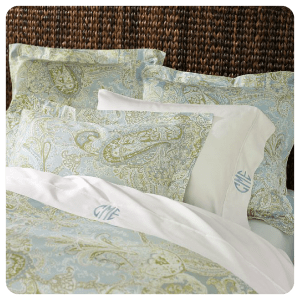
I was super excited to get my brand new Pottery Barn bedding in the mail. I opened it up, put it on the bed and fell in love. I didn’t even wash or iron the goods because I was too anxious. It’s like when I buy new makeup – I go home, wash my face and put my new makeup on right away. I know I’m not the only one that does that right? Right? Bueller…?
As I was saying – My “old” comforter was a beautiful gold and black swirly pattern. I loved it and still love it. I just wanted something to switch out. The new bedding is much more airy and feminine. I think my husband is excited about the feminine part. 😉 Here it is…
With my old set I had red and gold lampshades that sat on either side of the bed on nightstands. I also loved these lamps and shades. Well, I took a picture to send to a couple gal pals and realized that **GASP!** I need new lampshades! What to do, what to do. I went to Home Goods and Target. I’ve never been letdown by these places and I was so sad to come home without some cute new shades. Not to fear though – I still managed to buy some stuff. I seriously can not get out of Target under $40. That’s why I got myself a Red Card way back when. I feel much better saving 5% when I am spending money. Isn’t that a bit of an oxymoron?
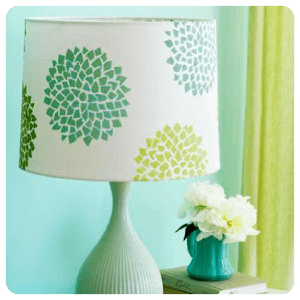
Anywhoooooo…..I decided I’d just make my own lampshades. There I was surfing Pinterest for DIY lampshades. I came across quite a few tutorials that motivated me to do this mini project. How cute is the lamp below? Of course there wasn’t an actual tutorial for this, but it was major inspiration.
Via Pinterest & Midwest Living
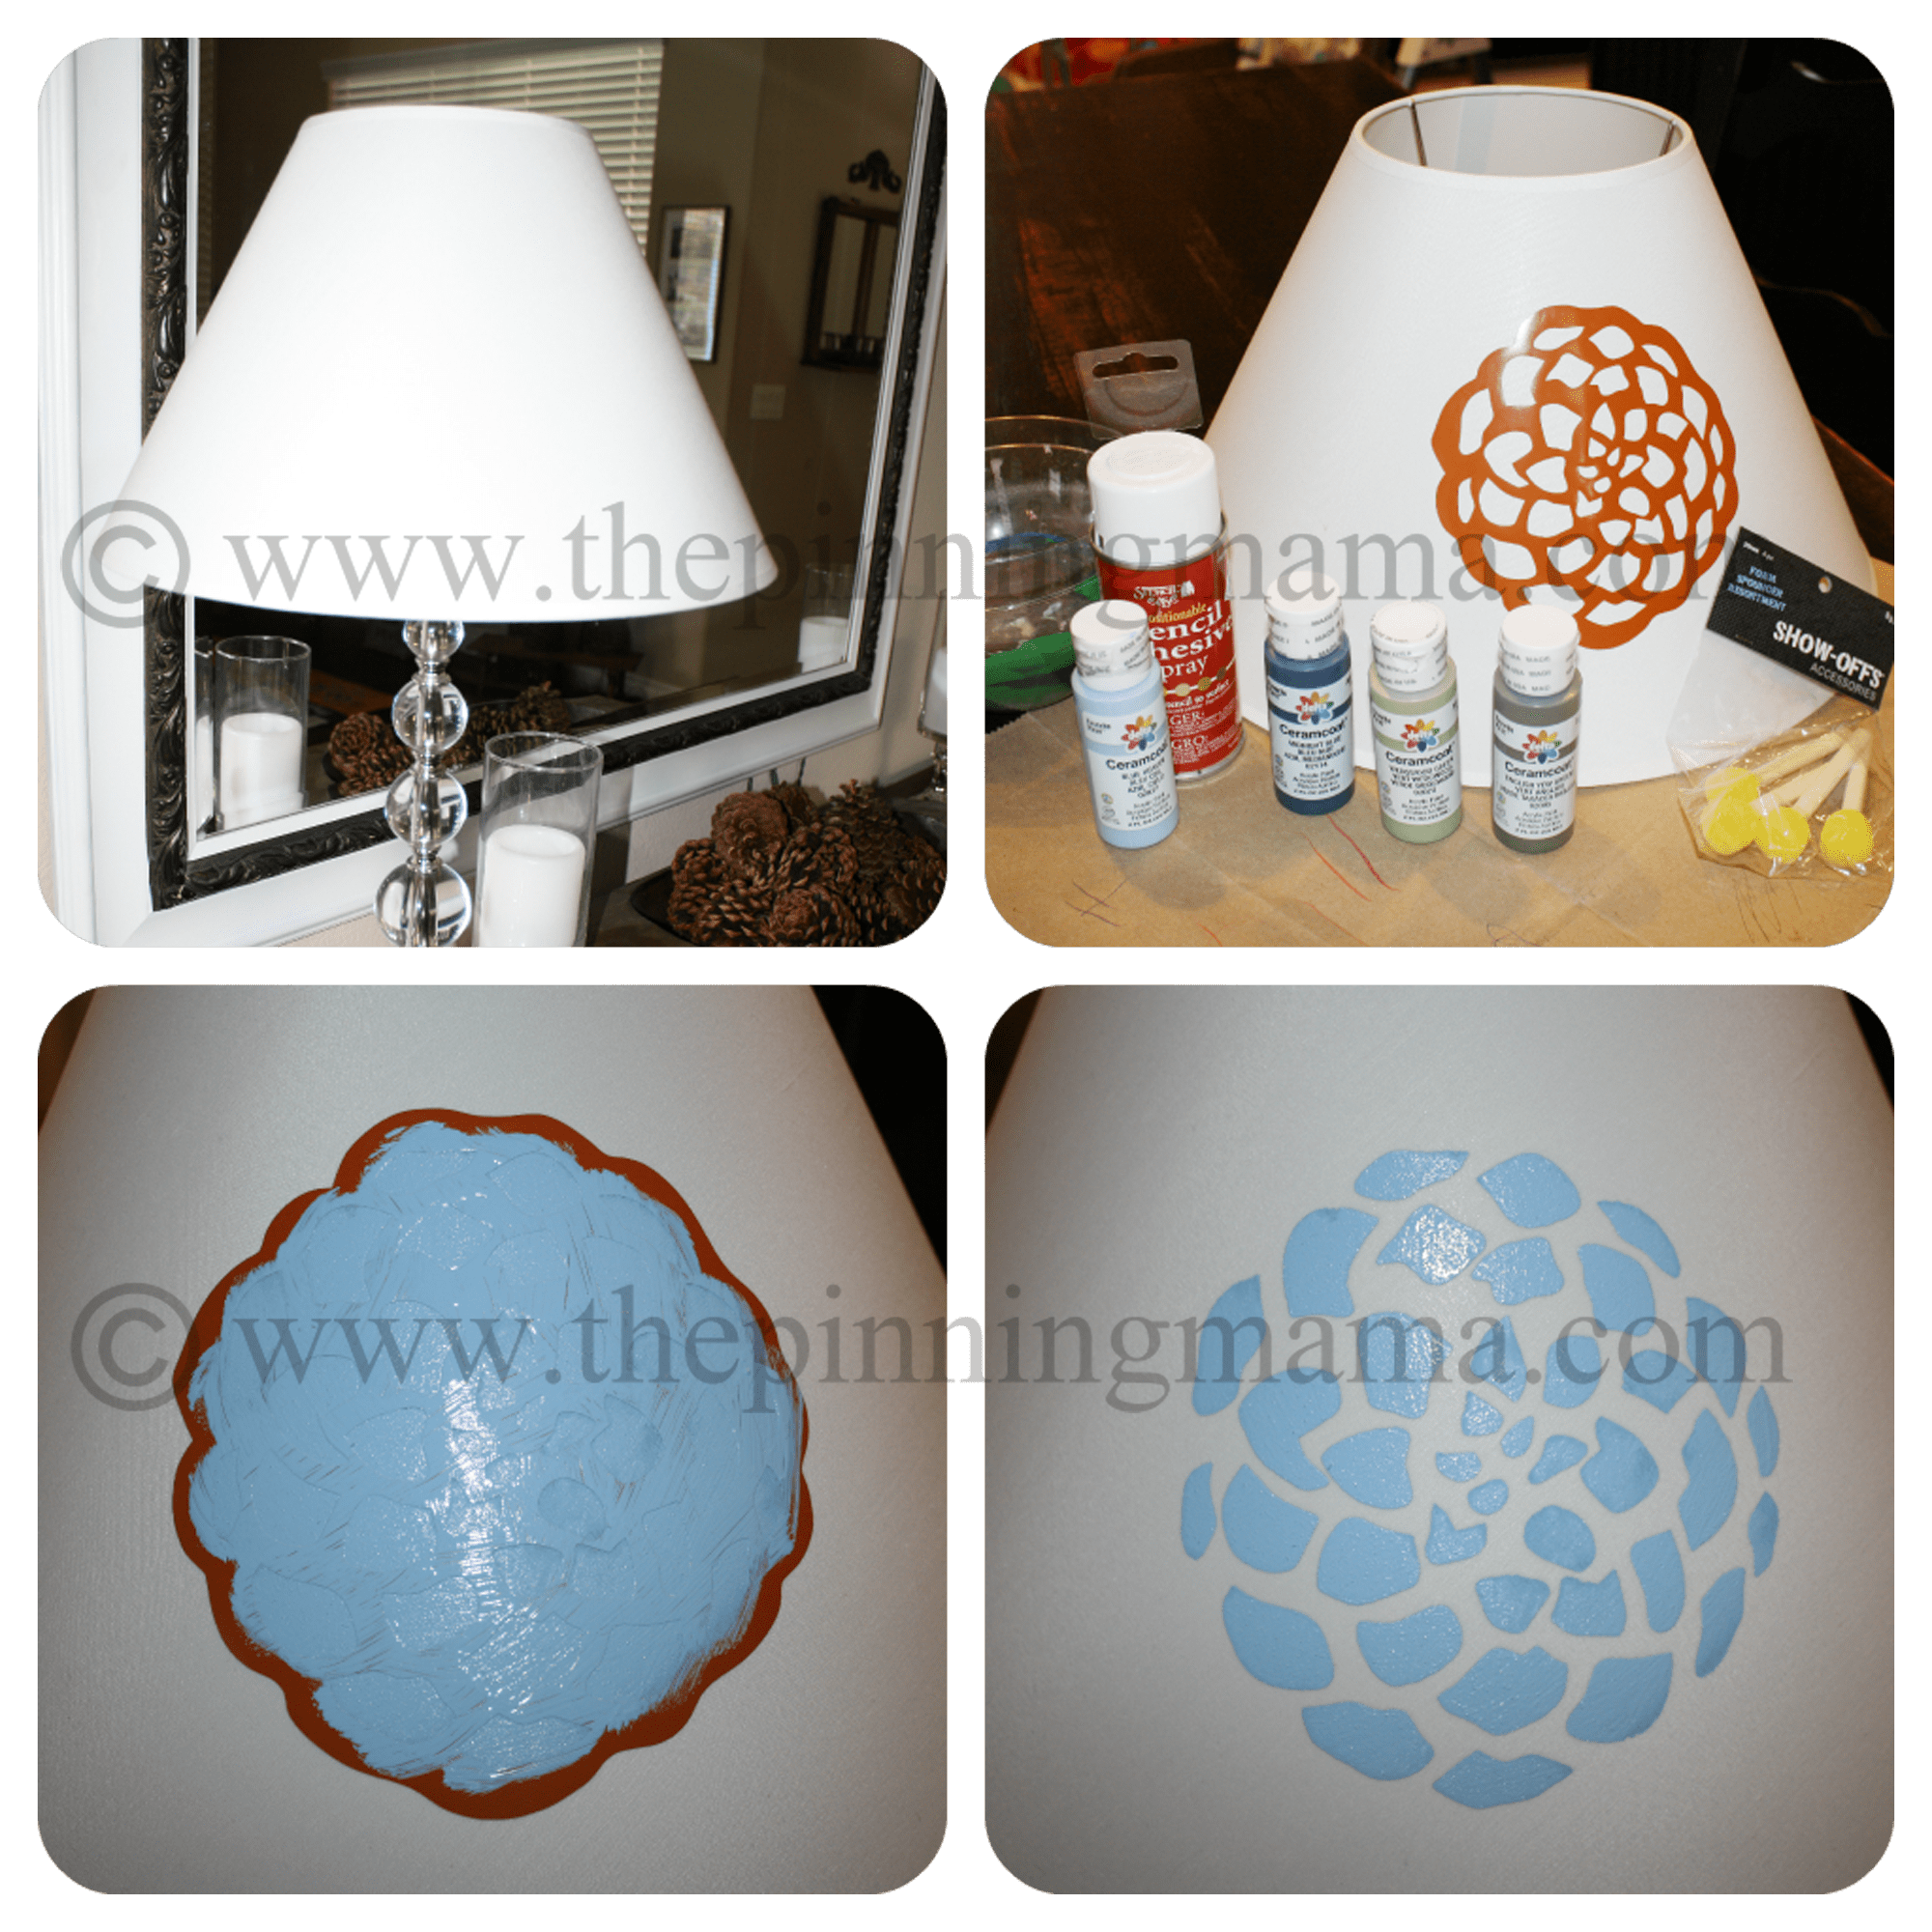
I knew I had to make this to match my new bedding. It looked way too easy! Off to Hobby Lobby I went….picked up my paint, stencils, sponges, spray adhesive etc.
Ingredients:
Lampshade of your choice. You can use whatever you want, but I used what I had and it happened to be white.
Paint colors of your choice. I used acrylic.
Stencil sponge brushes
Vinyl, Pre-cut stencil, or Stencil blanks (I tried using the brand “show-offs” and my machine couldn’t cut it)
Spray Adhesive if you use an actual stencil. More on that below.
Directions:
First, I made sure my lampshade was clean by just taking a cloth and wiping it down. I also used a lint brush because I’m kind of a freak about dust. I mean, how often do we dust our lampshades?
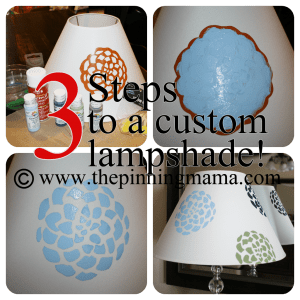
My plan was to use some stencil blanks that I picked up at Hobby Lobby. I was so excited to use my silhouette machine! I got home and put the stencil blanks in, cut it down once, twice….10 times and the dang blade still would not go through the plastic! There is ALWAYS something that happens to me while doing a DIY project. I decided to scrap this idea and just cut out a piece of vinyl with my silhouette. I purchased the Dahlia Floral Cutout from the online Silhouette store. If you do not have a craft cutting machine, you can just as easily buy an already cut stencil from your local craft store. This is where I would use the spray adhesive so that your stencil won’t move around on you.
In case you are curious, the settings I used for the stencil paper were as follows. Blade 8, Speed 1, Thickness 30
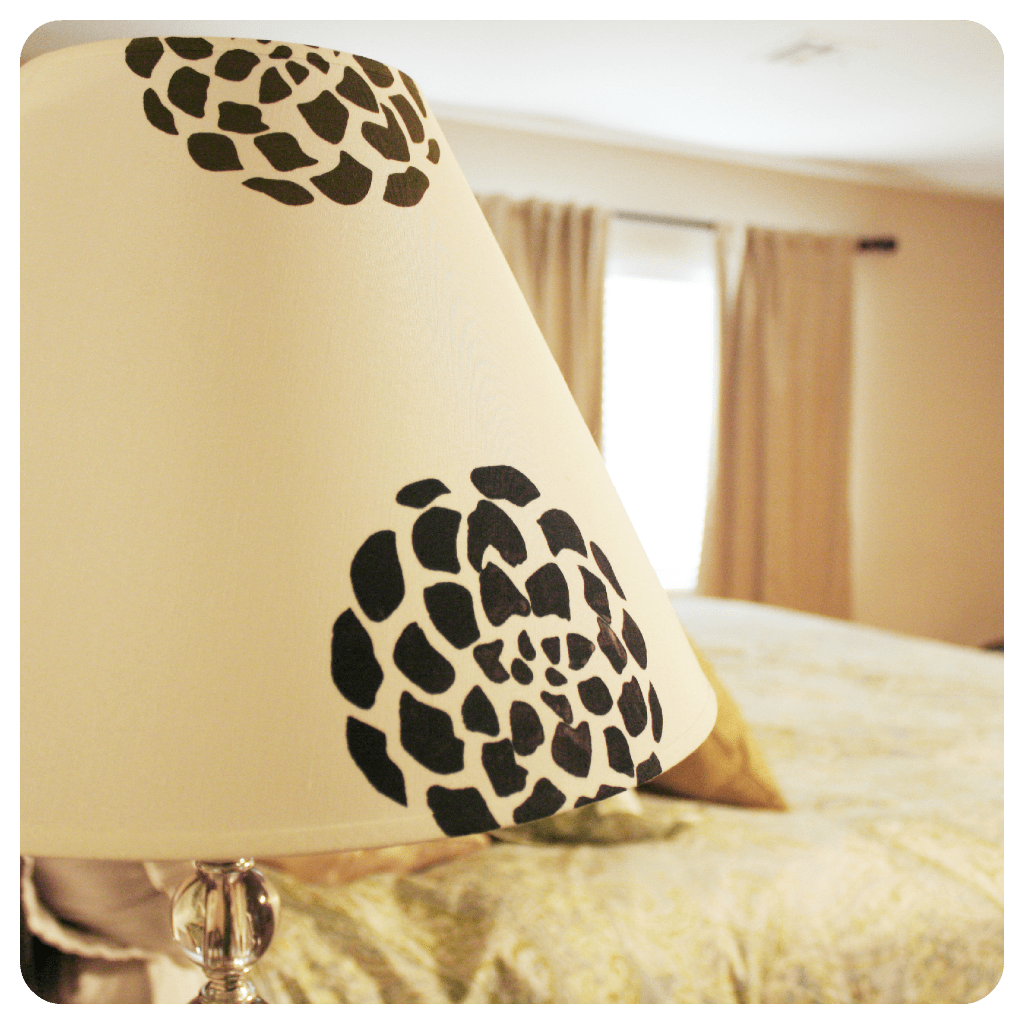
Once I had my vinyl stencil cut, I put the sticky side down on the shade. Then I used my cute little stencil sponge brush and dabbed my paint on. I realized that after each stencil I would have to clean the paint off with a baby wipe which would cause my vinyl to be less sticky. I got smart and cut out one more. Having 2 made the process go by even faster. If I had a plastic stencil, wiping would have been even easier. After all was said and done I was able to stencil/paint 2 lampshades in about 30 minutes. Not bad, huh? I didn’t even have a single smudge! Unbelievable.
I loved using the vinyl, but next time I want to try cutting medium weight binding covers with my machine. The stencil blanks are only 3 for $4, but if they don’t work on my cameo that is obviously a waste of my money.
Drumroll please….
How much did I like this project? I LOVED it! When I finish a project like this, I just smile. These shades are so cute and I made them. I am so very proud. This project was inexpensive, easy, and I was able to do it while my littles slept. Can’t beat that!!
Unexpected Happenings? Other than my silhouette not being able to cut my stencil blanks, everything went smoothly.
Overall Rating 1-5: I give this a 5. I didn’t think 5 could even be possible, but the fact that I was able to do this while my kids napped is a freaking miracle.
Thanks for reading! Now go out and paint something. 🙂
Did you enjoy this tutorial? PIN ME!



Emily says
Love how this project turned out! I’ve pinned it to my silhouette board. 🙂
Ashley says
Thank you. Ill have to check out your silhouette board for more inspiration!