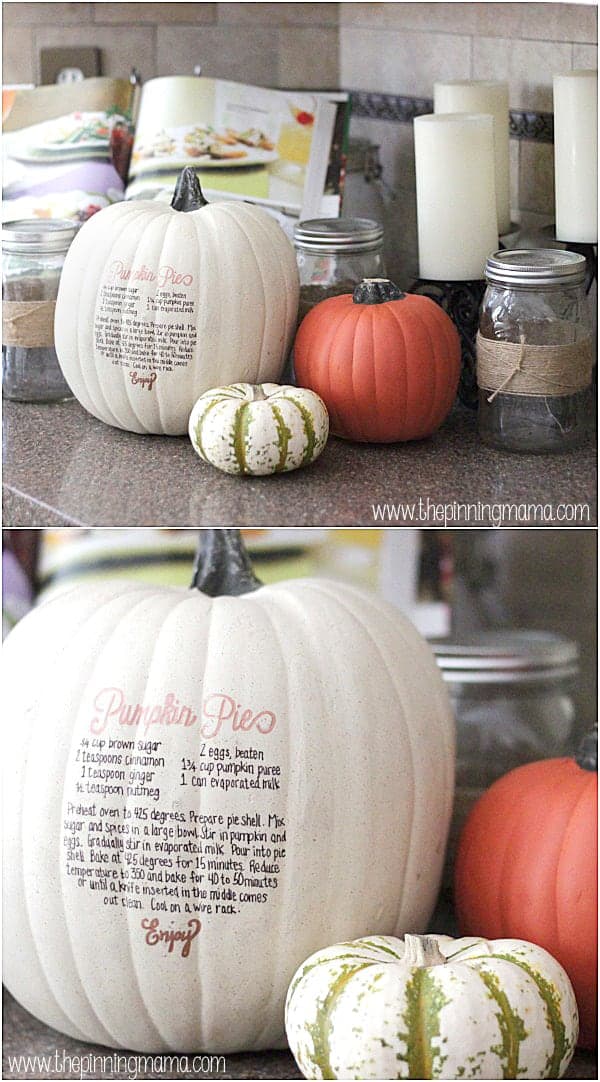
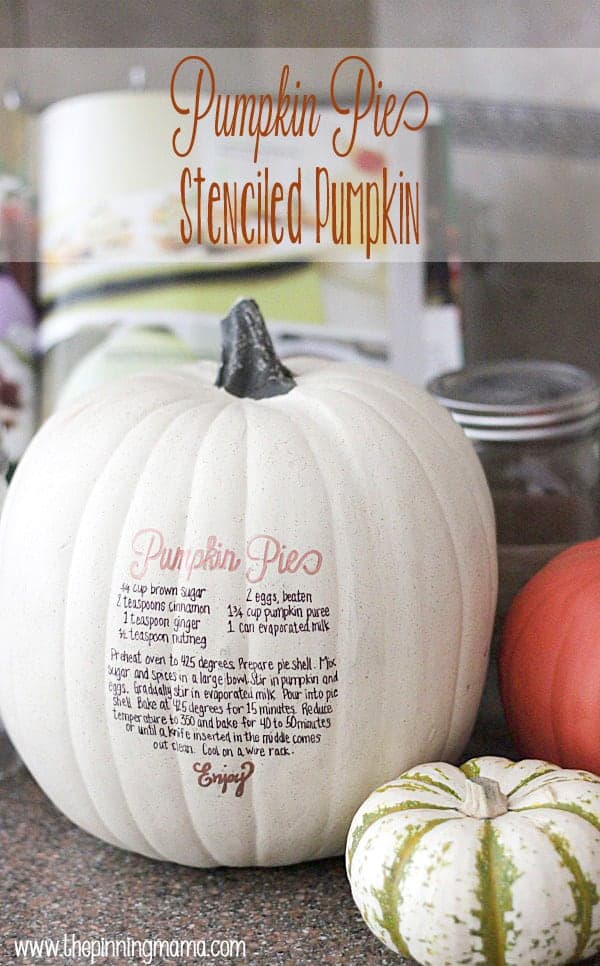
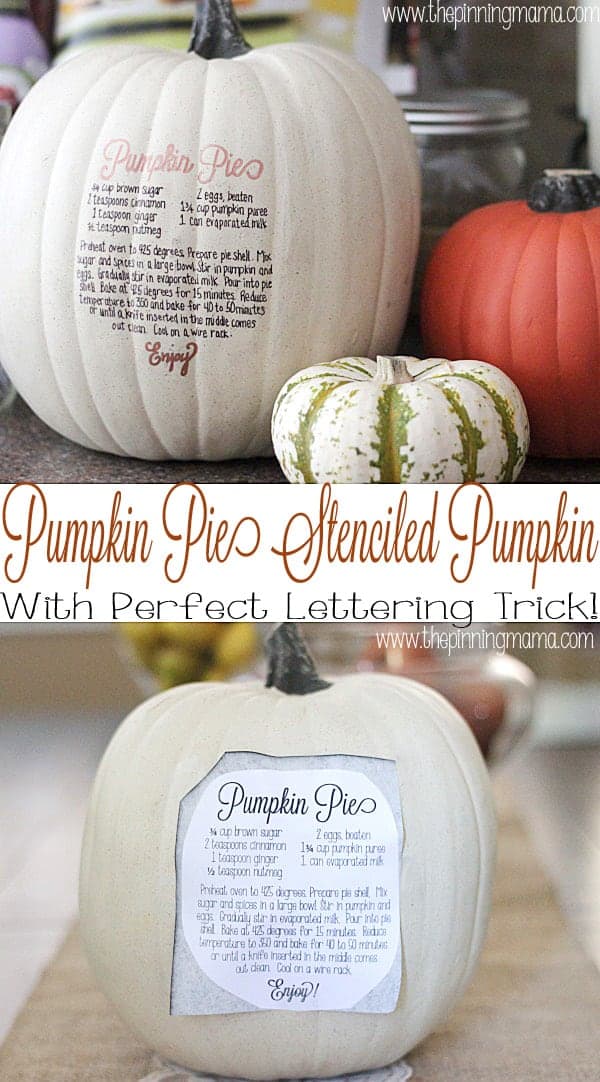
This is a beautiful, classic, and easy way to bring fall decor into the kitchen! Stencil a pumpkin pie recipe onto a pumpkin using this easy method to get perfect lettering every time!
Thank you to Jo-Ann Fabric and Craft Stores for supporting this post and challenging me to do something original with a pumpkin! All creativity and ideas came from right here at The Pinning Mama!
Fall is in the air! Can’t you just feel it? Being exactly 37.5 weeks pregnant I can only begin to tell you how overly excited I am to finally wake up to cool mornings and be able to actually get under the covers at night. The air is getting crisp and the leaves are thinking about turning and we FINALLY have pumpkins popping up around here. {It seems like it took forever! I even posted about it a few times on our Facebook page!}
So it is finally time to make the house feel like fall! I tried to fake it this weekend by buying a HUGE apple pie at Costco and setting on top of the stove like I had just freshly baked it, but really – I wasn’t fooling anyone! Besides, that pie is long gone anyway. Last year I did a lot of fresh pumpkins in the house, and while I do love the look of all the different sizes, shapes, and textures of them you can get, I kinda hate that they rot before the season is over and then I am left with holes in my picture perfect decor!
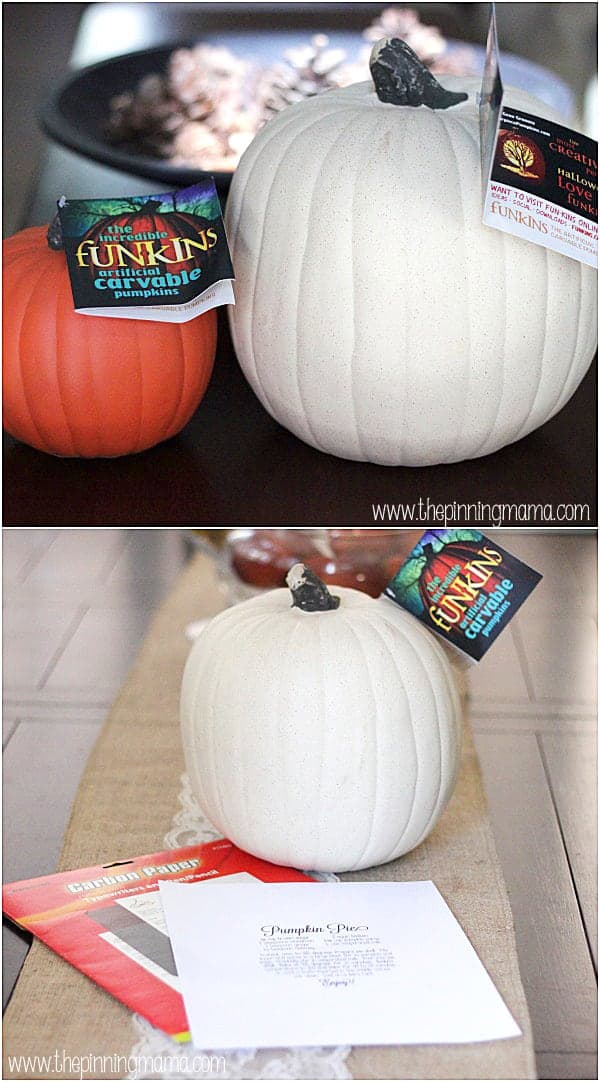
This year, I found what might just be the coolest thing ever at Jo-Ann! It looks like a pumpkin, it feels like a pumpkin, you can even carve it just like an actual pumpkin, but it isn’t real! It is a fake pumpkin made to impersonate the real thing to a T! They are called Funkins and Joann has them in all different shapes, sizes, and colors. I immediately fell in love with the big white one and had to have it, and got a smaller orange one to keep it company as well.
Since these guys never go bad and I will be able to use them to decorate year after year I decided to spend a bit more time and do something a little more intricate with it. The kitchen is the center of my home and is wide open to the living area and the loft upstairs so it was the perfect place to start my decorating. With that big apple pie still lingering in my mind, the perfect touch to the fall-scape created by these pumpkins would be to put a pumpkin pie recipe on the front!
I will be straight up honest about it though. I loved the idea, but my handwriting stinks! I have a trick I have used on several other projects though that lets me totally fake great handwriting, so I decided to just use that same method on the pumpkin. It would take a few minutes longer, but after all, I could use this year after year so it was worth it! It is still an easy DIY that can be done in well under an hour!
Pumpkin Pie Recipe Stenciled Pumpkin
What you will need for this project:
- Funkin Artificial Carvable Pumpkin in your choice of size and color- Available at Jo-Ann
- Print out of recipe sized to your pumpkin – scroll to bottom to download my design
- Carbon paper- available at most office supply stores or here on Amazon.
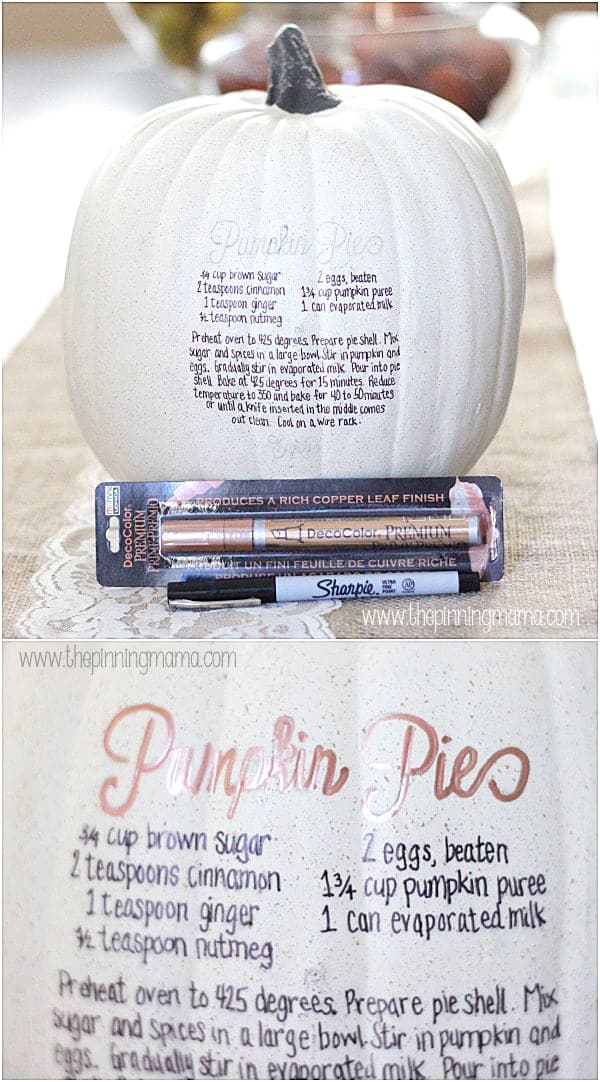
- Fine tip Sharpie – I used black
- Contrasting color marker- I used DecoColor Premium Copper Leaf Finish found at Jo-Ann in the paint section
- Pen or pencil
- Tape
- Scissors
First print out your recipe sized and set up for exactly how you want it to appear on your pumpkin. You can use a word processing program or scroll to the bottom and download and print the file that I used on my pumpkin.
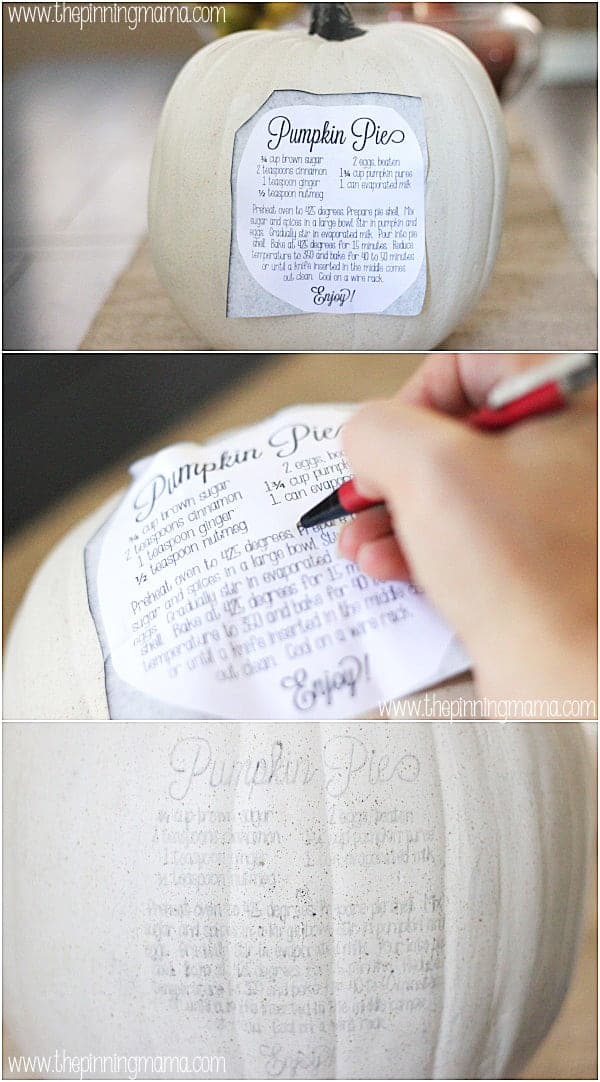
Cut around the recipe fairly closely and then cut a piece of the carbon paper to a similar size. Place the carbon paper on the back of the recipe with the black side facing out and align the recipe where you want it on the pumpkin then tape both layers into place so they won’t move or shift.
Now you will be able to use a pen or pencil to trace the lettering on the paper and the carbon paper underneath will transfer the lettering right onto the pumpkin. To make sure you get the best transfer, make sure the design is taped as I specified above so it doesn’t shift and press very firmly when you are tracing the lettering. This will probably give you a hand cramp, I will just warn you!
Once you are done tracing it all, gently remove the paper from the pumpkin. You will see all of your lettering traced right there on the face of your pumpkin just waiting for you to fake that perfect handwriting you have coveted your whole life (or maybe that is just me…)
Use the fine tip sharpie to trace the lettering of the recipe. I recommend going “backwards” and starting from the bottom and working your way to the top of the recipe since your hand rubbing the carbon transferred text can smear it and rub it off where it is hard to read and trace over.
I then used the bronze leafing pen to trace over the title, Pumpkin Pie, and the last word- Enjoy!
Let it dry well, and then you can use a pencil eraser to clean up any carbon that might be left showing through, although I didn’t have to do this on mine.
Put your pumpkin in the kitchen and layer it with a few other pumpkins and pieces of fall decor (think burlap, jute, straw, corn, etc) and you have a strikingly beautiful and easy table scape for the kitchen!
If you love this project you are going to flip when you see the new share website hosted by Jo-Ann! They have a beautiful gallery of amazing projects curated from their creations and crafters all around! Visit the site to see what’s new, get inspired, and maybe even be featured! You can see a feed from Instagram of projects shared using the #DIY4Halloween hashtag. So don’t forget to tag your favorite DIYs to show them off to Joann and the world! See our Instagram where we show off our project here!
Don’t forget to scroll to the bottom for my printable pumpkin pie recipe. But before you do, remember you can always find inspiration from us by following our Pinterest and Facebook pages. Here are some more Halloween projects that you might just love:
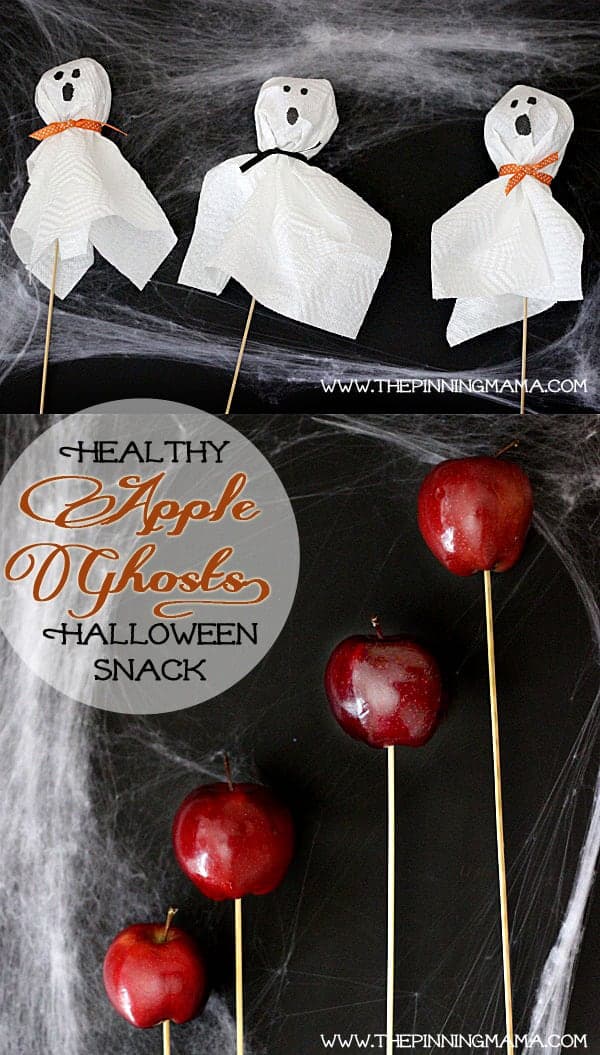
Healthy Halloween Treat: Apple Ghost Skewers
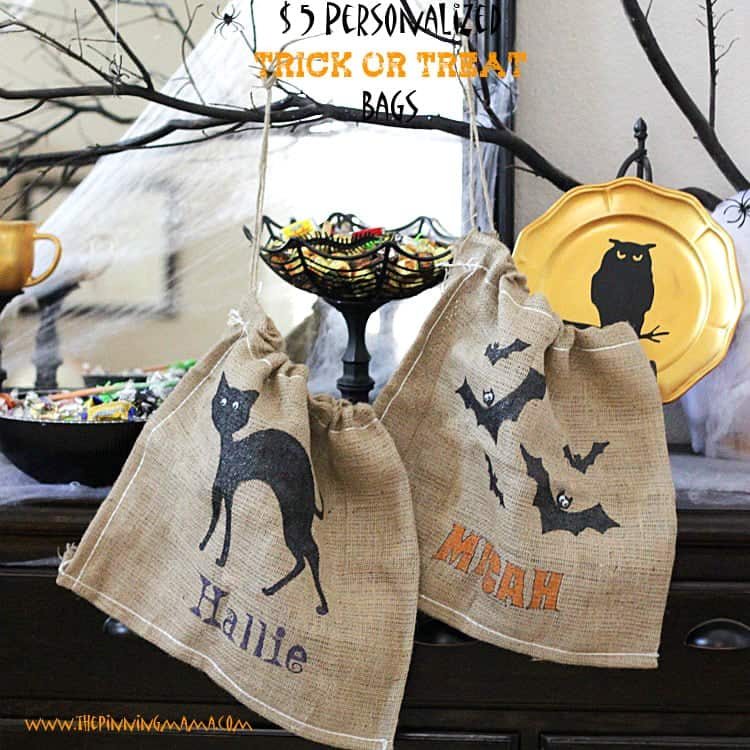
Personalized Burlap Trick or Treat Bags
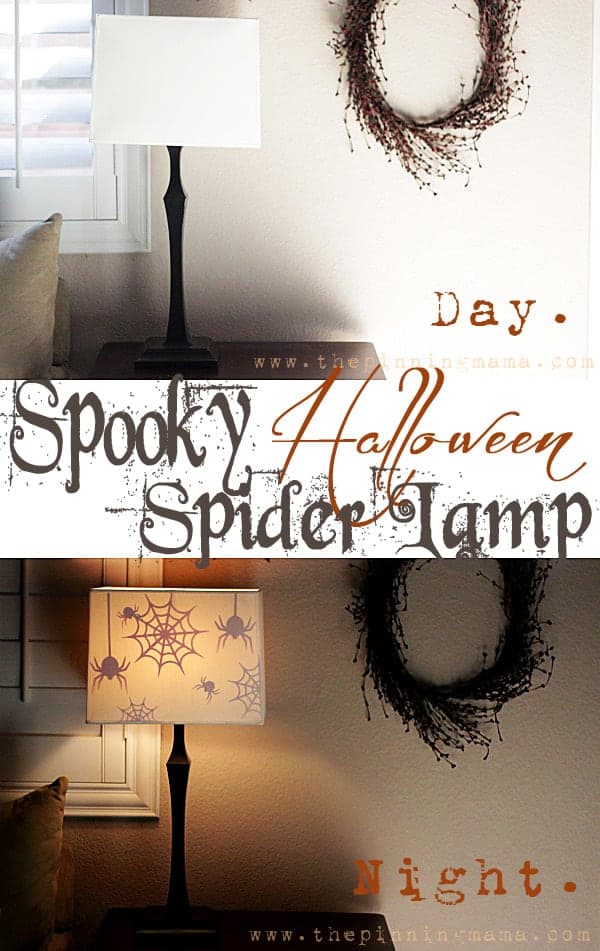
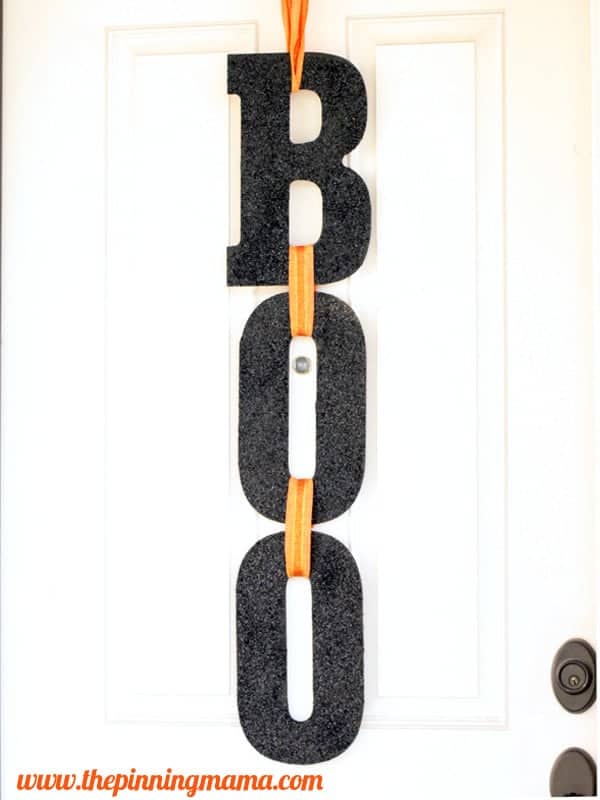
Boo Sign -Front Door Halloween Decoration


WendysHat says
This is so cute! I love it and am obsessed with pumpkin anything! Thanks
Kimber says
Thanks so much Wendy! You are so sweet. You definitely need to add one of these to your collection!
Seana Turner says
I’ve never heard of Funkins. Sounds like a terrific idea… are they already hollowed out? What are they made of? I’m laughing about the carbon paper, because this is what we used to use all the time before copiers were priced low enough for families. It came out so well – terrific project!
Kimber says
I didn’t carve it but I’m pretty sure it is hollow just like a pumpkin. It is a little thick so you can carve all the way or just the surface to make designs just like a real pumpkin. Super cool!