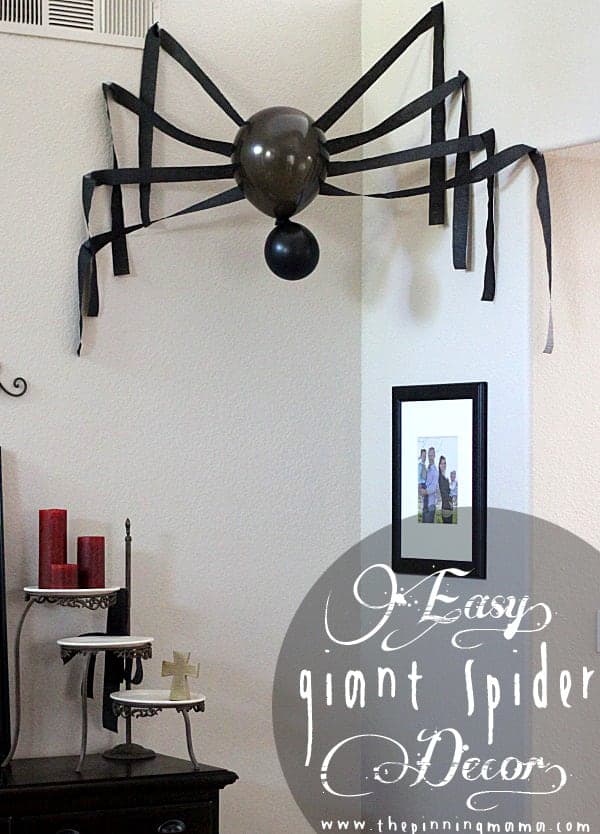
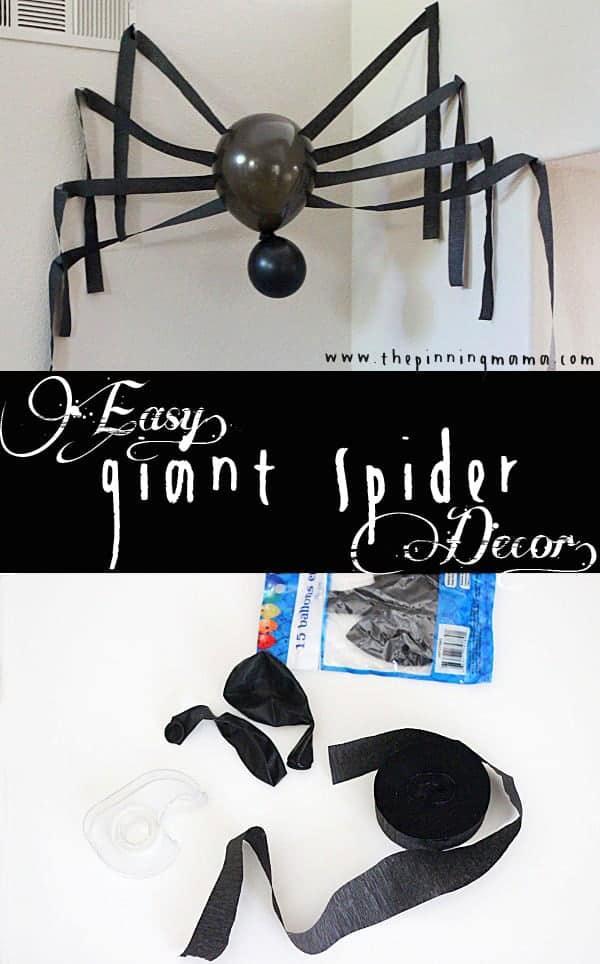
All you need is 3 items and 10 minutes to put together this large spider to decorate your home this Halloween!
We have some high ceilings. I mean really high. So when I am decorating for the holidays, it is always a challenge to find decor that matches the scale of the heights in the house without spending a fortune on over-sized items. This year I decided to construct a little, or rather, giant visitor to greet our guests as they enter our home.
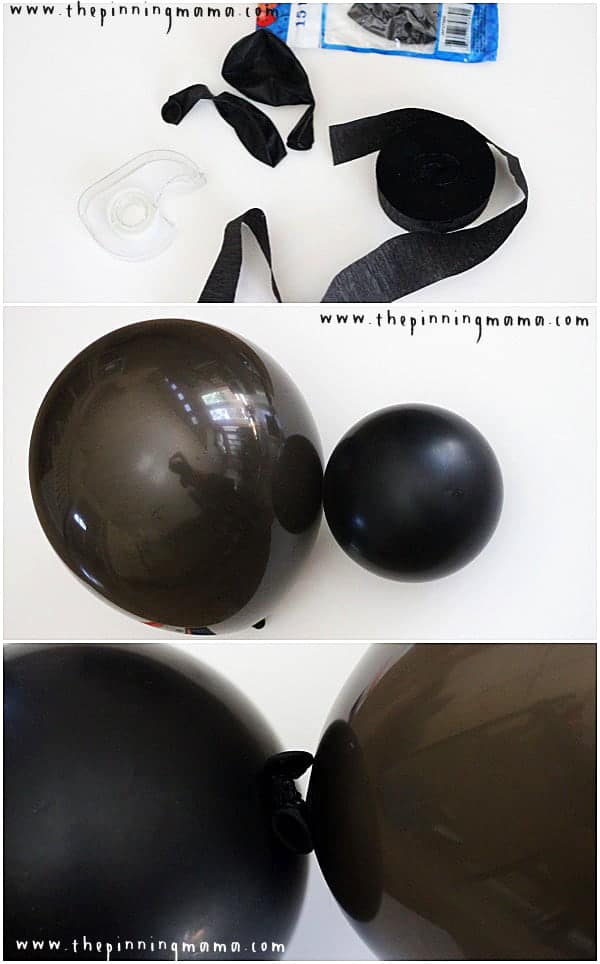
As I started brainstorming just how I was going to make a giant spider my kids were playing with some balloons they had gotten from a birthday party. Now I guess inspiration can really come from anywhere, and at that moment I knew exactly what I needed to make this little fellow was some balloons. I had planned on going to the party store to pick them up, but since I was stopping at the Dollar Tree anyway that day, I decided to take a look there and low and behold they had all three items I needed on my list to make my spooky little friend. So for a grand total of $3 (plus tax) I had everything I needed to make not just one, but probably about 10 giant spiders!
To make your giant spider decoration:
- Black Balloons
- Black Crepe Paper
- Scotch Tape
First blow up one balloon until it is full and tie it off. This will serve as the spider’s body. Next, blow up one balloon until it is round. It will be much smaller than the first. Then Take the two balloons and tie them together at the ends with a double knot so they are securely attached together.
Now you will have something that resembles a body with a head and our next step will be to add the legs. I cut 8 strips of crepe paper, each about 4 feet long. Use your clear scotch tape to attach 4 to each side of the larger body balloon.
The last part was the trickiest. It took both me and my husband to pull it off right. You will need to reach the area you want to mount your spider, for us this meant getting out the ladder. Then while holding the body of the spider in place, tape each leg of the spider evenly to the wall at the place where you would see the “joint” in the spider’s leg. After they are all taped, use a pair of scissors to trim down the ends of the legs so that they are even and proportional.
It is pretty simple and only takes about 10 minutes to put this spooky spider together. What I love about it is that, even though it is quick and inexpensive, it makes a big statement wherever you place it! You can add one in a corner, or several all over the house for just $3! My son really wanted to add googly eyes, and I think it would look even better with a few spider webs around him, but my big pregnant body was NOT going up on that ladder again, so for this year our spider will live high up in our entry with no webs or eyes just being spooky as is!
If you love easy crafts and holiday decor, make sure to follow us on Pinterest and Facebook.
See the latest Halloween ideas from TPM here or browse some favorites below {Click any photo for full article!}:






Seana Turner says
Very cute and simple decoration. Perfect when you want to make a big statement, and it can be easily hung up high out of the way of little hands.
Layne says
Super clever and easy – thanks for sharing! I love that it will be up high and my little ones can’t get it.