**Video at the end for those that want to see a more detailed tutorial**
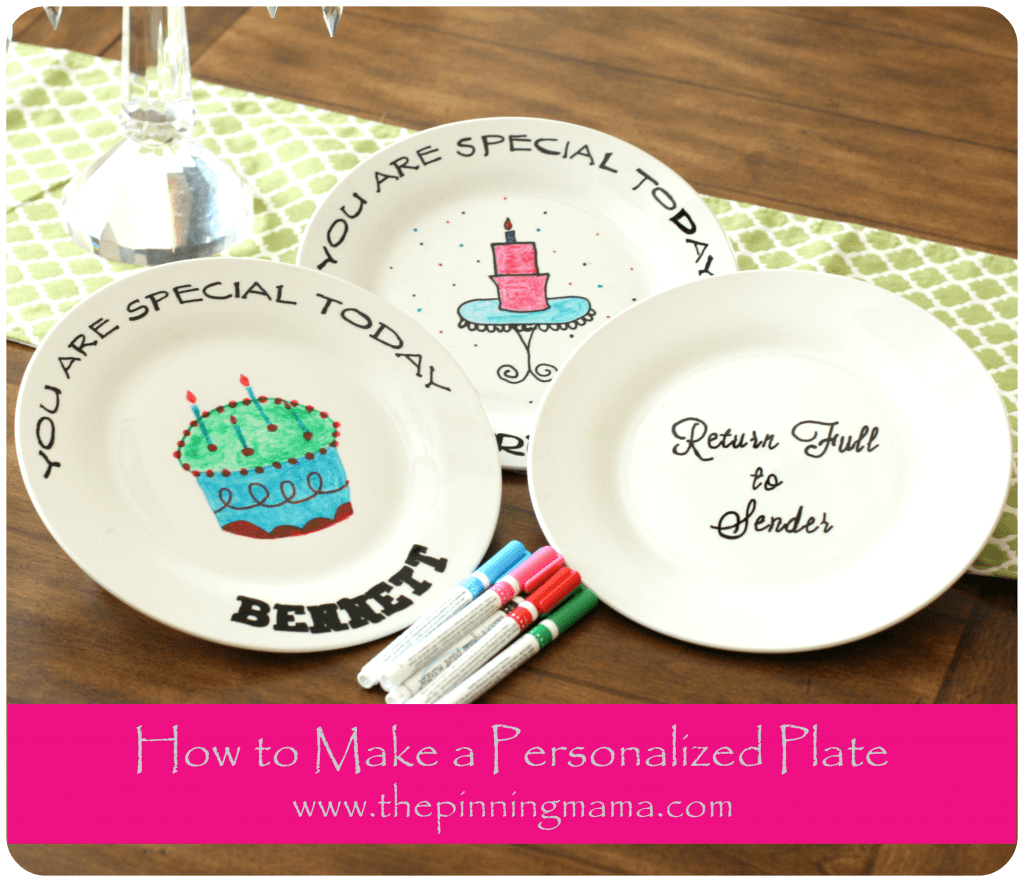
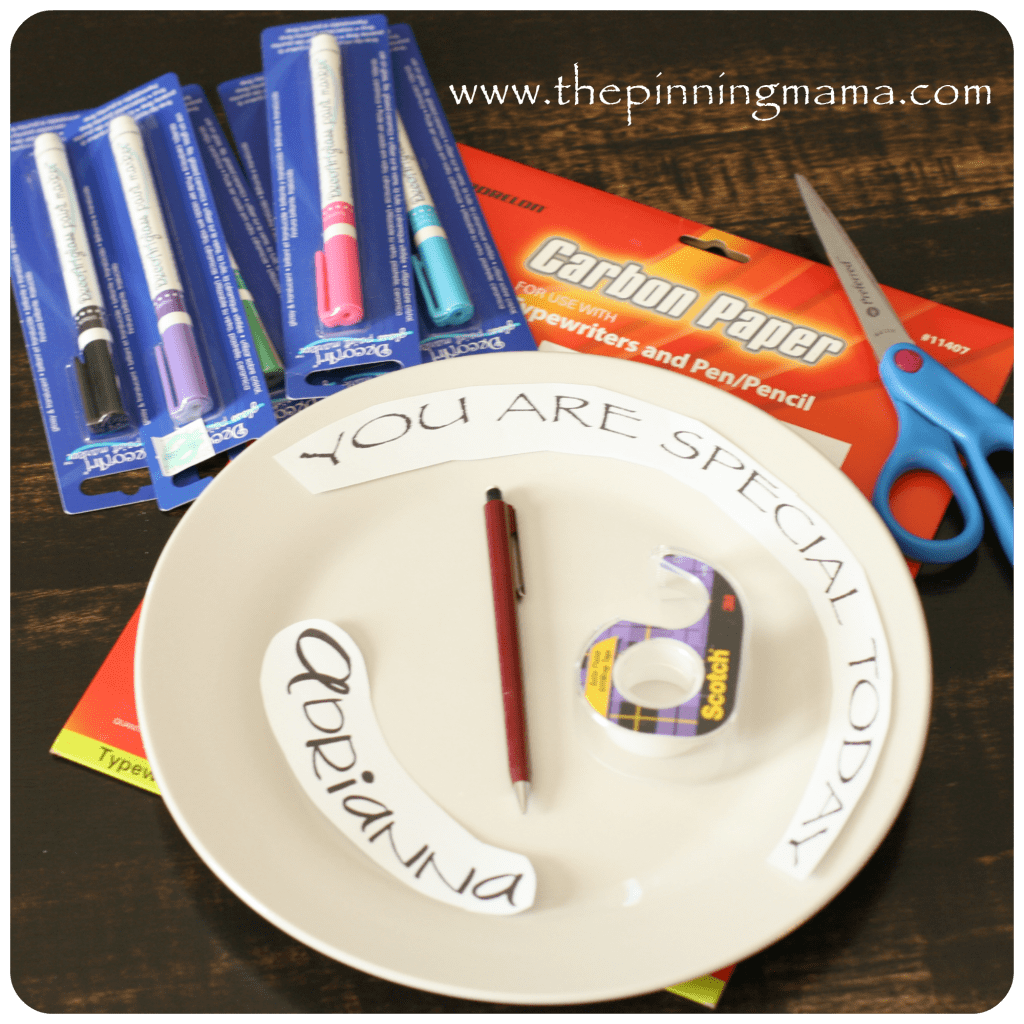
How to Make a Personalized Plate:
- Dollar Store Plate
- Pencil
- Carbon Paper
- Ceramic, Glass or Porcelain Pens: I used DecoArt Glass Pens, but I could only find them sold individually. They worked phenomenally though! These or these would probably work just as well.
- Create your design that you will trace or freehand
- Scissors
- Tape
- Oven
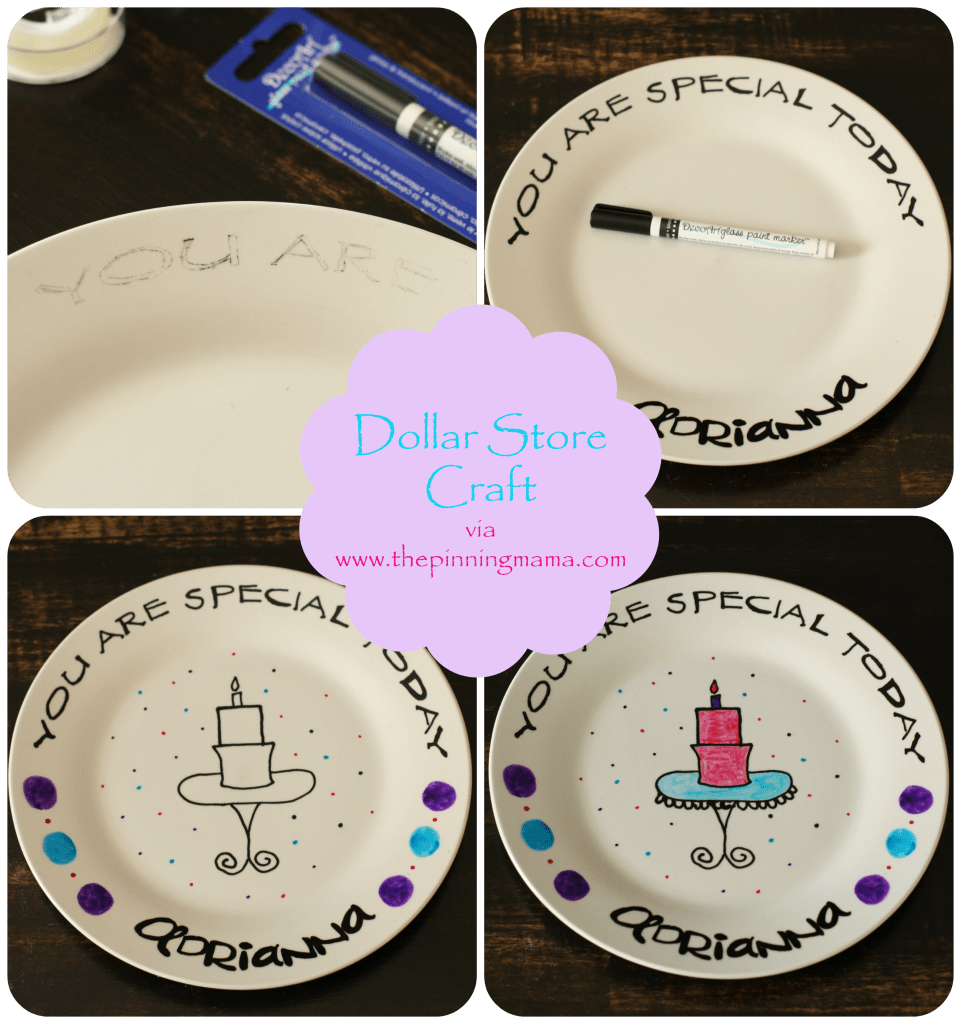
Next, you need to open up a word processing program and type out whatever you want the plate to say. For this personalized plate I wanted it to say “You Are Special Today” and have my daughter’s name on it. Below are the fonts that I used for each place.
“Adrianna” Plate
- “You are special” font: Papyrus size 65 , Arc at +91
- “Adrianna” font 2peas wonderful size 72, Arc at -50
“Bennett” Plate
- “You are special” font: Papyrus size 65 , Arc at +91
- “Bennett” font Athletic size 72, Arc at -50
“Return Full to Sender”
- Lavendaria Font
Once you print out your words/design you want to cut them out, but leave a little white on the outside of the words. Then tape it on top of the carbon paper. You will then cut again, leaving enough paper so that you can tape it to your plate.
Now that your words/design are taped onto the plate, start tracing the letters with your pencil. Make sure you put enough pressure to ensure transfer. You can sneak a peak if you want to make sure. I had to go back over a couple areas. 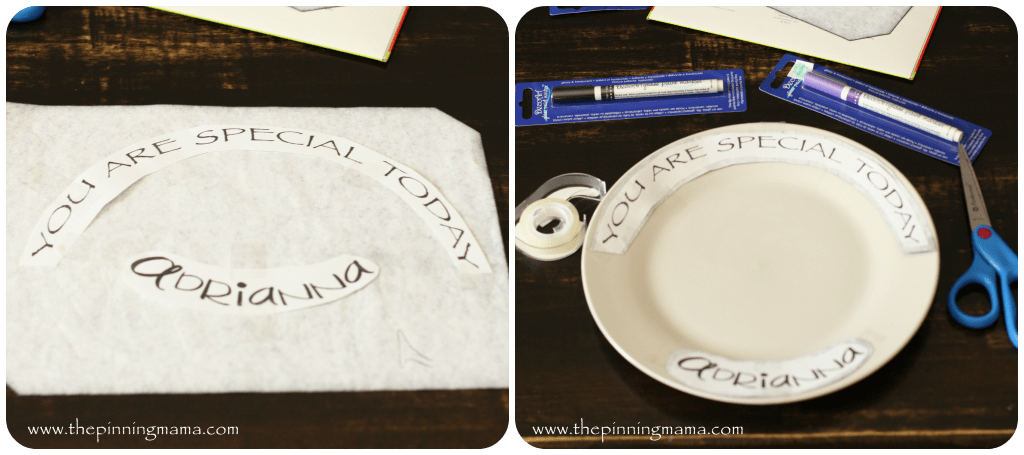
Now that your pretty design is done, you bake! Bake them according to the directions on your pens. Once baked they are dishwasher safe.
I can not wait to use my “return full to sender” plate. I think it’ll get some laughs when someone finishes the treats I bring them! I am excited for my little nuggets to use these plates on their 1st and 3rd birthdays too. Did you guys know my kids SHARE A BIRTHDAY? What?! I know, the craziness still blows my mind. I will definitely posts pics of the cuteness!
What kind of plate will you make? Wouldn’t it be cute to have one that you use every year for Santa’s cookies?
**Sidenote: These are dishwasher safe and have been tested, but I will be hand washing these just like I would any “special” piece in my home.**
If you’d like to see the step by step instructions, watch the video below! At about 5 minutes there is music, but that was an accident. Sorry!
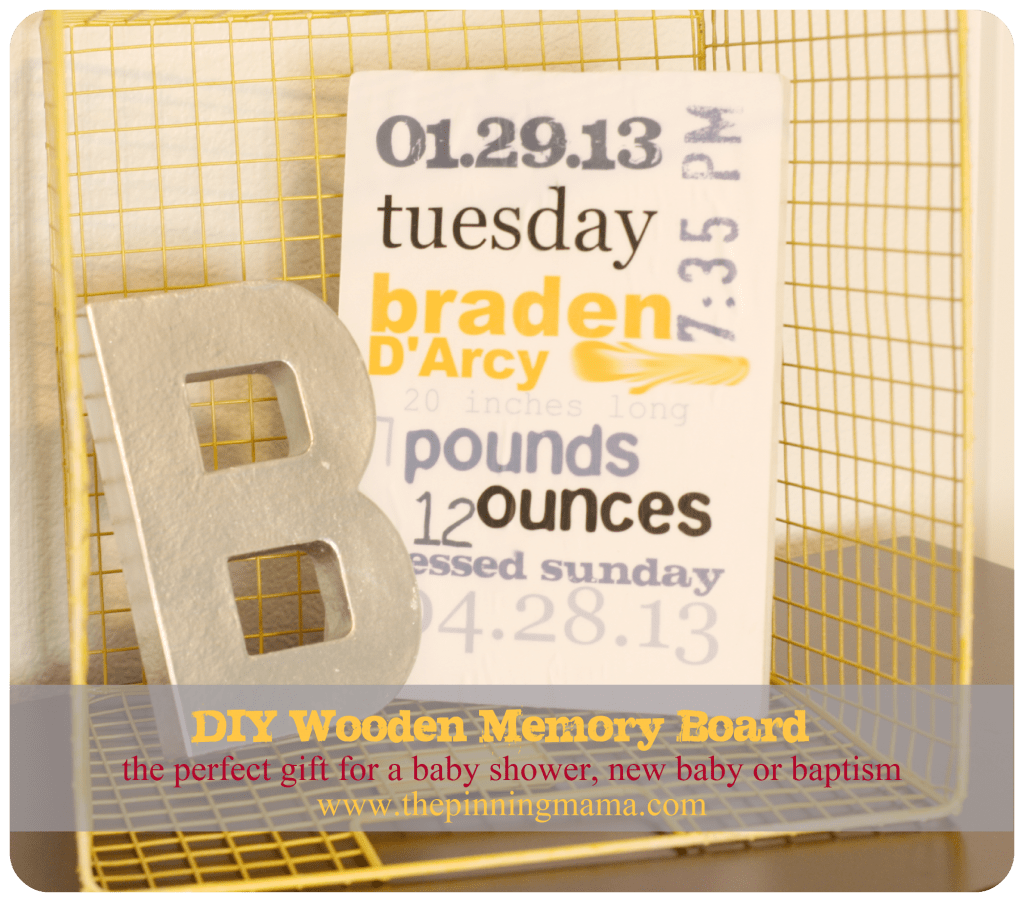
For more fun crafts check out the below links. And follow us on Pinterest!
Creating a hair bow holder using the carbon paper technique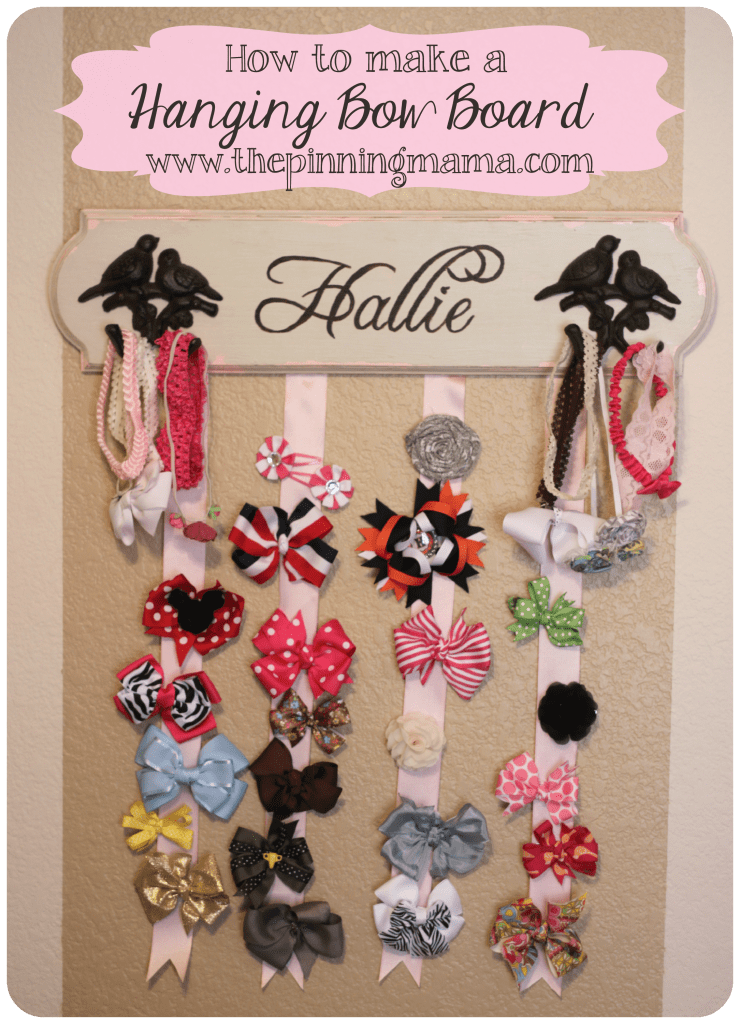
This post contains affiliate links. For more information please see our disclosure policy.


Jennifer Jarrells says
I just bought the Mikasa Italian Countryside Handled Oval Platter to do this as a guest book for my wedding..And then I noticed, it says “quality crafted from Stoneware” I thought it was ceramic? But now I’m not sure! Which pen do you recommend I use for this? Scared to ruin it as funds are getting low if I have to go buy another!!